Advertisement
Quick Links
Advertisement

Related Manuals for MyGica ATV495MAX


Summary of Contents for MyGica ATV495MAX
- Page 1 Quick Start Guide www.mygica.tv...
- Page 3 Quick Setup Guide 1. USB 2.0 Port 3. LAN Port 5. HDMI Port 2. Micro SD Port 4. Optical Port 6. DC Input HDMI Cable Power Adapter Remote Control After opening the box, check to make sure you have all your items. If any items are missing, please contact your seller as soon as possible.
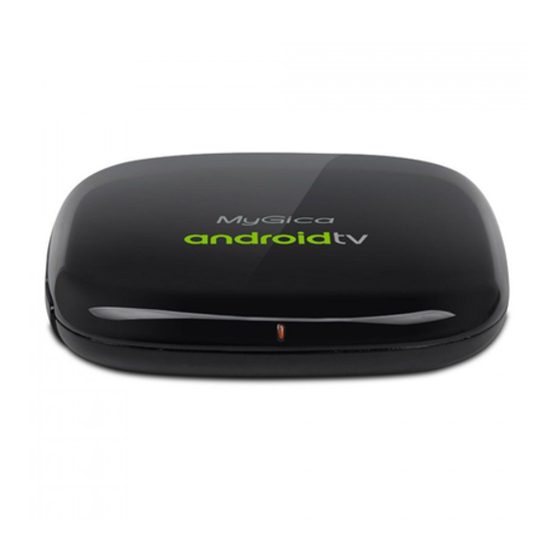
- Page 4 Connect Power and HDMI Place your ATV495Max on a flat surface near the TV. Make sure there is a visible line of site for your remote control’s power button to operate. *Only connect your ethernet cord if you are not using WiFi.
- Page 5 KR80 BT Remote 1. Power 2. Mute 3. Microphone 4. Directional Buttoms 5. OK/Enter 6. Return/Back 7. Play/Pause 8. Home 9. Page Down 10. Page Up 11. Vol- 12. Vol+...
-
Page 6: First Time Usage
1.0 First Time Usage Powering Up After first powering up your device, you will see a couple of loading screens first. Follow the instructions on the next screen to start using your device. - Page 7 Setup Wizard - System Language For first time usage, you will enter the setup wizard. The setup wizard will help you quickly setup the ATV495Max for you to use. First you should select a system language.
- Page 8 Setup Wizard - Setup with an Android phone or tablet You can easily setup ATV495Max if you have an Android phone or tablet, or you can select No to continue the setup.
- Page 9 Setup Wizard - Wi-Fi Setup Here you can connect ATV495Max to your home Wi-Fi router. If your home Wi-Fi router requires a password, you will need to enter the correct password.
- Page 10 Setup Wizard - Check for updates After connected to the network, ATV495Max will connect to the internet and check to see if there is an update available. If an update is available, ATV495Max will prompt you to update. Setup Wizard – Google account...
- Page 11 Setup Wizard -Terms of Service To continue, you will need to agree to the Google Terms of Service and Privacy Policy. You can view the terms of service and privacy policy by clicking below.
- Page 12 You can select Yes or No to let Google and third party apps to use your location or not. 1.10 Setup Wizard – Help improve Android TV You can select Yes or No to allow Google to collect usage data from your ATV495Max.
- Page 13 1.11 Home Screen Once setup is completed, you will see the home screen and you can start using the ATV495Max. 2.0 Settings Using the directional buttons on the remote, you can navigate different options, the options selected will be highlighted and confirmed by pressing OK key.
- Page 14 Note: If factory reset, the password of Wi-Fi network have to be reset. Network - Ethernet Connect your ATV495Max to your router Via an RJ45 ethernet cable. If you have previously used a WiFi connection, you may need to disable the WiFi before connecting the ethernet cord.
- Page 15 Sound 2.3.1 System sounds Turn on or off system sounds. 2.3.2 Surround sound You can setup Surround sound to auto, on or off. Display 2.4.1 Screen resolution You can select different screen resolutions here. By default, the resolution is set to automatically switch to the best configuration for your TV.
- Page 16 You can also do a factory reset here. 2.6.1 Factory data reset This will erase all data from your ATV495Max’s internal storage, including: • Your Google account • System and app data and settings • Downloaded apps •...
-
Page 17: Apps Install & Uninstall
Language You can change the system language here. 3.0 Apps Install & Uninstall On ATV495MAX, you can install apps from Google Play. You also can manage apps on ATV495MAX, install/uninstall apps, stop running apps, or select other options. - Page 18 Congratulations! This completes the first time setup process of your brand new MyGica. For technical support please visit our website http://www.mygicasupport.com...
Need help?
Do you have a question about the ATV495MAX and is the answer not in the manual?
Questions and answers