
Summary of Contents for Kymeta KyWay U7 8W
- Page 1 KyWay™ Terminal Quick Start Guide Document number: 700-00009-001 Revision A 07 February 2018...
-
Page 2: Table Of Contents
Table of contents 1 Introduction 2 Specification 3 Package contents 4 Indoor unit components and cables 5 Tools required 6 Request commissioning 7 Prepare the outdoor unit (ODU) 8 Connect the cables 9 Power on the KyWay™ terminal 10 Access the ASM 11 Access the modem 12 Documentation 13 CE declaration of conformity... -
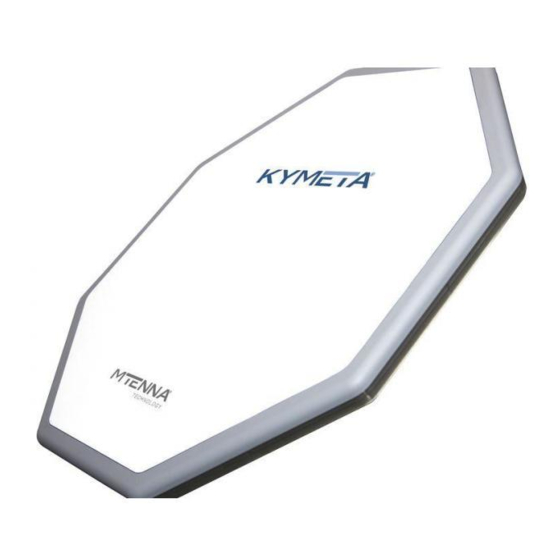
Page 3: Introduction
Thank you for choosing the Kymeta KyWay™ terminal and welcome to the new era of satellite connectivity. For your safety and ease of use, please read this Kymeta KyWay Terminal Quick Start Guide and the Kymeta KyWay Terminal Safety and Handling Guide in their entirety before beginning assembly. -
Page 4: Package Contents
(1) ODU interface cable (three lengths available: 3.66 m, 7.62 m, 15.24 m) Box 5: RF cables (accessory) (1) Rx cable (three lengths available: 3.66 m, 7.62 m, 15.24 m) (1) Tx cable (three lengths available: 3.66 m, 7.62 m, 15.24 m) © 2018 Kymeta Corporation. 07 February 2018... -
Page 5: Indoor Unit Components And Cables
KyWay™ Terminal Quick Start Guide 4 Indoor unit components and cables NOTE: Drawings are not to scale. © 2018 Kymeta Corporation. 07 February 2018... -
Page 6: Tools Required
0.9 N-m (8.1 in.-lb.) torque rating 6 Request commissioning Congratulations on your purchase of the Kymeta™ KyWay™ terminal. Contact the KĀLO™ support team to schedule your commissioning window by sending an email to support@kalo.net. Have the following information ready for your commissioning:... -
Page 7: Prepare The Outdoor Unit (Odu)
7 Prepare the outdoor unit (ODU) 1. Make sure you have a clear, clean, flat surface for assembling the Kymeta KyWay terminal. 2. Open the KyWay terminal ODU box. With two people, lift the ODU out of the case. Do not lift the ODU by any RF component (LNB, diplexer, or BUC) as this may damage sensitive components and potentially void your warranty. -
Page 8: Connect The Cables
9. (optional) Connect the customer Ethernet cable to the modem (port 5-8 for DHCP). 10. Connect one power cable to the mTenna I/O and another one to the modem. ✎ Use cable ties to clean up loose cables. © 2018 Kymeta Corporation. 07 February 2018... -
Page 9: Power On The Kyway™ Terminal
5. Wait 90 seconds and then verify that the Ethernet port 1 link light on the back side of the modem is blinking. ✎ To access the ASM prior to commissioning, refer to the Kymeta mTennaᵘ⁷ Antenna Subsystem Module Software User Guide. -
Page 10: Ce Declaration Of Conformity
15 Legal disclaimer © 2018 Kymeta Corporation. KYMETA, CONNECTED BY KYMETA, MTENNA, KYWAY, KĀLO image, and KĀLO are trademarks of Kymeta Corporation, with registrations or applications for these marks pending in Brazil, the European Union, Japan, Norway, Singapore, South Korea, and the United States.
Need help?
Do you have a question about the KyWay U7 8W and is the answer not in the manual?
Questions and answers