Advertisement
MSS129900298041/42/43/44
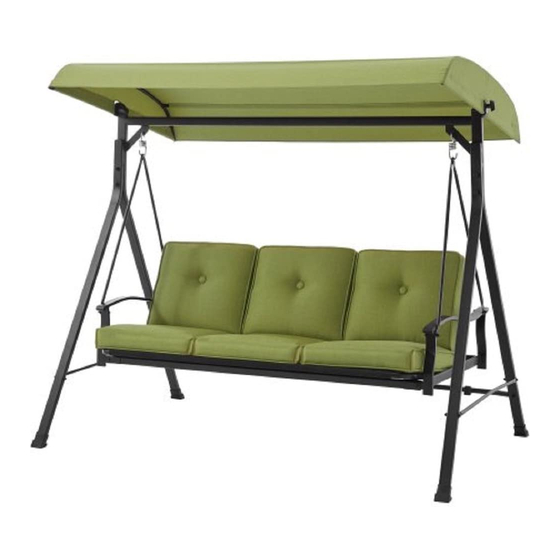
Assembly AND CARE GUIDE
MAINSTAYS BELDEN PARK
3-PERSON DAYBED SWING
Need Assistance?
Contact our toll free Customer Service Hotline at:
(877) 980-6928
-Monday through Friday 7:30am until 3:30pm PST-
Advertisement
Table of Contents

Summary of Contents for Mainstays MSS129900298041
- Page 1 MSS129900298041/42/43/44 ASSEMBLY AND CARE GUIDE MAINSTAYS BELDEN PARK 3-PERSON DAYBED SWING Need Assistance? Contact our toll free Customer Service Hotline at: (877) 980-6928 -Monday through Friday 7:30am until 3:30pm PST-...
- Page 2 MSS129900298041/42/43/44 Warranty 2 YEAR LIMITED WARRANTY WHAT IS COVERED We warrant the frame to be free of manufacturing defects to the original purchaser for two years. WHAT IS NOT COVERED This warranty does not cover commercial use, hardware, acts of nature, fire, freezing, and abusive use. In...
- Page 3 MSS129900298041/42/43/44 A. Read instructions thoroughly. Acquaint yourself with the inventory of parts and the accompanying drawings to ensure safe and proper assembly. B. Lay out all of the parts on a flat surface and identify them using the table bel...
- Page 4 MSS129900298041/42/43/44 Assembly Note 1: When fastening with nuts and bolts, always use a washer(KK) between the tube and the bolt or the tube and the nut. Note 2: Do not tighten the bolts after step 1. Fasten all of the bolts after step 4.
- Page 5 MSS129900298041/42/43/44 Assembly Step 5: Link seat arms(H&I) and support tubes(J&K) together through plastic joint cover(DD). Fasten them by using bolts(JJ), washers(KK), and jam nuts(LL). Step5 Fig B...
- Page 6 MSS129900298041/42/43/44 Assembly ach the seat(L) to seat frame by using bolts(FF), washers(GG), jam nuts(HH) and plastic sleeve (OO). Repeat the same procedure for both sides. Step 7: Attach the swing arm tubes(E) to seat arm by using bolts(JJ),washer(KK) and plastic washer(NN).
- Page 7 MSS129900298041/42/43/44 Assembly Step 9: Hang the opposite ends of the suspension springs(EE) into the holes located in the angled braces on the top cross beam. Step9 Fig D...
- Page 8 MSS129900298041/42/43/44 Assembly Step 10: Assemble connector(BB) onto the side canopy brace(F). Fasten them together by using bolts (MM), washers(KK) and jam nuts(LL). Make sure that the teeth on the canopy/frame connectors are facing toward the inside of the frame. Step 11: Insert the front/rear canopy braces(G) into the sleeves of the canopy(M) on both sides.
- Page 9 MSS129900298041/42/43/44 Assembly Step 13: Assemble top canopy to bottom frame by plastic screws(CC) at both sides. Step 14: Put cushions(N) on the frame as picture shows. Step13 Step14 Fig F...
- Page 10 MSS129900298041/42/43/44 Assembly Step 15: Make sure that the safety locks on the seat rear support are fully locked whenever the seat assembly is in a swinging position(left picture). To have the swing in a bed position, open both of the safety locks(right picture).
- Page 11 MSS129900298041/42/43/44 Assembly Step16 Fig G Maintenance ○ We recommend the use of furniture covers and put cushions aways when not in use. ○ safety of your swing. In order to prolong the life and beauty of your swing , we recommend that it be stored in a dry and ○...
Need help?
Do you have a question about the MSS129900298041 and is the answer not in the manual?
Questions and answers
Can I get a replacement seat assembly
You can contact the Customer Service Hotline at (877) 980-6928, available Monday through Friday from 7:30 AM to 3:30 PM PST, to inquire about obtaining a replacement seat assembly for Mainstays part number MSS129900298041.
This answer is automatically generated
Can I buy a replacement canopy for my swing
Where can I buy parts? I need a canopy frame connector mine broke.