Advertisement
Advertisement
Table of Contents

Summary of Contents for Pawever Pets PPEGGINCB9A
- Page 1 DIGITAL EGG INCUBATOR 9 EGGS PPEGGINCB9A...
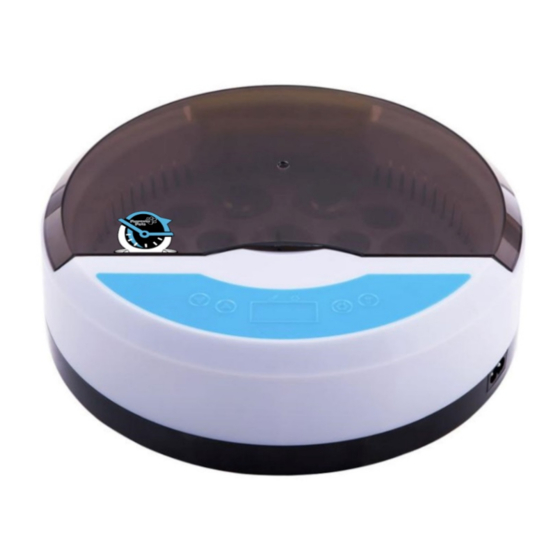
- Page 3 COMPONENTS • Incubator • Styrofoam • Dust Proof Tray • Power Cord • User Guide...
- Page 4 SETUP Insert one end of power cord into the socket on the device. Ensure the power supply voltage is as per the rated voltage of this incubator. Ensure the fan, temperature display, function keys and heater are functional. Keep the temperature sensor straight during incubation as shown in the below image. Take out the sponge, soak it in water and place it back into the incubator.
- Page 5 OPERATION Working Indicator Indicator Decrease Increase Display Temperature Temperature Press the LED button to turn on the display. It will automatically turn off after 5 minutes. Press the set button, the set indicator will light up. Press button to adjust the temperature.
- Page 6 Ensure to select fresh fertilised eggs. See the Selecting Fertilised Eggs section of this user guide. Selecting Fertilised Eggs • Choose fresh fertilised eggs. Eggs within 4-7 days after laying is the best. The best temperature for saving fertilised eggs is 10-15°C. •...
- Page 7 Test the eggs for the second time after 11 to 12 days to check the development of the embryo. A well-developed embryo is enlarged, with blood vessels inside. The air chamber is large and sharply demarcated. Test the eggs for the third time after 16 to 17 days. Turn the narrow end of the egg towards the light source.
- Page 8 Need more information? We hope that this user guide has given you the assistance needed for a simple set-up. For the most up-to-date guide for your product, as well as any additional assistance you may require, head online to help.kogan.com...
Need help?
Do you have a question about the PPEGGINCB9A and is the answer not in the manual?
Questions and answers