Table of Contents
Advertisement
Quick Links
Advertisement
Table of Contents

Summary of Contents for Stinger SuperSeeder 2400
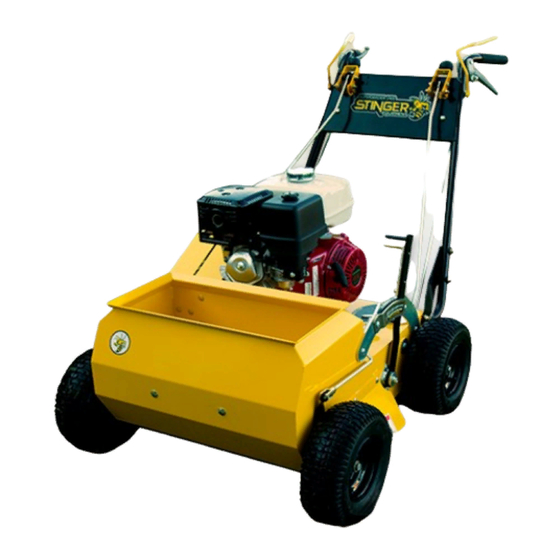
- Page 1 SuperSeeder 2400 Operator’s Manual...
- Page 2 Introduction Thank you for purchasing this Stinger Equipment, Inc. product. This manual will explain the safety, maintenance and operation of your unit. Safety • All operators should read the product manual in its entire- ty before operating. All operators must be properly trained on the controls and their functions.
-
Page 3: Signal Word Definitions
This Symbol means: ATTENTION! TAKE NOTICE! Your attention is needed to ensure your safety and the safety of those around you. This symbol is fol- lowed by a Signal word describing the level of hazard. Through- out this manual and on all equipment you will see these safety labels. -
Page 4: Maintenance
Maintenance Turn the unit off as shown in Figure 1, and remove spark plug as shown in Figure 2 before performing any maintenance. Hydrostatic transmissions • The hydrostatic transmissions features a maintenance-free design. Belt • Inspect the belts every 50 hours, or annually, for signs of wear. - Page 5 Figure 1 Figure 2 Figure 3...
-
Page 6: Grease Points
Engine • Run unleaded gasoline with an octane rating of 86 or higher and 10% or less ethanol. • Check engine oil level on level ground daily • Drain Honda engine’s oil by removing oil plug in figure 5. • Change the oil within the first month or 10 hours, do not overfill unit. - Page 7 Figure 4 Figure 5...
-
Page 8: Setting Blade Depth
Give a quick pull to the recoil. Allow the unit to warm up and slide the choke off and set throttle to the desired rpm. Turn engine switch to “Off” position to stop the engine. Setting Blade Depth 1. With the blades off, squeeze depth control lever up as shown in figure 6. - Page 9 Figure 6 Figure 7...
-
Page 10: Unit Operation
Unit Operation 1. Press down the yellow safety on the handle bars 2. Squeeze the trigger as shown in Figure 8 with your left or right hand to move the unit forward. The more pressure applied, the greater the speed. Note: Quickly releasing the controls at speed will abruptly stop the unit. - Page 11 Figure 8 Figure 9 Figure 10...
- Page 12 www.StingerEquipment.com 2140 Spencer Court LaGrange, KY 40031 (502) 536-0716...
Need help?
Do you have a question about the SuperSeeder 2400 and is the answer not in the manual?
Questions and answers