Advertisement
Quick Links
CONSULT YOUR LOCAL HEALTH AGENCY FOR CLEANING AND SANITIZING REQUIREMENTS.
This unit does not come presanitized from the factory. Before serving product, the dispenser must be disassembled,
cleaned, lubricated, and sanitized. These instructions are general guidelines only. Cleaning and sanitizing procedures
must conform to local health agency requirements.
Emptying Machine
Prior to the disassembly and cleaning of parts, the
machine must be emptied of product. Use the following
procedures (Steps 1 through 3). If this is first time
operation, disregard these steps.
WARNING
DO NOT INSERT ANY OBJECTS OR TOOLS INTO
THE MIX INLET HOLE, CARBURETOR TUBE HOLE,
OR FRONT PLATE DISPENSING HOLE WHILE THE
MACHINE IS RUNNING. DAMAGE TO THE
MACHINE OR PERSONAL INJURY MAY RESULT.
1. Remove the carburetor tube (Fig. 3) from the mix
inlet hole and lay in the bottom of the mix pan.
2. Set the control switch to the "CLEANOUT" position
and dispense all product from the freezing cylinder by
pulling downward on the spigot handle (Fig. 4) to empty
the machine.
3. Set the control switch to the "OFF" (center) position.
Close the spigot handle before proceeding to cleaning.
Shake
Carb Tube
O-Ring
Fig. 3
Carburetor Tubes
PAGE 3
Disassembly & Cleaning
SoftServe
Carb Tube
DISASSEMBLY & CLEANING
Disassembly and Cleaning Procedure
1. Fill the machine with cold water and set the control
switch to the "CLEANOUT" position. DO NOT use
hot water which could damage the machine. Let the
machine agitate briefly and drain the water by pulling
downward on the spigot handle. After the machine is
empty, set the control switch to the "OFF" position.
Repeat the above procedure as necessary to make
certain that all product is removed from the machine.
2. Prepare a suitable detergent and water solution at a
temperature of 125° to 130° F. DO NOT use an
abrasive detergent on any part of the dispenser.
IMPORTANT
DO NOT USE HOT WATER
DOING SO COULD DAMAGE YOUR MACHINE
3. Fill the mix pan with the cleaning solution. Make
certain that the machine is "OFF". Clean the mix pan
thoroughly with a brush as the solution drains into the
freezing cylinder. Clean the mix inlet tube and the
carburetor tube holes with the brush provided.
Fig. 4
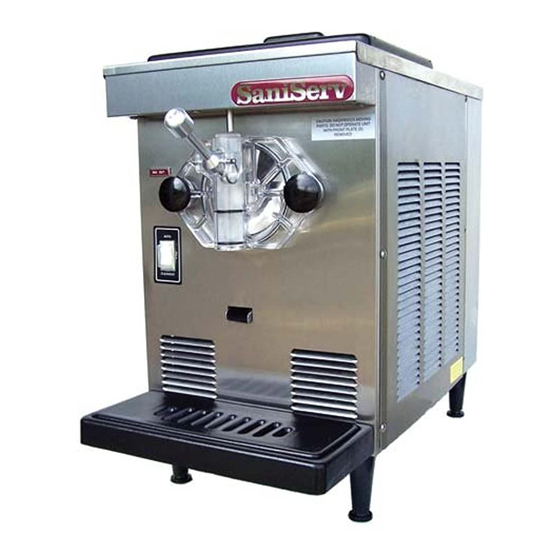
Dispensing Product
Advertisement

Summary of Contents for SaniServ 407
- Page 1 Disassembly & Cleaning CONSULT YOUR LOCAL HEALTH AGENCY FOR CLEANING AND SANITIZING REQUIREMENTS. This unit does not come presanitized from the factory. Before serving product, the dispenser must be disassembled, cleaned, lubricated, and sanitized. These instructions are general guidelines only. Cleaning and sanitizing procedures must conform to local health agency requirements.
- Page 2 6. Remove the carburetor tube (Fig. 7) from the mix 4. Set the control switch to the “CLEANOUT” position and agitate for approximately 1 - 2 minutes and then pan. Disassemble and clean in the following manner: drain the water by opening the spigot. After the unit is a.
- Page 3 Dasher Front Scraper Blade Drip Tray View Insert Support Drip Tray Blade Support Fig. 9a Scraper Blade Removal Drip Tray Support Remains Attached to Scraper Blade Machine Dasher Front View Fig. 11 Support Drip Tray Assembly 10. Use the small diameter brush to clean all holes and ports in the parts.