Table of Contents
Advertisement
Quick Links
1. Safety precautions (safety measures)
2. Legend
3. General usage
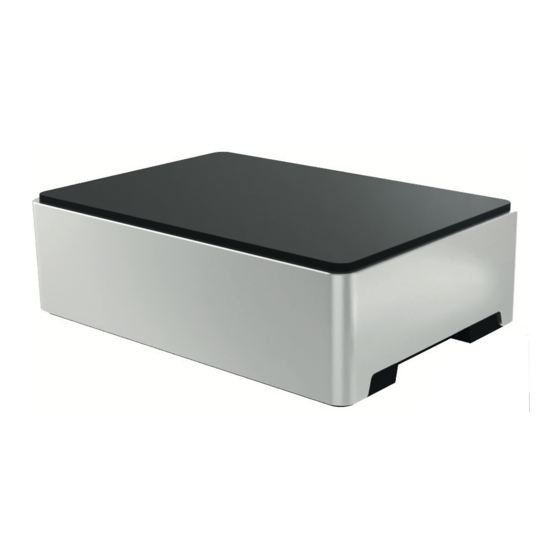
4. Short description
5. Scope of delivery
8.1
8.2
9.1
9.2
9.3
9.4
9.5
9.6
9.7
9.8
9.9
Ä
ATTENTION!
- Check the VHA-Smart Controller for signs of mechanical
damage after unpacking. If you notice any shipping damage,
do not start up the VHA-Smart Controller and notify your
supplier immediately.
- The VHA-Smart Controller should only be used for the pur-
pose specified by the manufacturer (refer to the operating
instructions). Any changes or modifications thereof are not
permissible and will result in loss of all warranty claims.
© Vestamatic GmbH
G
VHA-Smart Controller
Contents
1. Safety precautions
1/15
VHA-Smart Controller
Vestamatic Home Automation System.
Operating Instructions
2. Legend
Menu
Refresh
Wizard
Add
Settings
Edit
Motor settings
Note, Info
Intermediate
position
Cancel
Article
Supply voltage:
Rated current:
Interfaces:
microSD-Slot:
Operating temperature:
Protection degree:
Dimensions (L × W × H)
3. General usage
Motors taught in the app should not be controlled simultaneously via radio
remote controls and the application.
4. Short description
Vestamatic Home Automation System for control of IO-AIR radio receivers.
Bidirectional protocol.
5. Scope of delivery
VHA-Smart Controller
„
Power supply
„
LAN cable
„
„
Micro SD-Card (not included in the scope of delivery)
„
IO-AIR Transceiver USB (not included in the scope of delivery)
„
Operating instructions
G
VHA-Smart Controller
Art.-no.: 01580162
Opens the menu.
When activated, the motor data is newly requested and
updated.
Lasts longer, the more motors are paired.
Clicking on this button activates the wizard. It explains
functions, buttons or processes that are displayed in
the app.
Click here to add new devices.
Click here to open the appropriate settings.
Clicking here opens editing options.
A click here leads to the setting of motors.
Indication that a motor is missing limit positions. A short
info text appears when icon is touched.
If an intermediate position is set, clicking this button will
cause the motor to move the set intermediate position.
Cancel terminates current settings and discards them.
VHA-Smart Controller
Art.-no.: 01580162
VDC
5 (via micro-USB connector)
A
2.5
USB
4
LAN
1
1
°F
0 °C (32 °F) to +60 °C (140 °F)
IP
20
mm
93 × 67 × 23 mm
Subject to modifications.
Advertisement
Table of Contents

Summary of Contents for Vestamatic VHA-Smart Controller
-
Page 1: Table Of Contents
VHA-Smart Controller and notify your 5. Scope of delivery supplier immediately. VHA-Smart Controller „ – The VHA-Smart Controller should only be used for the pur- Power supply „ pose specified by the manufacturer (refer to the operating LAN cable „... -
Page 2: Installation
VHA-Smart Controller 6. Installation – First insert the micro SD-Card in the slot of the controller. NOTE: – Plug the IO-AIR transceiver USB into a USB socket on the VHA-Smart We recommend an Ethernet connection, but if you want to con- Controller. -
Page 3: Connect To The App
Wireless connection – After connecting the controller to your router with an Ethernet cable, – Connect to the network of the VHA-Smart Controller using a appropri- make sure your device is on the same network. ate device (e. g. mobile phone, laptop or tablet). -
Page 4: Homescreen
VHA-Smart Controller 9.3 Homescreen The Homescreen first displays only predefined timers, scenes, and groups that can be used immediately. Paired motors as well as manually created rooms, groups, timers and scenes will be added automatically. Figure 2 Menu button Opens the menu. See contents in “9.4 Menu”. -
Page 5: Menu
VHA-Smart Controller 9.4 Menu The menu is opened via the menu button Switch between the views using the tabs in the menu. With this button, the menu can be fixed on larger screens so that it is displayed permanently. HOME Opens the Homescreen. -
Page 6: Devices - Add New Devices (Automatic Scan)
VHA-Smart Controller 9.6 Devices – Add new devices (Automatic Scan) To get to this view, go to: „ Menu Devices button (Automatic Scan) When the automatic scan is opened, the search starts automatically. The search can be stopped and restarted at any time. -
Page 7: Devices - Individual Control
VHA-Smart Controller 9.7 Devices – Individual control To get to this view, go to: „ Menu Devices Click on motorname Homescreen Click on motorname „ This view is for the individual control of motors. Refresh By clicking on the symbol the motor information is requested and updated manually. -
Page 8: Devices - List Of Registered Devices
VHA-Smart Controller 9.9 Devices – List of registered devices To get to this view, go to: Menu Devices „ Click on the symbol to start Automatic Scan. More detailed explanation in point “9.6 Devices – Add New Devices“. -
Page 9: List Of Rooms And Groups
VHA-Smart Controller 9.11 List of rooms and groups To get to this view, go to: „ Menu Rooms or Groups The following is an explanation of the room functionality, which applies equally to the group functionality. They do not differ in terms of usage. -
Page 10: Scenes
VHA-Smart Controller 9.13 Scenes To get to this view, go to: „ Menu Scenes This view is used to overview, create and customize scenes You can execute several commands with a single action. Listing of Scenes All created scenes are listed here. -
Page 11: Timer
VHA-Smart Controller 9.14 Timer To get to this view, go to: „ Menu Timer This view is used to overview, create and customize timers. They allow a time-dependent control of the connected devices. Listing of Timer All created timers are listed here. -
Page 12: Settings
Note: During the process of connecting to a wireless network, the connection to the Vestamatic-AP might fail briefly. Very long loading screen is an indication for that. We therefore suggest to completely close the application and terminate the connection to the access point via the settings of your device. - Page 13 NOTE: – If the transmission was successful, you will receive a response in the app. The device (e.g., smartphone) connected to the „Vestamatic AP“ You can now control your devices with voice commands. network of the VHA Smart Controller may still remain connected and does not have to disconnect.
-
Page 14: Service
VHA-Smart Controller 9.16 Service To get to this view, go to: „ Menu Service Here you will find the device information as well as the logbook entries for all actions. Figure 18 Device The device information provide an overview of all Informations paired devices. -
Page 15: Troubleshooting
Application does not load though Phone accesses mobile data and wants to open Switch off mobile data of the mobile phone. connected to Vestamatic AP. an actual website. In the app icons / symbols are greatly The browser has incorrectly loaded the image Reload the page or (via the settings of the enlarged.
Need help?
Do you have a question about the VHA-Smart Controller and is the answer not in the manual?
Questions and answers