Advertisement
Quick Links
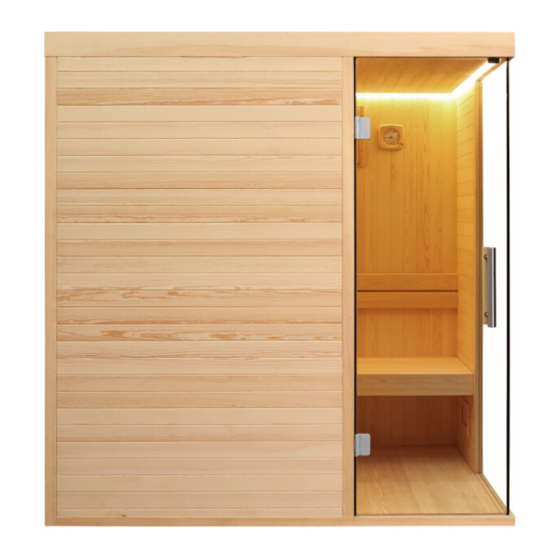
Model:
C C-04(ABC)
Our company keep down the authority of amending the product design and specification, sorry to will not offer any notice.
Sauna room Installation instruction
The product in the printed materials may be slightly different from the actual product and shall be subject to the actual product
Our company reserve the final explanation right for all the contents.
Advertisement

Related Manuals for MEXDA CC-04

Summary of Contents for MEXDA CC-04
- Page 1 Model: C C-04(ABC) Our company keep down the authority of amending the product design and specification, sorry to will not offer any notice. Sauna room Installation instruction The product in the printed materials may be slightly different from the actual product and shall be subject to the actual product Our company reserve the final explanation right for all the contents.
- Page 2 sauna product Thank you very much for purchasing our The product will serve your health sincerely and make your life more comfortable more perfect and more fashionable Please read the installation instructions carefully before using the sauna Catalogue --------------------1 decomposition diag ram o f roduct Installation preparation ------------------------------2...
- Page 3 Decomposition diagram of product Product maintenance and maintenance ● Please pay attention when using Be sure to read the warning signs inside the sauna room and important safety instructions in the specification before using. Please use towel to cushion your seat when using. If people sitting on towels,it can effectively prevent sweat dripping onto the board.
-
Page 4: Installation Steps
Matters needing attention Installation preparation 1.Do not place objects at the doorway of this product to prevent 1 Please read the installation instructions carefully after opening the box and check the quantity of spare parts and check whether there is transport damage.If you blocking the door have any questions, please contact the local distributor or the company in time. - Page 5 right side oard link wood 5.Install backrest. Fix the backrest by 45*6 self-tapping screw, about 25 CM height. left side oard 2 Same as first step, install right side board, left side board and link wood. 6 . I n s t a l l t h e m o v a b l e g l a s s d o o r .
- Page 6 right side lass 4 Install seat. Put the seat on the wood brace, then lock it by 45*6 self-tapping screw. 3 Install roof. Put the right side glass into the card slot, then press the roof onto the wall, finally lock it by 45*6 self- tapping screw.
Need help?
Do you have a question about the CC-04 and is the answer not in the manual?
Questions and answers