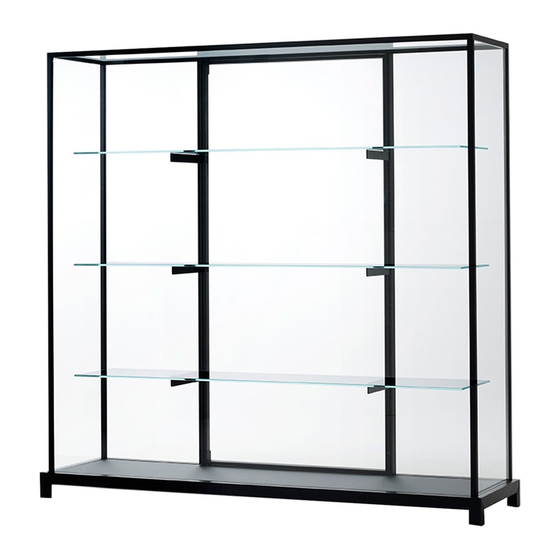
Summary of Contents for Glas Italia Wunderkammer
- Page 1 WUNDERKAMMER DESIGN PIERO LISSONI Senza luce | Istruzioni di montaggio ed utilizzo Without light | Assembling and use instruction...
- Page 2 WUNDERKAMMER DESIGN PIERO LISSONI WUN A WUN B Accessori / Tools...
- Page 3 step 1 step 2 Ripiani / Shelves...
- Page 4 step 2b Step 2B. Nelle vetrine Step 2B. Dans les vitrines Step 2B. In the display Step 2B. Falls die Vitrine Step 2B. En las vitrinas particolarmente larghe, al particulièrement larges, cases particularly wide, besonders breit ist, also particularmente anchas, centro della base si trova au centre de la base il y there is an adjustable pin...
- Page 5 step 3 Brugola n°4 / Hex key n°4 Portare il basamento vicino al luogo di installazione / Move the base near the installation point step 4 Avvitare / Tighten Alto / Top Brugola di bloccaggio / Locking hex key...
- Page 6 step 5 Durante il montaggio, bloccare i vetri al montante di alluminio con del nastro adesivo. / During the assembly, secure the glasses to the aluminum jamb with adhesive tape. step 6 Alto / Top Avvitare / Tighten Brugola di bloccaggio / Locking hex key...
- Page 7 Alto / Top Avvitare / Tighten Brugola di bloccaggio / Locking hex key...
- Page 8 Alto / Top Avvitare / Tighten Brugola di bloccaggio / Locking hex key...
- Page 9 step 7 Alto / Top Vite testa cilindrica M5 / Cylindrical socket head screw M5...
- Page 10 step 8 Brugola n° 3 / Hex key n°3 Vite M5 / Screw M5 step 9...
- Page 11 step 10 Avvitare / Tighten Stringere a rotazione poco per volta le 4 bussole / Tighten a little at a time and in rotation the 4 bushes step 11 Vite M4 / Screw M4 Brugola n° 2.5 / Hex key n°2.5...
- Page 12 step 12 step 13...
- Page 13 step 14 Regolare / Adjust Avvitare / Tighten Brugola n° 3 / Brugola n° 4 / Hex key n°3 Hex key n°4...
- Page 14 step 15 Allentare / Loosen Vite di regolazione Vite [B] / Screw [B] [B] / Adjustment screw [B] Vite di serraggio [A] / Locking screw [A] Vite [A] / Screw [A] Avvitare / Tighten Regolare / Adjust ± 3mm Vite [B] / Screw [B] Vite [B] / Screw [B] Vite [A] / Vite [A] /...
- Page 15 step 16...
- Page 16 step 17...
- Page 17 step 18 Togliere i paraspigoli dai ripiani / Remove the corner bumpers on the edges of the shelves...
- Page 18 ITALIANO fix the doors striker jamb. step 1. Verificare di aver ricevuto 9 colli per la versione B e 7 colli per la step 8. Place the cross beam on the two jambs and fix with flaring screws versione A. Estrarre il top e la base dalla cassa. step 2.
- Page 19 step 17. Positionner l’étagère supérieure en le faisant passer entre les step 3. Para nivelar la base, actuar en los pies por medio de una llave supports d’étagères et le vitre frontale, en le tournant de 180°. hexagonal n°4. Attention: effectuer cette opération en gardant les protections step 4.
- Page 20 Sede, direzione commerciale e showroom: via Cavour, 29 - 20846 Macherio (MB) - I Tel: +39 0392323202 ra Fax: +39 0392323212 E-mail: glas@glasitalia.com - www.glasitalia.com...


Need help?
Do you have a question about the Wunderkammer and is the answer not in the manual?
Questions and answers