Advertisement
Quick Links
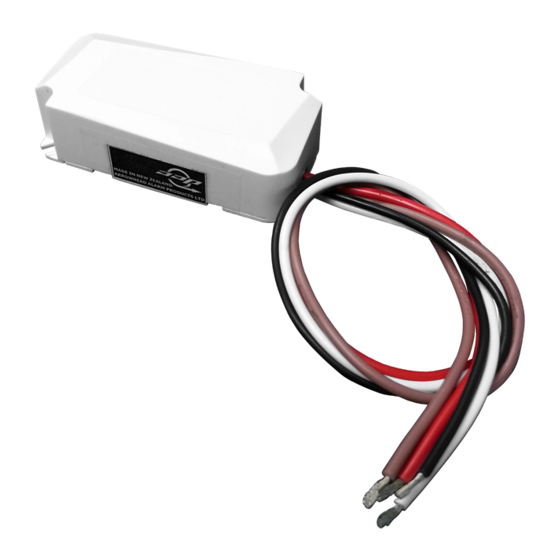
TRX MAINS CONNECTION DIAGRAM
Specifications:
Operating Voltage: 220-240VAC 50Hz
Current Draw: 5mA
Max. Switching Current: 8A Resistive Load, 6A Inductive Load.
Frequency: 917.1 - 921.3 MHz
Connection:
1 = Neutral In
2 = Phase Trigger Input
3 = Phase In
4 = Switched Phase Output, 8Amp Max.
Manufactured by Arrowhead Alarm Products ltd.
344b Rosedale rd, Albany, Auckland, New Zealand
Ph.09-414-0085 www.aap.co.nz
Page 1
Switch
230VAC
10A
LOAD
8A MAX.
Advertisement

Summary of Contents for AAP TRX Mains
- Page 1 TRX MAINS CONNECTION DIAGRAM Switch 230VAC LOAD 8A MAX. Specifications: Operating Voltage: 220-240VAC 50Hz Current Draw: 5mA Max. Switching Current: 8A Resistive Load, 6A Inductive Load. Frequency: 917.1 - 921.3 MHz Connection: 1 = Neutral In 2 = Phase Trigger Input 3 = Phase In 4 = Switched Phase Output, 8Amp Max.
-
Page 2: In Wall Installation
In Wall Installation FLUSH Page 2... - Page 3 Plastic Enclosure Installation Optional Trigger Input Use Electrically Approved Plastic Enclosure Only *Do Not Mount TRX-MAINS in a Metal Enclosure. Suitable Enclosures: TB-AG-1010 (100 x 100mm) TB-AG-1115 (110 x 150mm) Page 3...
- Page 4 Contacts to suit switched load. Mounted inside plastic enclose TB-AG-1115 (110 x 150mm) Optional Override Input Warning: The TRX Mains relay is not suitable for mounting in accessible locations. It must be installed within an enclosure providing suitable insulation, as shown above. Page 4...
- Page 5 2-Way Light Switching Example Existing Wired Solution Switch 1 Switch 2 Neutral Out Phase Out LOAD 8A MAX. Page 5...
- Page 6 1– Safely apply power to the TRX MAINS 2- Point the IR remote at the bottom of the TRX MAINS (see diagram c) and press P then E. The TRX MAINS will start beeping as it searches for a device to pair with.
- Page 7 1– Safely apply power to the TRX MAINS 2- Point the IR remote at the bottom of the TRX MAINS and press P followed by the Output you wish to Map it to (1-8) then E. The TRX MAINS should give a triple beep indicating this was successful.
- Page 8 1– Learn State 1 to the first User slot P 18 E E (when beeping starts flick the switch connected to the TRX Mains On) 2– Learn State 2 to the second User slot. if you have a momentary switch, skip this step and 8 to 11...
-
Page 9: Programming Options
To set a TRX MAINS to Group Mode you must use the IR-Remote-10 1– Safely apply power to the TRX MAINS 2- Point the IR remote at the bottom of the TRX MAINS (see diagram c) and press P, 0 then E. The TRX MAINS will give a triple beep if accepted. - Page 10 8A Max. Optional Override Input Mounted inside plastic enclose TB-AG-1010 (100 x 100mm) Warning: The TRX Mains relay is not suitable for mounting in accessible locations. It must be installed within an enclosure providing suitable insulation, as shown above. Page 10...
-
Page 11: Smart Features
There are 8 different On/Off timers that can be set in the Elite-S series control panel. Before starting the Programming steps below make sure the TRX Mains has been paired to the TRX Transceiver (see page 6) and an Output number has been assigned (see page 7). - Page 12 Install only as per manufactures instructions and/or in recommended enclosure. ARROWHEAD ALARM PRODUCTS Ltd. 344b Rosedale Rd, Albany, Auckland. Ph. 09 414 0085 Fax. 09 414 0088 www.aap.co.nz v1.01 Page 12...