Table of Contents
Advertisement
Quick Links
Advertisement
Table of Contents

Related Manuals for Heatmister DT-ETS WiFi

Summary of Contents for Heatmister DT-ETS WiFi
- Page 1 Model: DT-ETS WiFi Model: DT-ETS WiFi...
-
Page 2: Table Of Contents
Model: DT-ETS WiFi Table Of Contents Locking the Keypad Product Image Table of Contents Temperature Control What is a Room Thermostat? Frost Protection Installation Procedure Heating ON/OFF LCD Display Optional Features Explained 19-20 WiFi Setup 9-11 Adjusting the Optional Settings... -
Page 3: Model: Dt-Ets Wifi
Please read the instructions fully to understand all of the features of this DT-ETS and then turn it up by 1°C each day until you are comfortable with the temperature. You thermostat. won’t have to adjust the thermostat further. WiFi Series Model: DT-ETS WiFi... -
Page 4: Installation Procedure
Terminate the thermostat as shown in the diagrams on pages 25-26 of this booklet. Step 3 Screw the thermostat back plate securely into the back box. Step 4 Clip the front of the thermostat back onto the thermostat back plate. WiFi Series Model: DT-ETS WiFi... -
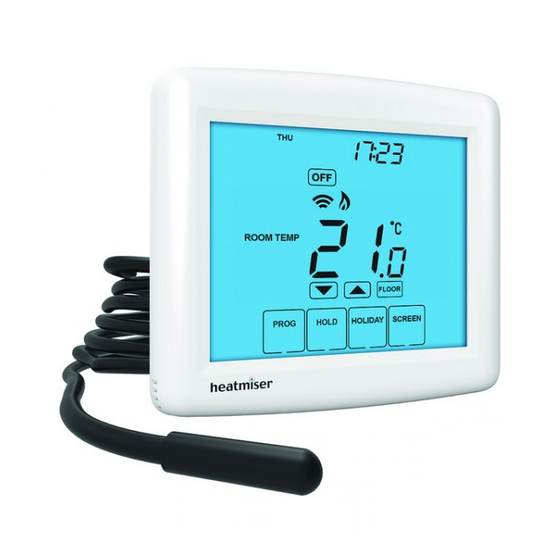
Page 5: Lcd Display
Setup/Programming Keys - Used to navigate setup options. Up/Down Keys - Increase or decrease values shown on bottom digit group. Current Temp - Indicates the current sensor temperature. Units of Temperature - Degrees Celsius or Fahrenheit. WiFi Series Model: DT-ETS WiFi... - Page 6 IP address of the Multi-Link. Log into your wireless router and navigate to the LAN settings page. WiFi Series Model: DT-ETS WiFi...
-
Page 7: Security Types And Compatibility
You will not be able to connect to your thermostat without changing this setting on These restrictions are common to most routers but you should refer to the router G model routers. manual for specific restrictions that apply to your model. WiFi Series Model: DT-ETS WiFi... -
Page 8: Remote Access Via App
We recommend you change these settings to ensure the security of your system. FLOOR button. Pressing this allows you to view the current floor temperature. For further information, click the help link within the browser. Pressing FLOOR again will return the thermostat to the room temperature display. WiFi Series Model: DT-ETS WiFi... -
Page 9: Clean Screen
To activate the lock press the bottom right corner of the display and hold for 10s. • When activated, you will see the Keypad Lock symbol. • To cancel, press the bottom right corner of the display again for 10 secs. Keypad Lock Indicator Set Temperature Set Icon WiFi Series Model: DT-ETS WiFi... -
Page 10: Frost Protection
To cancel the frost protect mode, press the key once. To turn the thermostat back ON, press the ON key once ..........Thermostat completely OFF Thermostat powered ON Frost Protection Mode Enabled *See Feature 3 on page 19 WiFi Series Model: DT-ETS WiFi... -
Page 11: Optional Features Explained
Feature 09 – Floor Limit Temperature: This function allows you to set a maximum floor temperature in order to protect the floor surface from overheating. This function works for Sensor Modes 03 & 04 (see above) The default setting is 28°C. WiFi Series Model: DT-ETS WiFi... -
Page 12: Adjusting The Optional Settings
03 = Floor Sensor and Built in Air Sensor center to adjust the setting ..................04 = Floor Sensor and Remote Air Sensor • Press DONE to confirm settings and exit ............Floor Temperature Limit 20-45 C (28 C = Default) WiFi Series Model: DT-ETS WiFi... -
Page 13: Re-Calibrating The Thermostat
Press the ON key once to turn the thermostat back on ..........• Press the ON key once to turn the thermostat back on ..........All icons displayed simultaneously. Factory reset is complete. Calibration Temperature Setting Set Icon WiFi Series Model: DT-ETS WiFi... - Page 14 Sensor DT-ETS WiFi DT-ETS WiFi DT-ETS WiFi with remote oor and air probes for use in wet areas. DT-ETS WiFi wired with remote oor probe used for normal N.B. The mains supply must be properly protected and fused. ‘dry’ zones or where direct control of the oor is needed.
- Page 15 Heating Professionals: Request a copy of our product installation guide containing detailed technical specifications for our complete product range: www.heatmiser.com/guide Want More Information? Call our support team on: +44 (0)1254 669090 Or view technical specifications directly on our website: www.heatmiser.com Twitter: heatmiseruk Facebook: facebook.com/thermostats WiFi Series...
Need help?
Do you have a question about the DT-ETS WiFi and is the answer not in the manual?
Questions and answers