
Summary of Contents for Brettmeister K3
- Page 1 Manual Brettmeister K3 - English - Firma: Josef Brettmeister - Metall- u. Fahrzeugbau - Dieselstraße 7 - 86556 Kühbach - www.brettmeister.de...
-
Page 3: Table Of Contents
Contents: General safety instructions ......................3 Warning labels and meaning ......................4 Fixing points ............................. 6 Stability ............................7 Overview ............................8 Control elements and its functions ....................10 Normal use in the field ........................18 Mount/unmount the machine ...................... 19 Road drive ............................ -
Page 4: Warning Labels And Meaning
The driver and owner of the product have to confirm that every work with the product is done under highest safety level. They have to be sure that every action is done without risking life or health. You must also follow all instructions of the manufacturer of the tractor. - Page 5 Never go into the area between the machine and tractor. Never go into the belt while the engine of the tractor is running. Read the instruction manual before you use the machine. Never stay in the area of moving parts. Close all doors before using the machine.
-
Page 6: Fixing Points
Never touch into areas with possible moving parts. Close all doors before using the machine. Stay in enough distance to the machine. Danger from moving or rotating parts. Danger from hot parts. Fixing points... -
Page 7: Stability
All fixing points are market with the label you see in the picture above. Stability Max. 10 degree or 20%... -
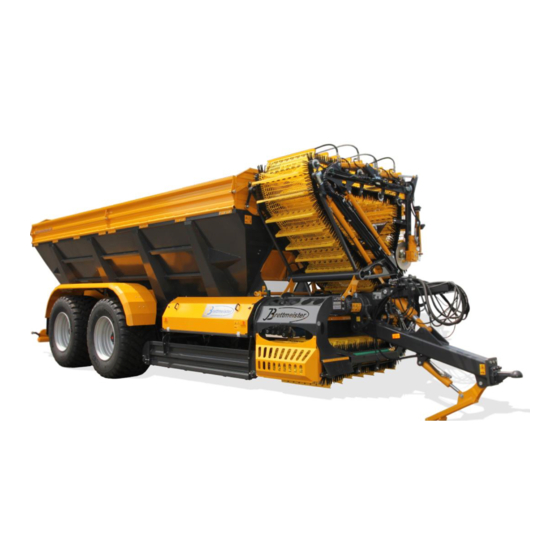
Page 8: Overview
Overview... -
Page 10: Control Elements And Its Functions
Control elements and its functions Mount the Terminal with suitable brackets in the cabin of the tractor. - Page 11 Emergency stop Joystick for first and second hinge of the belt Button to change the functions of the Buttons 4-7 Function button 4 Function button 5 Function button 6 Function button 7 Start and stop all loading functions (bunker belt, cleaner and overloading belt) Hinge 3 up (10)
- Page 12 Working page If you push the button (3) the functions of button 4-7 will be changed. You can see the function in the pictures above the buttons.
- Page 13 Picture a): (4) open sidewall (5) close sidewall (6) close front door (or backdoor if bunker belt direction is backwards) (7) open front door (or backdoor if bunker belt direction is backwards) Picture b): (4) belt roof open (5) belt roof close (6) set cleaner to 100% while pushing the button (7) unload the dirt reservoir Picture c):...
- Page 14 Speed settings To change the speed values of the bunker belt, cleaning unit or the overload belt, simply touch the value bar (20). If the frame of the value bar get orange, you can change the value with the dial (15). The speed of the function changes immediately.
- Page 15 Servicemenü With the 3 buttons in the upper right corner of the display, you can change the working direction or the X and Y axle of the joystick. The machine have a build in overload protection of the belt. You can see the belt pressure under the icon 34.
- Page 16 Memory function If you push the touch button “19” the additional window (picture above) is shown. With a push on the save button you can safe the current belt position for the button “X” or “O”. The window closes automatically. If the Window does not close, something went wrong. You can close the window without saving with the “check”...
- Page 17 Park breaks The parking breaks are fastening when you turn the crank clockwise. Don´t drive while the breaks are fastened.
-
Page 18: Normal Use In The Field
Normal use in the field Danger! While the engine of the tractor is running it is forbidden to stay in the area (3) and (2) you see in section “danger areas” Keep the stability in mind. Don´t drive longer distances while the belt is not in park position. -
Page 19: Mount/Unmount The Machine
Mount/unmount the machine Danger! It is forbidden to stay in the area between the machine and the tractor while mount/unmount the machine on the tractor. Fasten the parking breaks. Mount a chock. Open the trailer hitch. Support the drawbar with the support piston. -
Page 20: Road Drive
Road drive Danger! It is forbidden to stay in the danger area! Move the belt in the park position. Close the sidewall Turn off the PTO and hydraulic supply Push the emergency stop button Clean the machine... -
Page 21: Maintenance/Cleaning
10. Maintenance/cleaning Danger! Move the belt before maintenance to the park position. Before season: Change all gearbox oils (SAE 90) (see S. 22). Check wear parts. Grease all grease nipples. Check tire pressure. While season: Clean the cooler. ... - Page 22 Do not clean the electrical connections wit high pressure. Note the sharp edges and corners. Handling with oil Do not drink the oil! Danger! Also in off position, high pressures ale possible! Check bevor working that the system isn´t under high pressure! ...
-
Page 23: Danger Areas
11. Danger areas Area 1: You can stay in the green are while the machine is in off position. Area 2: You can stay in the orange area while the emergency stop button is pushed. Area 3: You can stay in the red area while the belt is in park position and the engine of the tractor is off. -
Page 24: Fillings
12. Fillings Gearbox Quantity Change intervall Bunker belt 1,7 l GL-5 SAE90 every 500 h Overload belt 0,6 l GL-5 SAE90 every 500 h Dirt reservoir 0,6 l GL-5 SAE90 every 500 h 13. Fuses Sicherung Funktion Größe Main hinge of the belt, hinge 3, angle 7,5 A sensors, drawbar Hyd. -
Page 25: Errors
14. Errors Error Possible cause One or more Fuse is broken, the LED near Replace the fuse functions don’t the fuse shines red work Broken wires (the connectors Repair or replace the on the valves do not light up wire for 1 sec. -
Page 26: Wiring Diagrams
15. Wiring diagrams... -
Page 28: Safety Sheets
16. Safety sheets Die EG-Sicherheitsdatenblätter erhalten Sie unter: www.baywa.de/services/sicherheitsdatenblaetter/ Geben Sie hierzu im Feld „BayWa-Artikelnummer“ die entsprechende Artikelnummer ein und klicken aus „Weiter“ und anschließend auf „Download“. Gefahrenstoff Artikelnummer TECTROL MULTIGEAR HYP 90 (Getriebeöl) 1058218 TECTROL HLP 46 (Hydrauliköl) 1058083... -
Page 29: Letter Of Conformity
17. Letter of conformity... -
Page 30: Notes
18. Notes...
Need help?
Do you have a question about the K3 and is the answer not in the manual?
Questions and answers