Table of Contents
Advertisement
Quick Links
Studiospares 16U Equipment Rack - Assembly Instructions
Included items: -
Assembly: -
Step 1
Step 2
Step 3
Take the two outer frames and arrange the
placement so the outer face (larger holes) is
on the outside and then the inner face
(smaller holes) is on the inside of the
placement.
Take one of the screws included with the support poles
and insert into the large outer face hole.
Align the screw and support pole.
Advertisement
Table of Contents

Summary of Contents for STUDIOSPARES 401241
- Page 1 Studiospares 16U Equipment Rack - Assembly Instructions Included items: - Assembly: - Step 1 Take the two outer frames and arrange the placement so the outer face (larger holes) is on the outside and then the inner face (smaller holes) is on the inside of the placement.
- Page 2 Step 4 Screw the screw into the support pole until firmly in place. Step 5 Repeat the process until all four support poles are attached as seen in the photo. Step 6 Remove any remaining screws from the support poles before the next stage of attaching the second outer frame.
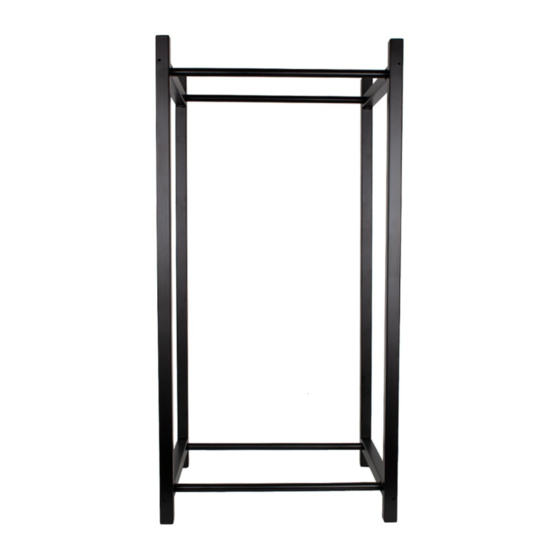
- Page 3 Step 8 Screw the screws into the support pole again until firmly in place, like in Step 4. Step 9 Once completed the Studiospares 16U Equipment Rack should look like the following.
Need help?
Do you have a question about the 401241 and is the answer not in the manual?
Questions and answers