Advertisement
Table of Contents
- 1 Component Checklist
- 2 1A for Wooden Ceiling Mounting
- 3 1B for Solid Brick and Concrete Ceiling
- 4 2. Installing the VESA Plate
- 5 3. Hooking the TV Onto the Ceiling Mount
- 6 4. Installing the Decorative Covers and Running the Cables
- 7 5. Placing the IR Receiver
- 8 6. Remote Control Operating Instructions
- Download this manual
WWW.TECHNICONTACT.COM
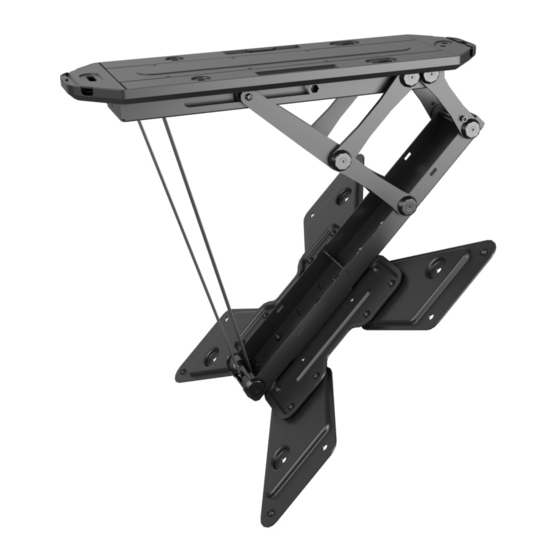
Motorized TV Ceiling Mount with Remote Control
Support de plafond motorisé avec contrôle à distance
BPL-41M
INSTALLATION MANUAL
CAUTION: DO NOT EXCEED RATED LISTED WEIGHT.
SERIOUS INJURY OR PROPERTY DAMAGE MAY
OCCUR.
ATTENTION: N'EXCÉDEZ PAS LA CAPACITÉ EN POIDS
INDIQUÉE POUR CE SUPPORT. DES BLESSURES OU
DOMMAGES POURRAIENT EN RÉSULTER.
200x200
55"
300x300
400x200
MAX
400x400
30k g
( 66lbs )
R AT E D
Advertisement
Table of Contents

Related Manuals for AMX BPL-41M

Summary of Contents for AMX BPL-41M
- Page 1 CAUTION: DO NOT EXCEED RATED LISTED WEIGHT. SERIOUS INJURY OR PROPERTY DAMAGE MAY OCCUR. ATTENTION: N’EXCÉDEZ PAS LA CAPACITÉ EN POIDS INDIQUÉE POUR CE SUPPORT. DES BLESSURES OU DOMMAGES POURRAIENT EN RÉSULTER. 200x200 BPL-41M 55" 300x300 30k g 400x200 ( 66lbs ) 400x400 R AT E D WWW.TECHNICONTACT.COM...
- Page 2 N O T E : Read the entire instruction manual before you start installation and assembly. Component Checklist | Vérification des pièces Important: Ensure that you have received all parts according to the component’s checklist prior to WARNING installation. If any parts are missing or faulty contact your local dealer for a replacement. •...
- Page 3 1A For Wooden Ceiling Mounting | Pour montage sur poutres de bois. 55mm 55mm (2.2") (2.2”) ø 4.5mm (ø 3/16”) Hang the ceiling mount so that the screws fit into the keyhole openings. Slide slightly the ceiling mount into place and then tighten the screws.
- Page 4 1B For Solid Brick and Concrete Ceiling | Fixation sur la brique ou bloc de ciment 60mm 60mm (2.4") (2.4") ø 10mm (ø 3/8") Hang the ceiling mount so that the screws fit into the keyhole openings. Slide slightly the ceiling mount into place and then tighten the screws.
- Page 5 2-2 For Recessed Back Screens or to access A/V Inputs 2. Installing the VESA Plate | Installation de la plaque VESA. Pour écran encastré ou pour accéder aux entrées A/V 2-1 For Flat Back Screens | Pour écran à dos plat...
- Page 6 4. Installing the decorative covers and running the cables 3. Hooking the TV onto the Ceiling Mount | Installation du téléviseur sur le support. Installation des couvercles décoratifs et l’installation du câblage. ≥15mm Avoid having any cables through the mount motion space Évitez d’avoir des câbles qui peuvent interférer lors du mouvement du support.
- Page 7 5. Placing the IR Receiver | Installation du capteur IR sur le support Buttons function instructions | Fonction des boutons IN button, upward movement Vers le haut OUT button, downward movement Vers le bas Stop button Arrêt Memory button1.Press and hold for 5 seconds, the buzzer will sound twice beep beep, The memory is saved as location 1.
Need help?
Do you have a question about the BPL-41M and is the answer not in the manual?
Questions and answers