
Summary of Contents for Evonicfires E-Tab
- Page 1 E-Smart Cloud Pairing Instructions Applicable with all E-smart & Legacy products...
- Page 2 E-Tab Controller: PLEASE NOTE: Once fully charged, the battery life of the E-tab control system is roughly 24 hours. Volume control Power Button—Press and hold for 3 seconds to turn ON/OFF USB charging point Plug socket USB connection lead...
- Page 3 The e-smart cloud app can be used with both smart phone and tablet devices. Utilising the e-smart cloud app will allow complete controllability of your Evonic product. To download the Evonic e-smart cloud app please follow the below steps. Access either the Apple app store or Google play, this is depending on the operating system of your smart phone or tablet.
- Page 4 Connecting a device to an Evonic product: Fig 1. Fig 2. Fig 3. 3. Once your appliance has been installed and turned on, go to the wi-fi settings on your device and select the fire. This will connect your device to the fire. Fig 1. 4.
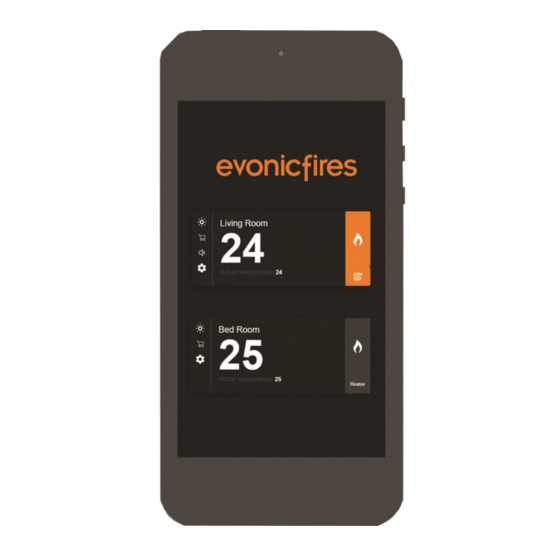
- Page 5 Selecting your fire: Once your product is paired, open the app. The above screen will appear with your fire shown. Single press Kalmar. Please note: It may take a few minutes for your fire to appear on the screen. Single press the flame icon to turn on the lights. Single press the heater button to turn on the heater...
- Page 6 App Control Overview: A). Target Temperature—This displays the desired room temperature. B). Temperature Control— Temperature adjustor. Press, hold and rotate to adjust. C). Animation setting— Displays selected animation. Single press arrow to reveal drop-down menu. D). Side Lights— Single press to turn on side lights. E).
-
Page 7: Setting Timer
Setting timer: 1. Select the ‘clock’ icon to open up the main timer setting screen. - Page 8 2. Single press the Time box to open up your clock settings. 3. Then select a command for your fire to complete at the selected time. Single press the ‘Fire ON’ box to display a drop down menu. 4. Then select the desired day of the week you would like the command to be set for.
- Page 9 5. The following screen will then appear with your set timer. You can choose to delete it using the ‘Bin’ icon.
-
Page 10: Your Account
Signing in and out of your account To sign into your e-smart cloud account (fig 1), simply enter the details used during the initial setup process. To sign out of your account or switch accounts, click the ‘log out’ icon in the top right hand corner. - Page 11 Pairing with Alexa: Once you fire is installed and fully functioning, download the Amazon Alexa app. Configure your echo with the Amazon app by adding device. On the home screen, you will see a menu icon in the top left hand side.
- Page 12 Alexa Commands: Please note: For the purposes of instruction we are referring to your appliance as ‘fire’. You will need to refer to whatever name has been designated on your e- smart app. This may be the model of the fire, or you may have changed name of your fire.
-
Page 13: Problem Solving
Please follow the below steps. Force close the app by pressing the square at the bottom of your phone/e-tab. Then attempt to re-launch the app. Ensure that the rocker switch is in the ON position, and re-scan for the product.
Need help?
Do you have a question about the E-Tab and is the answer not in the manual?
Questions and answers