
Summary of Contents for Arjohuntleigh FREEDOM BATH
- Page 1 FREEDOM BATH ASSEMBLY AND INSTALLATION INSTRUCTIONS 06.AF.02_5GB • December 2011 ...with people in mind...
- Page 2 © ARJO Hospital Equipment AB 2007. ARJO products are patented or patent pending. Patent information is available by contacting ARJO Hospital Equipment AB. Our policy is one of continous development, and we therefore reserve the right to make technical alterations without notice. The content of this publication may not be copied either whole or in part without the consent of ARJO Hospital Equipment AB.
-
Page 3: Table Of Contents
Contents Safety Precautions............. 4 Measurements and Weights ..........5 Unpacking and Assembly ..........6 Water Installation............10 Electrical Installation ............14 Drain Installation ............16 Tile-in Kit ............... 18 Commissioning ............... 19... -
Page 4: Safety Precautions
Safety Precautions Definitions in this manual Make sure that the assembly is carried out: • • so the product is in accordance with the data label. WARNING! 230/240V - 50Hz MAX 800 VA Meaning: IP X4 Safety warning. Failure to understand and obey this TYPE warning may result in injury to you or to others. -
Page 5: Measurements And Weights
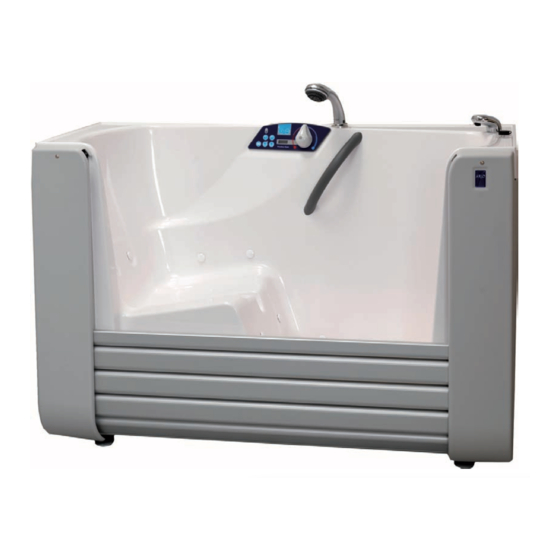
Still bath 152 kg (335 lb) 142 kg (313 lb) Air spa 162 kg (357 lb) 152 kg (335 lb) The Freedom Bath is delivered in box 1 Box 2 contains installation kit Freedom Bath • Measurements: 59 1/2" Length... -
Page 6: Unpacking And Assembly
Floor attachments 1 Drainage pump with accessories The sliding rails provided in the installation kit have to be used when installing Freedom Bath. The floor AFA0025: construction must be suitable for anchoring the bolts. 2 water hoses 2400mm (94 4/8”) - Page 7 Figure 1. Floor attachment kit 3/8" hexagonal screw Sliding track Optional spacer Concrete anchor Drilled hole in flooring Template Figure 2. Sliding tracks mounted in alcove layout 6 2/8" 47" 6 2/8" 158 mm 1194 mm 158 mm Figure 3. Available kits (for special installations) Kit AFA0090 Kit AFA0025 Kit AFA0045...
- Page 8 Positioning of Freedom Bath Place Freedom Bath into final position. By moving Freedom Bath only use the on the illustration marked areas. (See figure 1.) Do not lift, push, shove or pull the Freedom Bath outside the shown areas. •...
- Page 9 Figure 1. Moving Freedom Bath Figure 2. Remove transport protection Figure 3. Remove service cover Transport protection Power box...
-
Page 10: Water Installation
Connect water hoses to the water inlets for hot and cold water in the floor. Push the Freedom Bath halfway into the alcove and connect the other ends of the water hoses to the hot/cold water inlets on the tub. - Page 11 ARJO recommended water supply - floor 2 3/8" 60 mm Cover Locking plate...
- Page 12 Water connections in wall (left side of tub) • Connections are not possible when the tub is placed in an alcove, due to stubs-out prevent from pushing the tub in place. Maximum 2 3/8" 60 mm Water connection on left side from wall: cut an opening in the service cover WALL 90°...
- Page 13 Water connections on right hand side. Use kit AFA0025 2 3/8" 60 mm Prior to installation of right hand side water connection, mount holders under the rear side of each sliding track. If needed, compensate the level by adding adjustment spacer(s) at front ends of the sliding tracks.
-
Page 14: Electrical Installation
Electrical Installation • First check that the electrical supply corresponds with the information on the data label. • The unit must be permanently installed. • The unit must be continuously powered. The unit shall be electrically connected with the following equipment (not included in delivery): •... - Page 15 1265 49 3/4" Warning! - moving parts in this area Field wiring box Place no cables or connections (US) under the tub Equapotential bonding connection...
-
Page 16: Drain Installation
Drain Installation Connections must be done in accordance with local regulations. The Freedom Bath waste plumbing is shipped partially assembled to permit the installer options in assembly sequence. Drain installation alternatives ARJO recommends a floor sink drain. (See figure 1.) Direct drain connection with stub up due to local regulations. - Page 17 Direct drain connection with stub-up DRAIN STUB-UP 1 1/2" (DN 40) max. 4" (100 mm) 2 3/8" 60 mm Drain connection on right hand side with stub-up. Use kit AFA0045 2 3/8" 60 mm Prior to installation of right hand side drain connection, mount holders under the rear side of each sliding track.
-
Page 18: Tile-In Kit
Tile-in Kit When a water protection is wanted between tub rim and wall the optional tile-in kit should be used. The tile-in kit consists of three flexible seals of equal length, each 63” (160 cm), that can be placed between tub and wall. -
Page 19: Commissioning
Commissioning Check list to be included in your local Fasten the two stop screws A+B installation procedures (Reference Operating and Turn the knob clockwise to cold and then back to Product Care Instructions) maximum heat. • Raise the door, seal the drain and door Check that the thermometer still shows 42°C . - Page 20 Momentarily press DOOR UP. Check the door lock The door should move smoothly to the position of With the right cover removed, run the door to top tub inner bottom (the seal should not be seen). position. Observe from the side of the tub, the posi- tion of the door lock in relation to the door profile.
- Page 21 GR-16121 KAISARIANI ATTIKIS ÖSTERREICH Τηλ: 21 0724 36 68 POLSKA ArjoHuntleigh GmbH Φάξ: 21 0721 55 53 ArjoHuntleigh Polska Sp. z o.o. Dörrstrasse 85 ul. Ks Piotra Wawrzyniaka 2 AT-6020 INNSBRUCK ESPAÑA PL 62-052 KOMORNIKI (Poznan) Tel: +43 (0) 512 204 160 0 ArjoHuntleigh Ibérica S.L.
- Page 22 GETINGE GROUP is a leading global provider of products and systems that contribute to quality enhancement and cost efficiency within healthcare and life sciences. We operate under the three brands of ArjoHuntleigh, GETINGE and MAQUET. ArjoHuntleigh focuses on patient mobility and wound management solutions.
Need help?
Do you have a question about the FREEDOM BATH and is the answer not in the manual?
Questions and answers