Advertisement
Quick Links
Advertisement

Summary of Contents for Nathan AP Pro
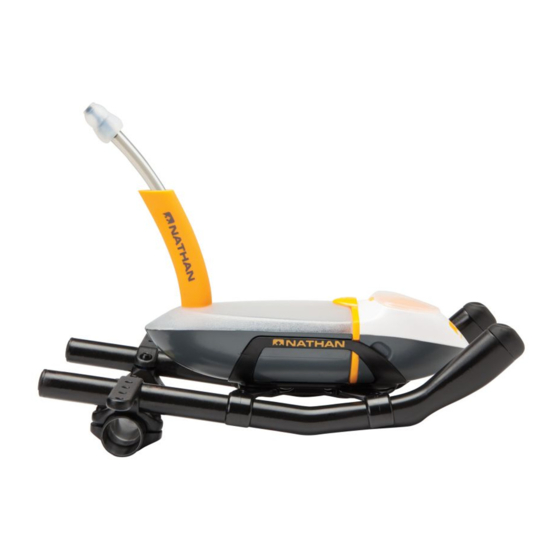
- Page 1 AP Pro AerobAr HydrAtion SyStem Assembly and Setup Guide...
-
Page 2: Removal From Packaging
STEP 1 REMOVAL FROM PACKAGING First, remove the AP Pro from its box. Carefully pull the tray out of the box and set the parts pack to the side. - Page 3 STEP 1 REMOVAL FROM PACKAGING From the front of the bottle, place your thumbs in the small depressions on either side of the bottle. Pull outwards on the cage allowing some space between the cage arms and the bottle. This will allow you to pop the bottle up and out of the cage with your fingers and lift it freely.
- Page 4 STEP 1 REMOVAL FROM PACKAGING Set the bottle aside. Flip the tray over and untwist the ties holding the cage in place. Pull the ties free and remove the cage from the tray.
- Page 5 STEP 2 SETTING UP THE STRAW MAST ON THE BOTTLE Remove the straw mast and straw from the parts pack. Take the straw mast, pinch the base, and slide the pointed end in the port on the bottle. Push the front lip in and twist to seat the straw mast in place.
- Page 6 STEP 2 SETTING UP THE STRAW MAST ON THE BOTTLE Next, remove the nose of the bottle by unscrewing the bottle. Wet the straw and slide it through the straw mast.
- Page 7 STEP 2 SETTING UP THE STRAW MAST ON THE BOTTLE Use something long like a screwdriver to assist in guiding the straw into proper placement along the bottom of the bottle while feeding it through with your other hand. Screw the bottle back together and set the bottle aside.
- Page 8 STEP 3 MOUNTING THE CAGE TO THE AEROBARS PRESS HERE Next we’ll mount the cage to the aerobars. Be sure to do this with the cage only, without the bottle attached. Position the cage on the bars and starting with one of the front clips, gently press the clip down while holding on to the articulating arm with your other hand.
- Page 9 STEP 4 PLACING THE BOTTLE IN THE CAGE To place the bottle in the cage, align the recessed areas on the bottom and sides of the bottle with the corresponding base mount and side arms on the cage. PRESS DOWN GENTLY and the bottle should eas- ily snap into place.
- Page 10 STEP 5 REMOVAL OF BOTTLE FROM CAGE To remove the bottle for cleaning and transportation, use the same process as when you removed it from the cage when unboxing. Place your thumbs in the depressions, pull the side arms apart, and lift the bottle free. DO NOT PULL UP ON THE BOTTLE without first releasing the cage sidewalls.
- Page 11 STEP 6 REMOVAL OF CAGE FROM AEROBARS FOR TRANSPORT To remove the cage from your aerobars, first remove the bottle from the cage so that only the cage is sitting on the aerobar setup. Next, gently pull up on each of the individual cage clips until all 4 clips have popped free from the aerobars.