Table of Contents
Advertisement
Quick Links
Advertisement
Table of Contents

Subscribe to Our Youtube Channel
Summary of Contents for Scrigno WINDSOR
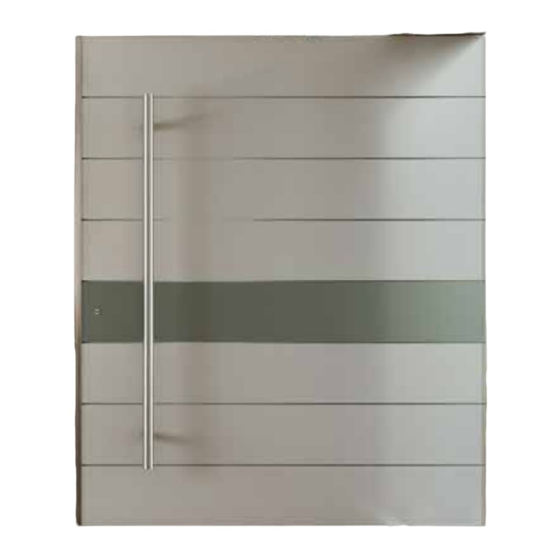
- Page 1 ASSEMBLY INSTRUCTIONS W I N D S O R SECURITY DOORS...
-
Page 2: Technical Specifications
WINDSOR Dear client, Thank you for purchasing a Scrigno security door. Please follow the instructions given below to install your new security door. TECHNICAL SPECIFICATIONS: Electro-galvanised 12/10 steel body; 20/10 thermally insulated press-folded frame with non-polluting polyester powder paint for improved resistance to scratching and the weather. 20/10 manganese anti- drill plate to protect the lock, external anti-tube and anti-drill protection for European cylinder with unbreakable reinforcing flange to protect the mounting equipment. - Page 3 WINDSOR PORTA MODELLO BILIKO 1.2 POS Senza ri del telai FASE 1: INSTALLAZIONE TELAIO ISTRUZIONI DI MONTAGGIO PER PORTE MODELLO BILIKO Fissare, cilindric NOTE GENERALI 1.1 CONTROLLO DIMENSIONALE PREVENTIVO predispo - Eseguire le operazioni di disimballaggio della porta/e con massima attenzione per evitare di rovinare il prodotto;...
- Page 4 WINDSOR PORTA MODELLO BILIKO PORTA MODELLO BILIKO 1.2 POSA DEL TELAIO 1.2 POSA DEL TELAIO Senza rimuovere i distanziali avvitati ai cavallotti, procedere alla posa Senza rimuovere i distanziali avvitati ai cavallotti, procedere alla posa del telaio. del telaio. PORTA MODELLO BILIKO PORTA MODELLO BILIKO 1.2 POSA DEL TELAIO...
-
Page 5: Installation
WINDSOR STEP 2. INSTALLING THE PANELS Install the panels to the frame on the side with the double-sided tape. FASE 2: MONTAGGIO DEI CARTER FASE 2: MONTAGGIO DEI CARTER tizio tizio Check that the distance between the panels matches the... - Page 6 WINDSOR FASE 3: PREDISPOSIZIONE BOCCOLA INFERIORE FASE 3: PREDISPOSIZIONE BOCCOLA INFERIORE FASE 4: CONTROLLO DIMENSIONALE DELL’ANTA FASE 4: CONTROLLO DIMENSIONALE DELL’ANTA Effettuare un controllo dimensionale prima di installare l’anta. Effettuare un controllo dimensionale prima di installare l’anta. In corrispondenza della boccola saldata al telaio scendere lungo la verticale e...
- Page 7 WINDSOR FASE 5: INSERIMENTO ANTA NEL TELAIO FASE 5: INSERIMENTO ANTA NEL TELAIO 5.3 INSTALLAZIONE DELL’ANTA 5.3 INSTALLAZIONE DELL’ANTA Gli spinotti delle cerniere sono allentati e non fuoriescono dall’anta per Gli spinotti delle cerniere sono allentati e non fuoriescono dall’anta per 5.1 RIMOZIONE PANNELLO INTERNO...
- Page 8 WINDSOR FASE 6: CONTROLLO POSIZIONAMENTO ANTA FASE 6: CONTROLLO POSIZIONAMENTO ANTA 6.2 CONTROLLO ADERENZA E PERPENDICOLARITA’ 6.2 CONTROLLO ADERENZA E PERPENDICOLARITA’ Verificare che i pannelli siano complanari al telaio o alle mostrine. Verificare che i pannelli siano complanari al telaio o alle mostrine.
-
Page 9: Step 8. Fitting The Accessories
WINDSOR FASE 6.4 CONTROLLO FINALE DELL’INSTALLAZIONE DELL’ANTA FASE 8: INS 6.4 CONTROLLO FINALE DELL’INSTALLAZIONE DELL’ANTA -Se la Chiudere l’anta dare tutte le mandate e verificare che non ci siano vibrazioni. -Se la porta ha Chiudere l’anta dare tutte le mandate e verificare che non ci siano vibrazioni. - Page 10 [fig.24] Per accedere ai fissaggi dei cilindri, bisognerà smon WINDSOR SOGLI finitura interna del cilindro e rimuovere la sottoplac La sog La s Svitare le due viti del fissaggio a culla con un chiavi i profil...
- Page 11 WINDSOR REGOLAZIONE CERNIERA BILIKO Regolazione si ADJUSTING THE WINDSOR HINGES COMPONENTI CERNIERA BILIKO: Hinge components: M8 STUD REGOLAZIONE CERNIERA BILIKO Regolazione sinistra: M22 NUT COMPONENTI CERNIERA BILIKO: M4 CAPTIVE BOLT M10 STUD WASHER (Ø10.1 mm ID) M8 STUD TOP PART BOTTOM PART...
-
Page 12: Vertical Adjustment
WINDSOR 2 VERTICAL ADJUSTMENT The adjustment for a door with brush must leave a clear- ance between the door and frame of at least 2 mm, and for 2) REGOLAZIONE IN ALTEZZA: 2) REGOLAZIONE IN ALTEZZA: a door with threshold, at least 11 mm. - Page 13 WINDSOR 3 FORWARDS/BACKWARDS ADJUSTMENT The hinge adjustment values shown in the figure are limits. Make sure not to exceed these limits. 3) REGOLAZIONE IN PROFONDITA’: I valori di movimento della cerniera indicati nelle immagini sono valori limite. Fermarsi, quindi, al valore opportuno compreso nel range di valori consentiti.
- Page 16 WINDSOR www.scrigno.it...
Need help?
Do you have a question about the WINDSOR and is the answer not in the manual?
Questions and answers