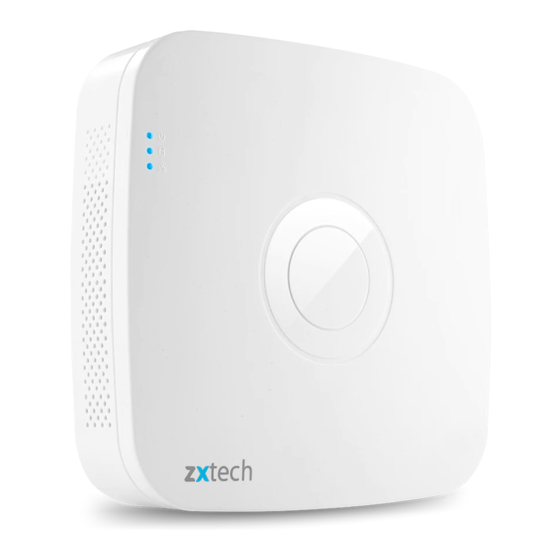
Summary of Contents for Zxtech Mini DVR & IP Camera
- Page 1 User Manual Zxtech Mini DVR & IP Camera User Manual Copyright: Domarsolutions Ltd...
-
Page 2: Table Of Contents
User Manual Chapter 1: Easy Start Get Started Login Credentials Power Adaptor Search Tool (Most Important Software for Configuration) Connect to the Network Adding Cameras to Your NVR Configure Network See it on Your PC Access Remotely on Web See on your phone Note Chapter 2: Advanced Setup (Static IP) Step 1: Determine Your Network Details... -
Page 3: Chapter 1: Easy Start
User Manual Chapter 1: Easy Start Get Started • It is important that you test everything before you install it on the wall as installation may create physical damage. Physical damage and scratches may void your warranties. • Do not try to restore to factory setting as it may cause information lost. •... -
Page 4: See It On Your Pc
User Manual If the search tool didn’t find anything, you might have a more complicated network setup and will need to seek more advise. You can also call your internet service provideR to help you configure the network for you. See it on Your PC •... -
Page 5: Chapter 2: Advanced Setup (Static Ip)
User Manual Chapter 2: Advanced Setup (Static IP) This section is going to explain things in depth. You need to follow the procedure tightly. If you don’t want to learn this and just want some help. We offer a £29.99 service which our technician will do all this for you. -
Page 6: Step 3: Change Your Computer To The Same Network As Your Camera
User Manual Click on search. Your camera should show up on the list. Click on it. If the camera have DHCP ticked, go straight to Step 4. If DHCP is not ticked, Writer down the IP address, Subnet Mask and Default Gateway, DNS. and go to Step 3 Step 3: Change Your Computer to the Same Network as Your Camera... -
Page 7: Step 5: Repeat For Each Ip Camera
User Manual If the DHCP is tick, you need to uptick. Change Subnet Mask, Default Gateway to the same figure you find on Step 1, but address you need to change the last digital to avoid conflict, for example, if your Step 1’s ip address is 192.168.1.2, you need to change it to 192.168.1.5 or anything else). -
Page 8: Chapter 3: Recording Configuration
User Manual Chapter 3: Recording Configuration Motion Detection (NVR) To enable motion detection on a NVR you need to: 5. Go to Main Menu > Sys Setup > Motion Detection. 6. Channel No. You can select All for all channels, or select the specific channel you want to configure. 7. -
Page 9: Chapter 4: Email Alert Configuration
User Manual Chapter 4: Email Alert Configuration Common SMTP Details Please visit follwing site for detailed SMTP details including gmail, hotmail, yahoo and so on. https://goo.gl/g5NSnq Setup Motion Email Alert on NVR Go to Main Menu > Sys Setup > Network > Email Setup Put in correct SMTP details. -
Page 10: Chapter 5: Faq
User Manual Chapter 5: FAQ 1. What is the Mobile App I should use? FREEIP in app store and android 2. Change Display Resolution When you connect your NVR to a TV or a monitor. You might want to increase the display resolution. The NVR does not come with the highest or lowest resolution setting, The reason is that many household have old TVs or low-res display. - Page 11 User Manual 12. Why some of the channels doesn’t show preview on TV monitor? You need to check the stream setting on your NVR. Go to Main menu > Remote device, click on the pen icon of the channel that does not show the live view, you need to change the stream to sub instead of main. Then the live view should come back.
-
Page 12: Chapter 6: Plug Things Together
User Manual Chapter 6: Plug Things Together Copyright: Domarsolutions Ltd... -
Page 13: Chapter 7: Enable Dhcp
User Manual Chapter 7: Enable DHCP You equipment should come with DHCP enabled, if for any reason it is not enabled, you can follow this chapter to enable DHCP. Enable DHCP for NVR Enable DHCP for NVR is more straight forward. If you have already connect your NVR to a TV or monitor. You can login and go to: Main Menu >... - Page 14 User Manual 6. Connect the One Camera to your Windows PC. 7. Get the IP search tool from: http://www.domarsolutions.co.uk/download/Searcher.rar 8. Install and Launch IP searcher tool 1. Click on Search 2. When the camera load on the screen, check the IP address, it should be 192.168.1.168 for camera, and 192.168.1.88 for NVR 3.
- Page 15 User Manual 9. Now unplug the camera and plug another camera on, and do the same routine to other camera and NVR. Step 3: Change the PC setting back once all camera and NVR is configured Now you need to change the PC back to normal setting, if you don’t do this, your PC may not be able to access internet again.
-
Page 16: Chapter 8: Mobile App User Guide
User Manual Chapter 8: Mobile App User Guide Get the App You can download the app from App store or android shop. Once You laugh the app, it will tell you to registers. You need to register with your mailbox. After registration, you can login. Add Device Once you have logged in you will see 4 icons on the bottom. -
Page 17: Chapter9: Arrange Remote Setup Session
User Manual Chapter9: Arrange Remote Setup Session Step 1: Please Connect a laptop or a PC to your Network, and you need to it connected to the network BOTH wired and wirelessly. Basically, you need to use the wireless network, and also plug a ethernet cable to your router at the same time.
