Table of Contents
Advertisement
Quick Links
Advertisement
Table of Contents

Related Manuals for Cardinal Ventilation CV–XLP Series

Summary of Contents for Cardinal Ventilation CV–XLP Series
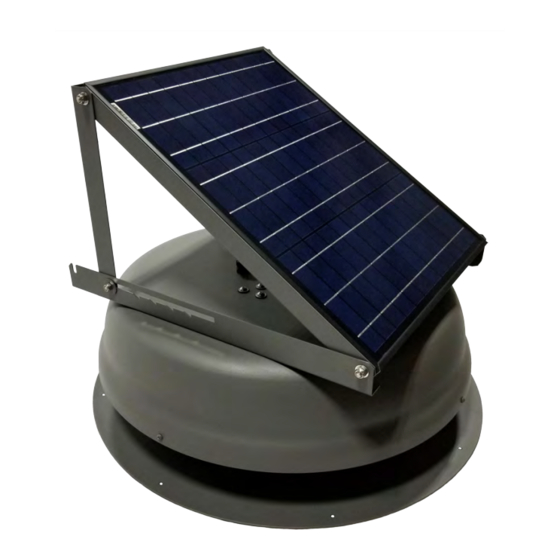
- Page 1 ® Installation Guide CV–XLP CV–XLP PRO model series fans ATTENTION: PLEASE READ THROUGH THIS ENTIRE INSTRUCTION GUIDE BEFORE PROCEEDING WITH YOUR INSTALLATION. MAKE SURE YOU HAVE THE REQUIRED TOOLS AND MATERIALS TO COMPLETE THE INSTALLATION OF YOUR SOLAR ATTIC FAN BEFORE BEGINNING.
- Page 2 Getting Started Your SolarPRO™ solar attic fan is designed for easy installation with composite shingle roofs or other low-profile roofing materials which may accommodate self-flashing roofing products. For installation of your SolarPRO™ fan, weatherproof roof caulking and self-tapping mounting screws are included with your product. SolarPRO™...
- Page 3 Installing the Fan Step 1 - Cut the Hole After choosing the location where your solar attic fan will be installed, find the closest rafter to that location and determine if your roof has either 16" on center or 24" on center rafter spacing. If your roof has 24"...
- Page 4 Warranty Registration Cardinal Ventilation offers an industry leading 25-year standard parts warranty on your new SolarPRO™ solar attic fan. For more information about the terms and conditions of our warranty, please see our website for details. YOUR WARRANTY MUST BE REGISTERED WITHIN 90 DAYS OF INSTALLATION.
Need help?
Do you have a question about the CV–XLP Series and is the answer not in the manual?
Questions and answers
Does it have a ON/OFF switch ??