Advertisement
Quick Links
Advertisement

Summary of Contents for Charnwood TH160-01
- Page 1 F I R E B A L L F I R E B A L L...
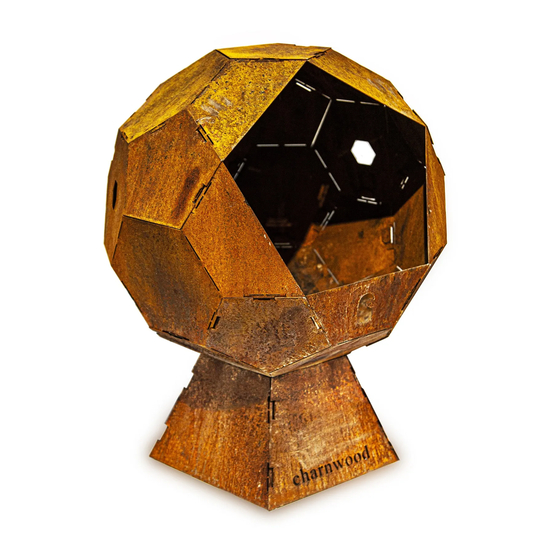
- Page 2 FIREBALL USE / SAFETY The product must be placed on a non-combustible surface and away from combustible objects. This product is only designed to burn wood. The wood / ash level should not reach higher than the three air holes. The product is made from mild steel and is 100% recyclable.
- Page 3 PREPARATION 2. Take part TH160~01 and fold all the narrow tabs up at an angle of 90° and all the wide tabs up at an angle of 140°. Please note that these angles are only approximate. Before assembly check that you have the 11 flat parts as illustrated below. Note the orientation of the logo It is recommended that you have a flat non-marking surface to work on when assembling the firepit.
- Page 4 4. Take part TH160~02. Fold up and lock together in the same way as part TH160~01. 5. Take Part TH160~03 (There are two of this part and both should be folded the same). Fold up and lock together in the same way as part TH160~01. Note position of cut outs Note position of cut out...
- Page 5 6. Take Part TH160~04. Fold up and lock together in the same way as part TH160~01. 7. Take part TH160~01 and TH160~02 and attach them together as shown in the illustration using the tabs. Bend small tabs fully over to lock in position Note position of cut out Note orientation of logo Note position of cut outs...
- Page 6 8. Assemble the remaining three parts in the same way as illustrated in the previous step until 9. To complete the dome, take part TH160~05 and assemble in position shown. Some adjustment the dome is formed. of the tabs may be necessary to fit this part. Pre-bend tabs slightly before fitting Bend small tabs fully over...
-
Page 7: Assembling The Stand
TH160~06 2. Take part TH160~07 and bend small side tabs up at approximately 90° and large side tabs up at approximately 120°. Make sure that the ‘Charnwood’ name cut is orientated as shown in the images below. 3. Fold up the tabs on parts TH160~06 (four parts). Make sure these are folded in the same way as part TH160~07 so that they will fit together correctly.
