Table of Contents
Advertisement
Quick Links
Advertisement
Table of Contents

Subscribe to Our Youtube Channel
Related Manuals for HTI HT-501

Summary of Contents for HTI HT-501
- Page 1 Carbon dioxide detector Instruction Manual HT-501 www.hytechcn.com.cn...
-
Page 2: Table Of Contents
able of content Product introduction- ------------------------------1 Considerations -------------------------------------1 Key function ----------------------------------------2 Display description --------------------------------3 Use of the product --------------------------------5 Carbon dioxide grading guidance -------------7 Product parameters -------------------------------8 Software installation -----------------------------9 Software application- - ----------------------------12 www.hytechcn.com.cn 1... -
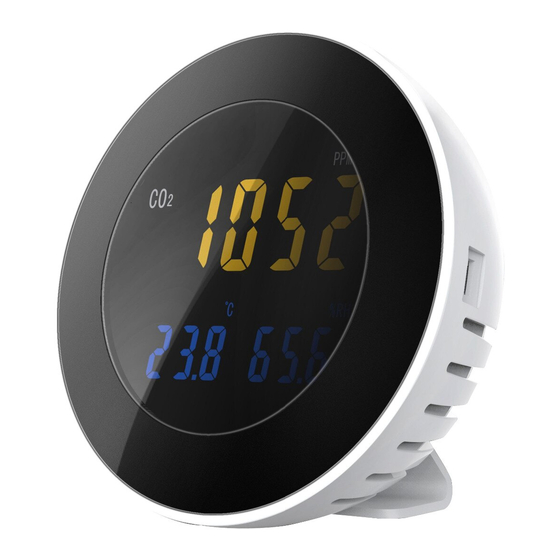
Page 3: Product Introduction
Product introduction abrasive agents or corrosive liquid for cleaning to avoid damage to the instrument. This product is a type of multiple-function tester for testing 4. Don’t dismantle or remodel the product without permission. carbon dioxide concentration, temperature and humidity and is widely used for environmental quality detection in industrial Key function production, hotels and department stores, offices and meeting... -
Page 4: Display Description
DAY: day Key: 1. At the display state of main interface, open 1 MIN: minute or close CO2 concentration alarm; 2. when setting SEC: seconds the function, move leftwards to change the item. REC: record starts MON-DAY Key: when setting is made for the product, move MIN-SEC rightwards to change the item. -
Page 5: Use Of The Product
Use of the product *The factory default carbon dioxide concentration alarm value is 2000PPM. 1. Power on *To check the time, it is necessary to hold down “MODE” key Press the power key to power on. The instrument begins to enter the setting function. preheating. -
Page 6: Carbon Dioxide Grading Guidance
Carbon dioxide grading guidance Product parameters Non mandatory reference grading Power supply: 3.7V lithium battery a) 250-350ppm---general outdoor air level; Record mode: manual measurement, immediate measurement b) 350-1,000ppm---the typical value for resident Record storage: 12700 space with good ventilation; Response time: 1 second c) 1,000-2,000ppm---the air grade insufficient oxygen, Carbon dioxide measurement scope: 0~9999PPM sleepy, it is enough to cause complaint. -
Page 7: Software Installation
Software installation Next, we may select the installation location by with use of “Browse” to install the software to your desired location as Open the CD ROM, Select “Setup" file to install as shown in shown in the figure below: the figure blow: We will enter the installation page. -
Page 8: Software Application
Software application 1.Connect/disconnect We use data transmission line to connect the computer and the instrument. Click connection. Appearance with the following prompt indicates successful connection. Click to disconnect. 2. Adjust the clock Is it troublesome to set the time on the instrument? After connecting with the computer, we can carry out adjustment only by clicking “Set Time”. - Page 9 We see that “REC” on the display screen flashes (the flashing frequency is the same as record interval), indicating that measurement of the instrument is carried out with record 3. Method Ⅰ for recording and receiving data synchronously. The data obtained through record can only Ensure to click “set param”...
- Page 10 After completion of saving, the data can be checked, as is 4. Method Ⅱ for recording and receiving data shown in the figure: We need to go out for measurement at many occasions. It is very troublesome to connect with a computer at the site. At such condition, we only need to use manual measurement and take back the recorded data that will be check after connection with a computer as shown in the figure below:...
- Page 11 The parameter setting is the same as mentioned above. The difference is that we will select manual measurement. After completion of the setting, exit and plug off the data line and take the instrument to the destination. Press “REC” key on the instrument to begin recording the data.
Need help?
Do you have a question about the HT-501 and is the answer not in the manual?
Questions and answers