Table of Contents
Advertisement
Quick Links
QUICK START GUIDE
What You Get
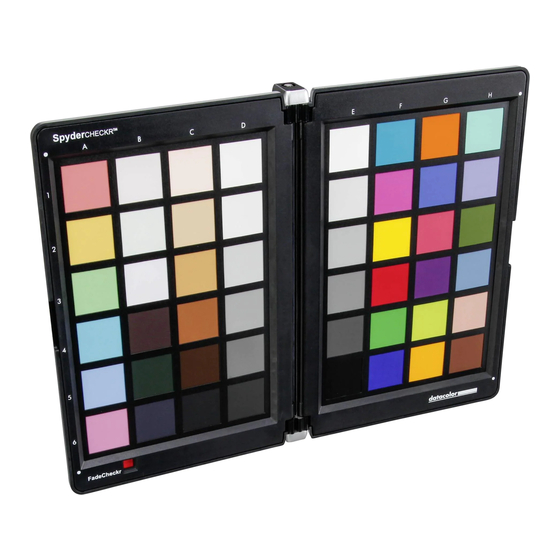
• Spyder
®
CHECKR Case
• SpyderCHECKR Target Color Cards
• Serial Number
• Welcome Card – Including warranty information and download instructions
System Requirements
• Windows 7 32/64, Windows 8.0, 8.1 32/64, 10 32/64
• Mac OS X 10.7 or higher
• Monitor Resolution 1280x768 or greater, 16-bit video card (24 recommended),
1GB of available RAM, 500MB of available hard disk space.
• Internet connection for software download
Support
support.datacolor.com
Advertisement
Table of Contents

Summary of Contents for Datacolor SpyderCHECKR
- Page 1 QUICK START GUIDE What You Get • Spyder ® CHECKR Case • SpyderCHECKR Target Color Cards • Serial Number • Welcome Card – Including warranty information and download instructions System Requirements • Windows 7 32/64, Windows 8.0, 8.1 32/64, 10 32/64 •...
- Page 2 Step 1 – Take Photos Take at least one photo in RAW format including the SpyderCHECKR. It can be held, placed, or mounted on a tripod. It is important that the target be lit evenly, ideally from each side at 45 degree angles.
- Page 3 Install the SpyderCHECKR software from the Datacolor Website. After the installation is complete, launch the SpyderCHECKR software to begin the activation and registration process. This will automatically start your Warranty. Use the Serial Number included in your SpyderCHECKR package to activate your software.
- Page 4 Step 3 – Calibrate Monitor Make sure your monitor is calibrated. Using your Spyder5 colorimeter, perform an initial calibration, or recalibration if you haven’t calibrated your monitor within the last 4 weeks.
- Page 5 Step 4 – Adjust in Editing Software Upload the image file onto your computer and open it in Adobe Lightroom, Adobe Photoshop, or Hasselblad Phocus. It is recommended to have your histogram visible during editing for reference.
- Page 6 1. Straighten, fix distortion, and crop the target image. 2. Using the second lightest gray patch (E2) on the gray ramp, white balance the image using your application’s White Balance tool. 3. Adjust the white patch (E1) to an RGB value that averages RGB: 230 or 90%.
- Page 7 To use directly from Phocus, export the target image as a 16-Bit .tiff file then choose “SpyderCHECKR” as the export destination. Launch the SpyderCHECKR software and open the target image. Adjust the patch indicators as needed until the patch grid aligns as close to the center of each patch of the SpyderCHECKR image as possible.
- Page 8 SpyderCHECKR chart. For example, if you calibrate a Nikon D810 with an 85mm lens for Portrait Mode with the 48 patch SpyderCHECKR, a file name such as “D810_85_portrait_48” would be optimal.)
Need help?
Do you have a question about the SpyderCHECKR and is the answer not in the manual?
Questions and answers