Table of Contents
Advertisement
Quick Links
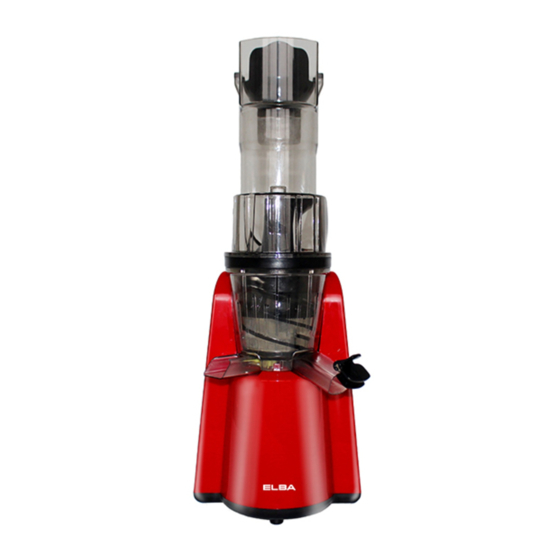
SLOW JUICER
MODEL: ESJ-K6015(RD)
Owner's Manual
Please read this manual carefully before
operating your set.
Retain it for future reference.
Record model number and serial number of
the set.
See the label attached on the set and quote
this information to your dealer when you
require service.
For The Warranty Terms & Conditions, Please Refer To Warranty Certificate.
Advertisement
Table of Contents

Summary of Contents for Elba ESJ-K6015(RD)
- Page 1 SLOW JUICER MODEL: ESJ-K6015(RD) Owner’s Manual Please read this manual carefully before operating your set. Retain it for future reference. Record model number and serial number of the set. See the label attached on the set and quote this information to your dealer when you require service.
-
Page 2: Important Safeguards
5 minutes, switch off the appliance and let it cool down before you operate it again. 8. Never use any accessories or parts from other manufacturers or that ELBA does not specifically recommended. 9. Always make sure all the part is properly closed/ assembled on the base unit before you switch on the appliance. -
Page 3: Product Description
PRODUCT DESCRIPTION Pusher Top Cover Squeezing Screw Unit Squeezing Screw Juice Push Pad- Install inside if the juice pulp separator Stainless Steel Filter Juice Pulp Separator Lead Proof Ring- Installed inside of the drum Drum (for pulp outlet and juice outlet) 10. -
Page 4: Before First Use
BEFORE FIRST USE Carefully wipe the exterior of the body unit and clean all the part before start using the appliance. Dry with towel. Do not use harsh abrasive cleaners. Wash all the accessories with soapy water, dry with a dry towel. Do not immerse the supply cord or body unit in water or other liquids. -
Page 5: Operating The Juicer
OPERATING THE JUICER 1. Before start operating the appliance kindly ensures that lead proof ring and juice push pad is assembled and fit to position, as it will affect to the working process of juice leaking. 2. Assembly all the accessories of the appliance. Put juice cup under juice outlet and put pulp cup under pulp outlet. -
Page 6: Cleaning And Maintainance
CLEANING AND MAINTAINANCE 1. Press to stop button and unplug the power plug from the wall outlet. 2. Always only wipe the main body and do not wash with water. 3. Wash removable parts in warm, soapy water the rinse and dry all parts. Caution: To prevent damage to the appliance do not use harsh solvents, alkaline cleaning agents, abrasive cleaners or souring agents of any kind when cleaning. -
Page 7: Troubleshooting Methods
8. Leak proof ring cleaning method. Along the direction of the arrow by take out the ring from the hole of the drum. Wipe away the water and the narrow side of the ring embedded to the drum. Note: The juice cap or sealing parts should be put back to its original position. In order to avoid juice leaking or faulty function) Leak Proof Ring Hole of the Drum... - Page 8 Possibility of Troubleshooting methods fault Noise in operation According to different ingredients there are much voice will come. The leakage come the gap between Did the leak proof ring correct assembly? Please install correctly. the drum and the main body The drum and main body are in separate, it may produce slight shaking because Is the drum or main of switching the power supply switch etc.
Need help?
Do you have a question about the ESJ-K6015(RD) and is the answer not in the manual?
Questions and answers