Advertisement
Advertisement
Table of Contents

Summary of Contents for Fitness Doctor Titan
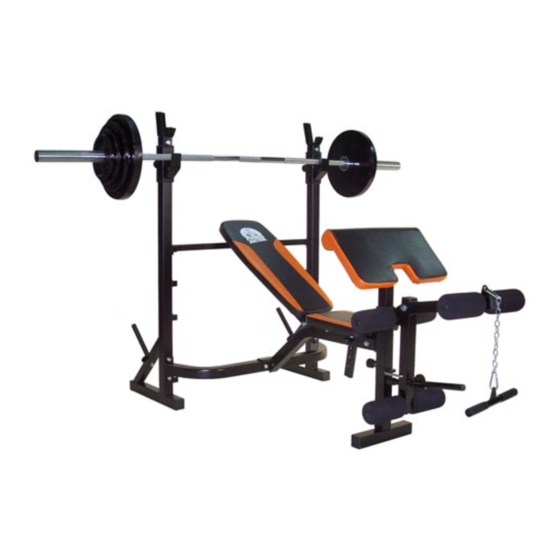
- Page 1 power bench MANUAL INSTRUCTION...
-
Page 2: Table Of Contents
Contents 1. Summary of Parts Page 2 2. Important Recommendations and Safety Information Page 3 3. Parts List Page 4 - 5 4. Assembly Instructions With Exploded Diagrams Page 6 - 8 5. Training Instructions Page 9... -
Page 3: Summary Of Parts
27 3 3 20... -
Page 4: Important Recommendations And Safety Information
Safety Information Important Recommendations and Safety Information Before you use our productions,you must observe the following basic points: 1. Assemble the equipment according to the assembly instructions and only use the individual parts enclosed for assembly of the equipment and which are listed in the parts list as being specifi cally for this equipment. Beforeyou start assembly, check against the delivery to make sure that everything has been delivered, and check against the packing list to make sure all the parts have been enclosed. -
Page 5: Parts List
Parts List PART NO. DESCRIPTION DIMENSIONS(mm) Q'TY MAIN FRAME FRONT BASE BACK CONNECT FRAME BACK RIGHT STAND FRAME BACK LEFT STAND FRAME LEG EXTENSION CLAPPER ADJUST FRAME TOP CLAPPER FRAME BACK SEAT ADJUST FRAME PAD HOLDER CLAPPER FRAME CURL BAR ELBOW MAT FRAME FRONT STAND FRAME SEAT ASSEMBLY UNIT... - Page 6 Parts List PART NO. DESCRIPTION DIMENSIONS(mm) Q'TY HANDLE PIPE ROUND END CAP Ø25.4mm SQUARE END CAP 30mm ROUND END PLUG 25mm SQUARE END CAP 50mm MID-EMPTY PLUG 60-50mm SQUARE END CAP 25mm HEX BOLT M8*15mm CHAIN HOOK CHAIN HEX BOLT M12*75mm HEX BOLT M8*40mm...
-
Page 7: Assembly Instructions With Exploded Diagrams
Assembly Instructions Before beginning assembly, be sure to observe our recommendations and safety instructions. Several items are pre-assembled. Step 1:Connecting the back right stand frame (D) and the back right stand frame (E) to the back connect frame (C) with the hex bolts M10x70mm (16), the washers M10 (25) and the nylon nuts M10 (24). - Page 8 Assembly Instructions Step 7:Insert the elbow mat frame (M) to the front stand frame (N),then screw the elbow(T) to the elbow mat frame (M)with the hex bolt M8x15(10) and the washer M8 (26). Step 8:Connect the leg extension (F)to the front stand frame (N) with the hex bolt M12x75 (13) , the washer M12 (27) and the nylon nut M12 (28).
- Page 9 Assembly Instructions Step 11: Connect the back seat frame (P), the seat assembly unit (O) and the seat adjust assembly unit (Q) to the main frame(A) with the hex bolt M10x175 (19),the washer M10 (25) and the nylon nut M10 (24). Step 12: Installation of the seat (R) on the seat assembly unit (O) with the hex bolt M8x40 (15) and the washer M8 (26).
-
Page 10: Training Instructions
Training Instructions Training instructions You must consider the following factors in determining the amount of training effort required in order to attain tangible physical and health benefits: 1. Intensity: The level of physical exertion in training must exceed the level of normal exertion without reaching the point of breathlessness and / or exhaustion.
Need help?
Do you have a question about the Titan and is the answer not in the manual?
Questions and answers