Advertisement
Quick Links
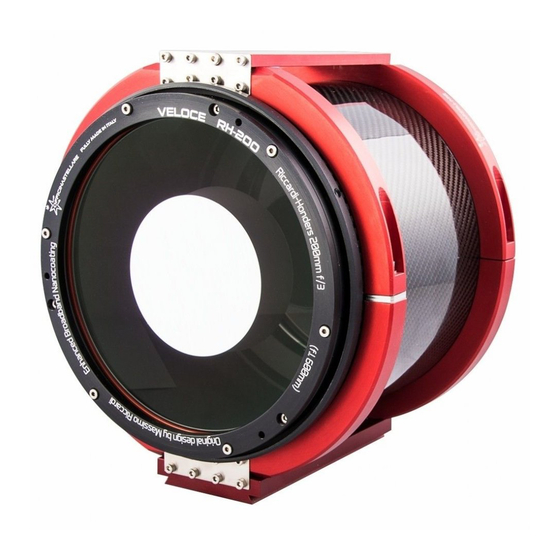
Thanks for purchasing our RH200, simply the best astrograph on the market!
As with any professional instrument, it needs a proper adjustment to be used.
In this manual you will learn how to adjust the:
-
Primary mirror (Mangin)
-
Front lens
-
Tip tilt
VERY IMPORTANT: normally, only primary mirror collimation is required. If you are not satisfied with your
result, please contact Officina Stellare or your Dealer to get further assistance before making any further
adjustments. An improper adjustment of the front lens or tip tilt will cause a dramatic telescope's
performance degradation vs. bad collimation.
PRIMARY MIRROR (MANGIN) COLLIMATION
The first step is to collimate the telescope, as you would do with any other scope using a mirror to collect
and focus light. The RH200 is equipped with 3 screws on the backplate to adjust collimation. This is
analogous to an SCT, Newtonian, or RC in that you use the 3 regulation screws to center the secondary
mirror shadow. Stars must be extra focal and always in the center. You should always make very small
adjustments of a 4
FROM
Using the 3 regulations screw on the backplate
Collimation
screw
RH200 AT and MARK II AT COLLIMATION
MANGIN, FRONT LENS AND TIP TILT
a turn or less.
th
TO
Collimation
screw
Collimation
screw
Advertisement

Related Manuals for Officina Stellare RH200

Summary of Contents for Officina Stellare RH200
- Page 1 The first step is to collimate the telescope, as you would do with any other scope using a mirror to collect and focus light. The RH200 is equipped with 3 screws on the backplate to adjust collimation. This is analogous to an SCT, Newtonian, or RC in that you use the 3 regulation screws to center the secondary mirror shadow.
- Page 2 Now you have the telescope collimated, it’s time to take some images to check the rest of the system. You need to take one image at focus and another just a little bit out of focus. FRONT LENS ADJUSTMENT Now look at the out of focus image. If the stars appear deformed then there is too much stress on front lens from mechanics.
- Page 3 1) Unscrew about ¼ or ½ a turn the following screws indicated from the blue arrow: These screws will reduce tension on the front lens from the front ring (the one with writings). 2) Take another image of the same star. If the shape is more round, but still not perfect, you can try another ½...
- Page 4 Pull screw Push screw Push screw Pull screw Pull screw Push screw Under the pull screws (blue arrow) there are cup springs to keep collimation. If these screws are/or become too tight, you need to unscrew them. Start by unscrewing all pull screws 1 turn. This will reduce compression on the front lens cell from the cup springs.
- Page 5 If you have any questions about collimating your RH200, always contact Officina Stellare or your Dealer to get the proper assistance: this is a professional instrument and very sensitive!
- Page 6 Your RH200AT is equipped with a mechanical zero position under the tip tilt plate. You can loosen or tighten the pull screws to reach the good tip tilt regulation. If you want to start over, simply tighten the pull screws, until the mechanical zero under the backplate touches the telescope’s backplate. At this point the screw will no longer tighten.
- Page 7 Engraved scale #2, same as for Pivot locking screw. Do not loosen it. Now it’s time to start having fun! If you have questions please contact Officina Stellare or your dealer and we all will be glad to assist you with your new OS telescope!
Need help?
Do you have a question about the RH200 and is the answer not in the manual?
Questions and answers