Advertisement
Quick Links
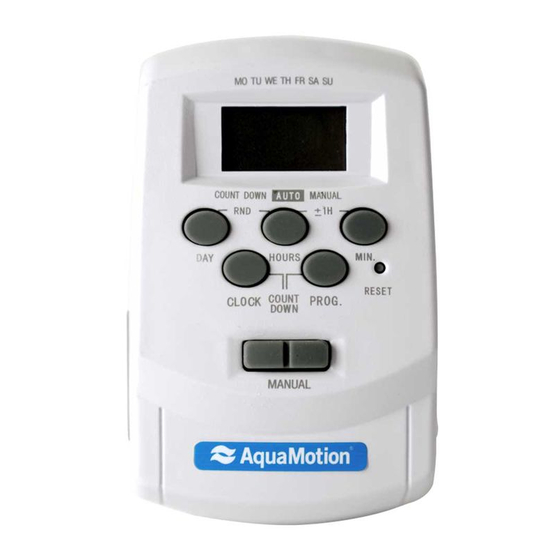
Before using your timer, please read the following instructions carefully.
FEATURES
Up to 8 On and OFF switches a day/56 ON and OFF
switches per week.
Option to program individual days or 8 different
weekday groups.
Minimum switching period one minute.
Summer time/Winter time changeover.
Easy to read LCD display.
Random automatic ON/OFF security features
Countdown feature.
Manual override button
Rechargeable Battery back-up. (If there is no LCD
display, plug the timer into a socket and switch on, this
will re-charge the battery)
IMPORTANT:
Before programming press the reset
button firmly until the display reads 12:00.
SETTING THE TIME
Press and hold the CLOCK key. With this key held
pressed, the DAY key can be used to select the correct
day, the HOURS key to select the correct hour and the
MIN key to select the correct minutes. When the MIN
key is released the time will be set with the seconds
starting from 0. Either holding down or repeatedly
pressing the appropriate button can advance the days,
hours and minutes. Do not set ON and OFF for the same
time.
PROGRAMMING OF SWITCHING TIMES
Your Auto Time Switch has the capacity for 8 ON/OFF
switches. By using the blocks of days available you can
save program capacity. The blocks of days are:
1. Mon, Tues, Wed, Thurs, Fri, Sat, Sun
2. Individual days of the week.
88C Jefferson Blvd, Warwick, RI 02888 ● 401-785-3000 ●Fax: 401-785-3033 ● info@aquamotionhvac.com
Instruction Sheet
Instructions for Setup of the AMK-T
Effective: 9/5/14
Supersedes: New
IS-AM09-607
3. Mon, Tues, Wed, Thurs, Fri
4. Sat, Sun
5. Mon, Tues, Wed, Thurs, Fri, Sat
6. Mon, Wed, Fri
7. Tues, Thurs, Sat
8. Mon, Tues, Wed
9. Thurs, Fri, Sat
For each ON time and each OFF time the days, hours and
minutes must be set.
Press the PROG. key once to set the first ON time – you
will see "on" and the number "1" appear on the left of
the LCD display. This indicates that you can now enter
the first ON time. Press the DAY button to choose the
required day or block of days, and then set the hour and
minutes using the HOURS and MIN buttons.
When you have completed setting the required ON time
press the PROG. button to validate the entry and move
onto the first OFF time – you will see "OFF" and the
number "1" appear on the left of the LCD display. This
indicates that you can now enter the first OFF time by
using the DAY, HOURS and MIN buttons as above. Press
the PROG button to validate this entry.
Repeat for the remaining 7 ON/OFF setting as required.
When you have set the required ON/OFF settings, press
the CLOCK button to return the display to the clock. The
time will now be ready to operate. You can check the
settings you have programmed by pressing the PROG
button repeatedly – each setting will appear on the
screen.
COUNT DOWN FEATURE
To enter into Count Down feature, press CLOCK and
PROG buttons simultaneously. Using the HOURS and MIN
buttons set the count down time. (The maximum
selection is 9 hours and 59 minutes and the minimum is 1
minute.) Press the MANUAL button to start the
Advertisement

Subscribe to Our Youtube Channel
Summary of Contents for AQUAMOTION AMK-T
- Page 1 Effective: 9/5/14 Supersedes: New IS-AM09-607 Instruction Sheet Instructions for Setup of the AMK-T Before using your timer, please read the following instructions carefully. FEATURES 3. Mon, Tues, Wed, Thurs, Fri Up to 8 On and OFF switches a day/56 ON and OFF 4.
- Page 2 countdown. The output will turn on until the end of the countdown. You can pause the countdown anytime during the period by pressing the MANUAL button. To re- start press the MANUAL button again. To review the time during the countdown period, press and hold the CLOCK button, release the button to return to the countdown display.
Need help?
Do you have a question about the AMK-T and is the answer not in the manual?
Questions and answers