Advertisement
Table of Contents
- 1 Instructions for Replacing the Thermo/Hygro Sensor
- 2 Tools
- 3 Method
- 4 Step 1: Dismount the WH24 Sensor Array and Remove the Batteries
- 5 Step 3: Open up the Casing of the Sensor Array
- 6 Step 5: Disconnect the Cable (Marked J5) from the PCB
- 7 Step 6: Gently Pull out the Whole Thermo/Hygro Sensor
- Download this manual
Instructions for Replacing the Thermo/Hygro Sensor
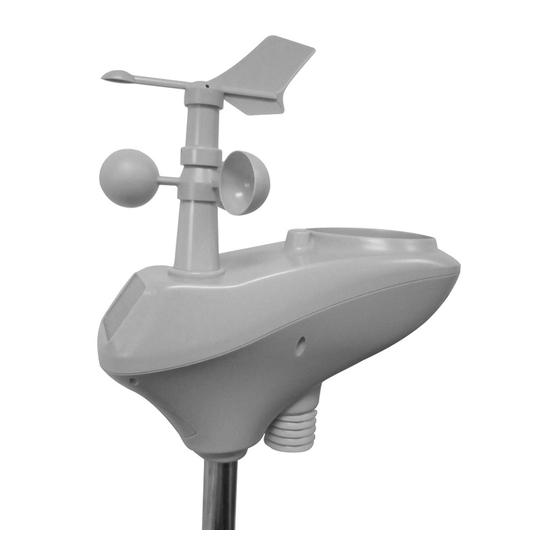
Outdoor Sensor Array (WH24) for Weather Ranger and Weather Sleuth Stations
Tools
1x 80mm Phillips screwdriver
1x 60mm Phillips screwdriver
Method
Step 1: Dismount the WH24 sensor array and remove the batteries
Step 2: Unscrew the two long screws from the base of the solar shield (See Figure 1)
Figure 1: Removing the solar shield
Advertisement
Table of Contents

Related Manuals for Aercus WH24

Summary of Contents for Aercus WH24
- Page 1 Instructions for Replacing the Thermo/Hygro Sensor Outdoor Sensor Array (WH24) for Weather Ranger and Weather Sleuth Stations Tools 1x 80mm Phillips screwdriver 1x 60mm Phillips screwdriver Method Step 1: Dismount the WH24 sensor array and remove the batteries Step 2: Unscrew the two long screws from the base of the solar shield (See Figure 1)
- Page 2 Step 3: Open up the casing of the sensor array by unscrewing the six screws placed around the sensor (See Figure 2) as shown. Carefully open the casing. Figure 2: Opening the casing Step 4: Unscrew the four screws that connect the circuit board cover to the inside of base of the casing.
- Page 3 Step 5: Disconnect the cable (marked J5) from the PCB (circuit board) as shown in Figure 3. If you trace this cable from the hole leading to the solar shield, to confirm you are disconnecting the correct cable Figure 3: Removing the signal cable from the PCB Step 6: Gently pull out the whole Thermo/Hygro sensor, taking care to feed the cable through and cable routing or ties.
Need help?
Do you have a question about the WH24 and is the answer not in the manual?
Questions and answers