Advertisement
Quick Links
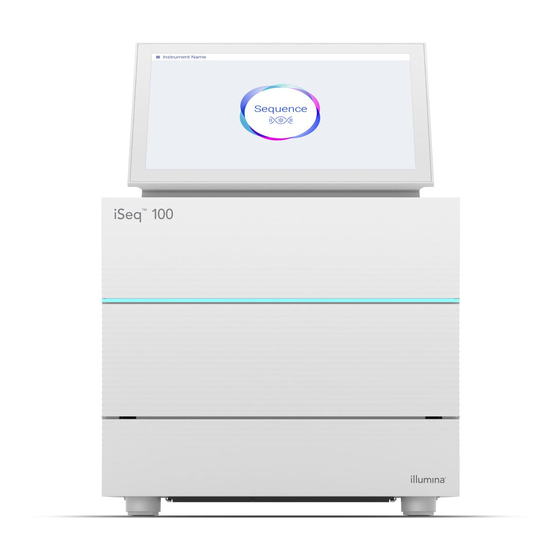
iSeq 100
Sequencing System
Setup Poster
This poster describes how to install
and set up the iSeq
TM
100 Sequencing
System.
For additional documentation,
training, safety information, and other
resources, visit:
support.illumina.com/iSeq100
4
Turn Toggle Switch and Press Power Button
a
b
a
Turn the toggle switch on the back of the instrument to the power on (I) position.
When the power button on the left side of the instrument pulses, press it to turn on the control
b
computer and operating system.
For Research Use Only. Not for use in diagnostic procedures.
© 2020 Illumina, Inc. All rights reserved. All trademarks are the property of Illumina, Inc. or their respective owners. For specific trademark information, see www.illumina.com/company/legal.html.
1
Confirm Box Contents
iSEQ 100
REUSABLE
TEST FLOW
CELL
iSEQ 100
SPARE DRIP
TRAY PAD
ETHERNET CABLE
POWER CORD*
Set aside the reusable test flow cell and cartridge for first time setup (step
6) and any future troubleshooting.
Store the reusable test flow cell and cartridge, spare drip tray pad, and
spare air filter in the original packaging at room temperature.
*Plug configuration might vary.
2
Place on Lab Bench and Raise Monitor
iSEQ 100 REUSABLE TEST
CARTRIDGE
iSEQ 100 SPARE
AIR FILTER
The brown shipping box weighs 21 kg (47 lbs), and the instrument
weighs 16 kg (35 lbs). Both require a two-person lift.
Place the instrument on a level lab bench (see pictured minimum
clearances) with access to a power outlet. Lift the monitor from the top
of the instrument so that it stands upright.
5
Reset Both Default Passwords
Record the default password for sbsadmin that is displayed
a
on the orange screen. Log on with the default password, reset
the default password (minimum 10 characters), and continue to
follow the prompts.
Record the default password for sbsuser that is displayed
b
on the blue screen. Select the sbsuser account from the left
corner, and then log on with the default password. The status
bar glows green and the Setup screen appears.
3
a
b
6
Perform First Time Setup
Select Setup and follow the onscreen prompts to
perform a system check and configure the system.
For the system check, insert the reusable test flow
cell into the slot on the front of the reusable test
cartridge until it clicks. Make sure that the labels
face up.
After use, store at room temperature in the original
iSEQ 100 REUSABLE TEST FLOW CELL
packaging.
AND CARTRIDGE
Warnings
To prevent electrical shock do not remove
the outer panels from the instrument.
There are no user serviceable components
inside.
Visually inspect the power cord. The power
cord must be in good working condition
when using this device.
Telephone (Outside North America):
Only when the system is unplugged from
AC mains is all hazardous energy removed
from the system.
Connect the System
a
b
To configure the iSeq 100 System for a
wired network connection, connect the
Ethernet cable to an Ethernet port.
Connect the power cord to the AC power
inlet on the rear panel, and then to a wall
outlet. An electrical ground is required.
For technical assistance, contact
Illumina Technical Support.
Website: www.illumina.com
Email: techsupport@illumina.com
Telephone (North America):
+1.800.809.4566
+1.858.202.4566
Document # 1000000035963 v05
Material # 20024018
Advertisement

Related Manuals for illumina iSeq 100


Summary of Contents for illumina iSeq 100
- Page 1 For Research Use Only. Not for use in diagnostic procedures. Document # 1000000035963 v05 © 2020 Illumina, Inc. All rights reserved. All trademarks are the property of Illumina, Inc. or their respective owners. For specific trademark information, see www.illumina.com/company/legal.html. Material # 20024018...
- Page 2 For Research Use Only. Not for use in diagnostic procedures.
Need help?
Do you have a question about the iSeq 100 and is the answer not in the manual?
Questions and answers
Quand vous passez la cartouche de contrôle et que le thermal ne réponds pas qu,est-ce que vous faites ?
If the thermal test does not respond when using the control cartridge on the Illumina iSeq 100, follow these steps:
1. Perform another system check using a different reusable test cartridge and reusable test flow cell, if possible.
2. Make the system check results available to Illumina Technical Support.
3. If Technical Support cannot resolve the issue remotely, a return will be initiated and a replacement system ordered.
This answer is automatically generated