Advertisement
Calisto
P240
Quick Setup Guide
®
™
Welcome:
Using a Plantronics Calisto handset for PC
calls will deliver a simpler, more comfortable
and better sounding audio experience than
you could get using just your computer's
internal microphone and speaker.
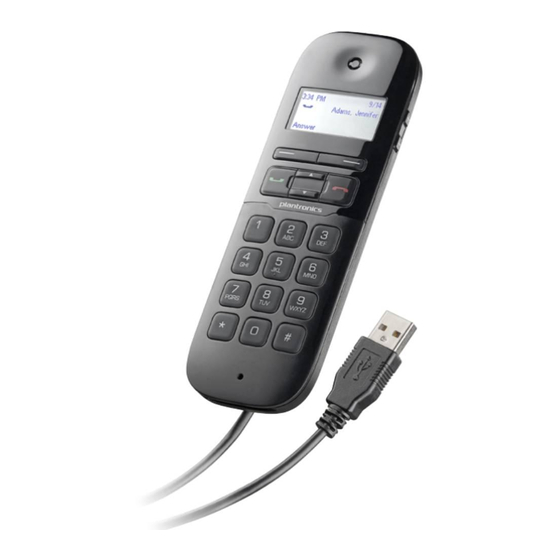
Calisto P240 Key Features:
LCD screen for easy caller ID viewing
and menu navigation
Answer/end/mute/dial/redial controls
at your finger tips
Integrated full duplex personal
speakerphone for hands-free
convenience
Wideband and noise-canceling
microphone offer the best PC audio
available
Slim, portable design easily fits into
laptop bag
©2011 Plantronics, Inc. All rights reserved, Plantronics, the logo design, Calisto and P240 are trademarks or registered trademarks of Plantronics, Inc. Cisco is a registered trademark of Cisco Systems Inc. and/or its affiliates in the U.S. and other
countries. Microsoft and Lync are either registered trademarks or trademarks of Microsoft Corporation in the United States and/or other countries. Published 01.12
Getting started:
Follow the steps below to get call answer/end controls
with your Calisto handset and Cisco® Unified
Communications Integration for Microsoft® Lync™.
1.
Connect your handset to the computer. If this is
the first time you are connecting, wait for the
installation process to complete.
2.
To get call control features, please download
the latest version of Plantronics software at
plantronics.com/software
.
Note: Check with your IT staff before installing software
on your computer.
Configuring Cisco Unified Communications Integration
for Microsoft Lync to always route call audio to the
handset:
3.
In the Cisco window, click the Settings button.
4.
Then in the Cisco UC Options window, select
Audio.
5.
Next select your Plantronics handset as the
default device for both Microphone and
Speakers.
6.
Now you can select which device plays your
incoming call alerts by selecting an option for
Ringtone. These sounds typically route through
your PC speakers, but can come through your
Plantronics handset if you prefer.
7.
In this screen you can also adjust Speakers and
Ringtone volume levels.
8.
When you are finished, click Ok.
Note: USB configuration settings are unique for each USB port.
If you connect the handset to a different port you will need to
make these changes again to set behavior for that USB port.
3
4
8
5
5
6
Advertisement
Table of Contents

Related Manuals for Plantronics Calisto P240


Summary of Contents for Plantronics Calisto P240
- Page 1 ©2011 Plantronics, Inc. All rights reserved, Plantronics, the logo design, Calisto and P240 are trademarks or registered trademarks of Plantronics, Inc. Cisco is a registered trademark of Cisco Systems Inc. and/or its affiliates in the U.S. and other...
- Page 2 (10). ©2011 Plantronics, Inc. All rights reserved, Plantronics, the logo design, Calisto and P240 are trademarks or registered trademarks of Plantronics, Inc. Cisco is a registered trademark of Cisco Systems Inc. and/or its affiliates in the U.S. and other...
Need help?
Do you have a question about the Calisto P240 and is the answer not in the manual?
Questions and answers