
Related Manuals for Gima MAYLEA 28430


Summary of Contents for Gima MAYLEA 28430
- Page 1 MAYLEA Digital pressure massage 28430 User's Manual Instructions for use This manual provides indications for safe use of the device. Before using the device, please: carefully read this manual.
-
Page 2: Table Of Contents
Table of Contents Summary Introduction ..................................3 Thank you for choosing our device ..........................3 Symbols key .................................. 3 Safety information ................................4 Electric safety ................................4 User safety ..................................5 Use and maintenance ..............................6 Cleaning and warnings ..............................6 Product description ................................ -
Page 3: Introduction
Introduction Thank you for choosing our device How to safely use our device: - Before using the device, please read this manual carefully. - Keep this manual so that you may consult it whenever necessary. - This manual contains details that the user must know in order to prevent any hazards that may occur. -
Page 4: Safety Information
Safety information Electric safety Before connecting the device make sure that the network voltage values match those indicated on the device plate. In case of device failure or malfunction, turn it off immediately. For technical assistance please contact only authorized service centres. Do not pull the power cable to disconnect the plug from the socket. -
Page 5: User Safety
User safety - If you experience pain or discomfort when using the device, stop using it immediately. - Do not use the device on subjects with pacemakers or heart diseases. Forbidden - Keep out of reach of children. - Do not use the device or its accessories for purposes different from those intended. -
Page 6: Use And Maintenance
Use and maintenance Do not use or keep the device near bathtubs, sinks etc. Do not immerse the device in water. Keep the device away from rain or direct sunlight. If you are using the device in a different country, please check the compatibility of the network voltage with the data specified on device's label. -
Page 7: Product Description
Product description Operating mode indicator Pressure display Channel indicator SKIP function Mode selection key setup key Start/Stop key Pressure dial Timer setup keys Start button Air connector Model: 28430 Use: indoors 220V 50/60Hz Voltage: Timer: 10, 20, 30, 40 minutes 220V 3A Fuse : Pressure:... -
Page 8: Accessories
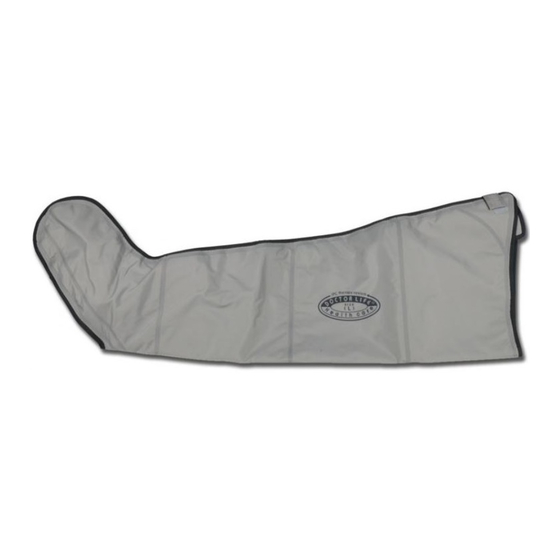
Accessories Standard accessories 28440 single hose double hose Leg cuff 28435 Massage sole Optional accessories Arm cuff 28436 Leg cuff extension 28434 Waist pad 28437... -
Page 9: How To Use The Device
How to use the device Features Three operating modes You can choose from three different operating modes. (Mode A, Mode B, Mode C). Digital pressure sensor A sensor that detects the pressure and allows you to accurately set its value. Digital pressure measuring device The user can easily check the applied pressure thanks to the digital display. -
Page 10: Setting The Pressure
Setting the pressure Pressure range: 10~180mmHg (increases: 10mmHg). We recommend you to set the pressure below 80mmHg. You can find out the applied pressure value by multiplying the value on the display by 10. Example: when on the display appears 11, the applied pressure is 11 x10 = 110mmHg. To decrease the pressure To increase the pressure turn the pressure knob to... -
Page 11: Setting The Operating Mode
Setting the operating mode Setting the SKP function Setting the mode Press key 1 to select a channel Press key 1 to select the mode A, (indicated by led 2). B or C. Select the side or sides to be skipped using the keys of timer 3. -
Page 12: Connecting The Hose To The Air Inlet
Connecting the hose to the air inlet Insert the connector in the air inlet as shown in the figure. Completely insert the connector to avoid any air losses. 7. Connecting the hoses to the leg/arm cuff Insert the connectors in the leg cuff and in the arm cuff according to the colours. The therapeutic effect will be altered if the connection is not made properly. -
Page 13: Using The Leg/Arm Cuff
Using the leg/arm cuff Using the arm cuff or leg cuff individually Put the leg cuff or arm cuff on and connect the single hose to the air connector. Completely insert the connector to avoid any air losses. Using two units at the same time Put the leg cuffs or arm cuffs on and connect the double hose to the air connector. -
Page 14: Leg Cuff Extension (Optional)
Leg cuff extension (optional) If the leg cuff is too tight for the user, he/she can use the hinge extension to increase the circumference of the leg cuff around the thigh. To use the extension, open the leg cuff hinge completely and then insert the extension using the hinges on the leg cuff and those on the extension. -
Page 15: Technical And Environmental Features
Technical and environmental features 1) Electrical protection: Class II. 2) Level of electrical protection: Not classified - BF-type to the applied parts. 3) Protection rating: IPx0. 4) This equipment must not be used in the presence of flammable anaesthetics or oxygen. 5) Operating mode: continuous. -
Page 16: Troubleshooting
Troubleshooting Operating conditions Checks to be carried out Check that the supply plug is correctly Lack of power supply connected to the wall outlet. Make sure that the system supply voltage is suitable for the device. Check the fuse. The device is switched on Disconnect the plug and re-connect it to the power but not running socket. -
Page 17: Warranty
We appreciate you have chosen to use our device. In GIMA S.p.A we do our best to ensure the quality of our products. We shall not be held responsible for any defects that may occur due to user's carelessness or in the cases listed below, even if they occur during the warranty period: 1.
Need help?
Do you have a question about the MAYLEA 28430 and is the answer not in the manual?
Questions and answers