Table of Contents
Advertisement
Quick Links
10. Finish the Installation
Note: Reserve some
space to avoid screen
1 m m
collision.
Maintenance
• Check that the bracket is secure and safe to use at regular intervals(at least every three months).
• Please contact your distributor if you have any questions.
3
4
1
2
Note: Install/adjust
the displays by the
S O L I D E Z , D E S E M P E Ñ O Y C A L I D A D AV
numerical order
given.
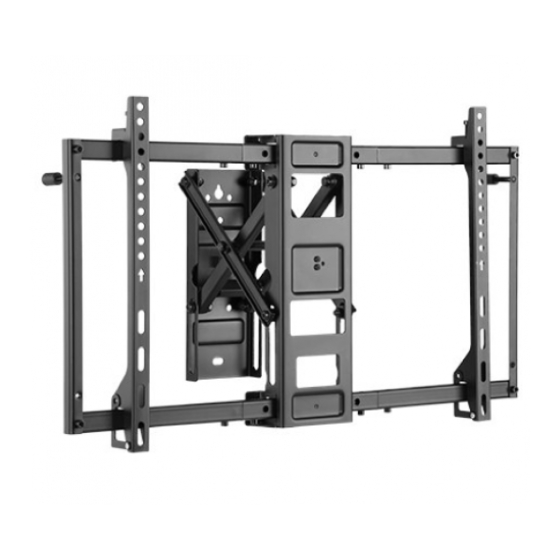
LVW11-46T
LVW11-48T
Low Cost Video Wall Mount
INSTALLATION MANUAL
200x200/300x200/300x300
70"
400x200/400x300/400x400
MAX
600x400
200x200/200x300/200x400
70"
300x200/300x300/300x400
400x200/400x300/400x400
MAX
600x400/800x400
rated
50kg/110lbs
rated
50kg/110lbs
Advertisement
Table of Contents

Summary of Contents for SolidView LVW11-46T
- Page 1 S O L I D E Z , D E S E M P E Ñ O Y C A L I D A D AV numerical order given. Note: Reserve some space to avoid screen 1 m m collision. INSTALLATION MANUAL 200x200/300x200/300x300 70" LVW11-46T rated 400x200/400x300/400x400 600x400 50kg/110lbs 200x200/200x300/200x400 70" 300x200/300x300/300x400 LVW11-48T rated...
- Page 2 Component Checklist Read the entire instruction manual before you start installation and assembly. If you have any questions regarding any of the instructions or warnings, please contact your local distributor for assistance. CAUTION •Use with products heavier than the rated weights indicated may result in instability causing display mount (x1) mounting bar (x2) mounting bar (x2)
- Page 3 1. Assembling the Wall Mount Align the connecting holes and tighten the screws to fix. Insert the screw but reserve some distance. 2. Attach the Connecting Plate 3. For Solid Brick and Concrete Wall Mounting √ 60mm 60mm Mark the Drill pilot holes (2.4") (2.4")
- Page 4 4. Install Other Mounts 6. For Flat or Irregular Back Screens X=Length of display Attach the mounts to the wall by specified distance. Y=Height of display M-C/M-D M-C M-D 5. Pop-Out Extension M-C/M-D Warning: Do not pull out the bracket directly without a press before.
- Page 5 7. Hooking the Display onto the Wall Plate Height and Level Adjustment Turn the locking plate downward to install the padlock. Use a padlock to prevent the display from being stolen (The padlock is not included). 8. Adjustment Push the display to left or right to enable fast alignment.
- Page 6 9. Micro Adjustment Depth and Tilt Adjustment Swivel Adjustment...
Need help?
Do you have a question about the LVW11-46T and is the answer not in the manual?
Questions and answers