Advertisement
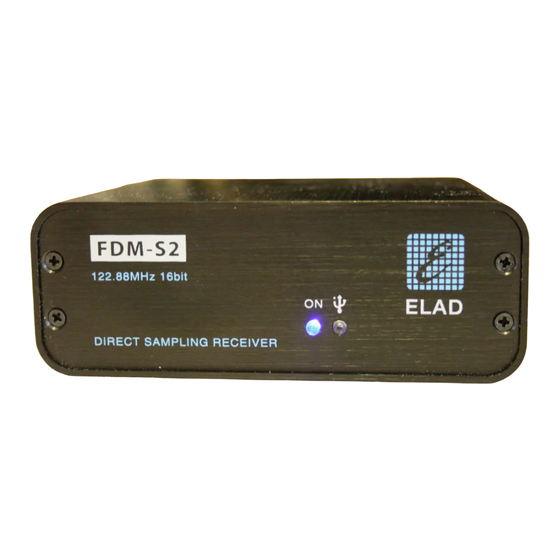
Instructions to configure ELAD S1/S2 as an auxiliary receiver
for a transceiver
By properly configuring the FDM-SW2 program, you can ensure that the receiver connected to it
operates synchronously with the transceiver. To do so you must install the program OmniRig on the
same PC on which it is installed FDM-SW2.
Possible scenarios
Depending on the available transceiver, as well as your preferences, the receiver can be connected
in three different ways.
•
Auxiliary connected receiver if you have a transceiver with RX OUT output. This is the
most flexible configuration, since it allows to use simultaneously both the transceiver's
internal receiver and the ELAD device.
•
Panadapter if you have a transceiver with IF OUT output. This configuration also allows to
simultaneously use both the transceiver's internal receiver and the ELAD device. The major
limitation of this configuration is that both receivers must operate on the same band; it is not
possible, for instance, to listen to a band while operating the tranceiver on a different one.
•
Auxiliary switched receiver if you have a transceiver with no RX OUT or IF OUT output. In
this case you have to use an external switch such as, for example, the model ELAD ASW-1.
This is the most penalized configuration because it does not allow you to use the
transceiver's internal receiver.
Auxiliary receiver
The auxiliary connected receiver and auxiliary switched receiver modes logically operate in the
same way. The difference between the two modes depends on the availability, on the transceiver, of
a switched outlet (RX OUT).
The RX OUT socket allows you to connect an external receiver using the Rx/Tx switching inside
the transceiver itself. When this socket is present, simply connect the receiver input (S1 or S2). If
this socket is not present, you must have an external switchbox (like, for instance, ELAD ASW-1).
Task of this switchbox is to connect the antenna to the receiver (S1/S2) while receiving and connect
the antenna to the transceiver while in transmission. The switchbox is controlled by the transceiver
itself, usually using the line normally used to switch any linear amplifier (ELAD ASW-1 is able to
switch sensing the power on the transceiver antenna outlet).
Panadapter
The term panadapter refers to the possibility to connect the receiver to the socket where it is present
the IF signal of the transceiver's receiver.
In this case, the FDM-SW2 program will continue to display the reception frequency even if it
operates within the IF channel.
Operating in panadapter mode you are limited to the transceiver's IF available bandwidth. Usually
this is not a problem because the socket extracts the IF signal before the roofing filter.
1
Advertisement
Table of Contents

Summary of Contents for ELAD FDM-S1
- Page 1 Auxiliary switched receiver if you have a transceiver with no RX OUT or IF OUT output. In this case you have to use an external switch such as, for example, the model ELAD ASW-1. This is the most penalized configuration because it does not allow you to use the transceiver’s internal receiver.
- Page 2 Software installation The first program that you must install is FDM-SW2. For this installation we suggest to refer to its user manual. The second necessary program is OmniRig (http://www.dxatlas.com/omnirig): this program allows you to use the transceiver CAT interface. The OmniRig installation is covered by the appropriate manuals;...
- Page 3 Software Configuration – FDM-SW2 In the lower-left corner, above the button activation of FDM-SW2, there is the Set button; clicking it displays the program setting window shown below. To correctly configure the communications you need to click the Remote Control tab and then tick the Enable Omnirig Control control box at the top center of the window.
- Page 4 In this window you must select the Enable Panadapter box and choose the frequency values for the various modulations. At the end you have to confirm by clicking the OK button. Be careful when setting of various frequencies: in some devices the frequencies vary according to modulation: for example, in some trasceivers, the reception chain of the FM modulation differs from that of AM/SSB and requires different values;...
- Page 5 An example of a connection with a transceiver Below are shown, from the manual of Yaesu FTDX-3000, the connections on the rear panel. There are two ways to connect an S1/S2: • as an Auxiliary connected receiver using the socket marked with the number 10 (RX antenna) •...


Need help?
Do you have a question about the FDM-S1 and is the answer not in the manual?
Questions and answers