Crestron DigitalMedia DM-MD6X4 Quick Star
Hide thumbs
Also See for DigitalMedia DM-MD6X4:
- Installation & operation manual (49 pages) ,
- Quick start manual (2 pages) ,
- Quick start manuals (2 pages)
Advertisement
Quick Links
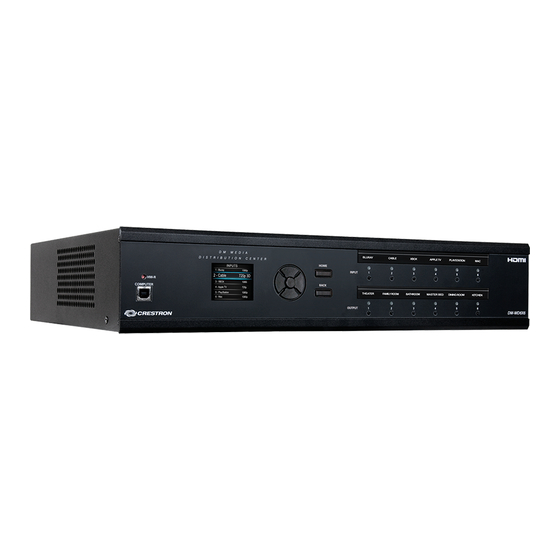
DM-MD6X4/DM-MD6X6
DigitalMedia™ Distribution Centers
The Crestron®
DM-MD6X4
and
Centers direct multiple high-definition sources to up to four rooms
(DM-MD6X4) or up to six rooms (DM-MD6X6) as part of a complete
Crestron system.
In the Box
1
DM-MD6X4 or DM-MD6X6, DigitalMedia Distribution Center
Additional Items
2
Bracket, Rack Ear (2029724)
4
Foot, 0.5 in. x 0.5 in. x 0.23 in., Adhesive (2002389)
1
Cable, Power, 6 ft 7 in. (2m) (2001134)
DM-MD6X6
DigitalMedia™ Distribution
Install the Device
The device can be mounted into a rack or placed on a flat surface.
Mount into a Rack
To install the included rack ears:
1. Use a #1 or #2 Phillips screwdriver to remove the three screws from
each side of the front of the device as shown in the following
illustration.
2. Use the screwdriver and the screws removed in step 1 to attach the
included rack ears to the device.
Place on a Flat Surface
Attach the included feet near the corners on the underside of the device
before placing the device onto a flat surface or stacking it with other
equipment.
Quick Start
1
Advertisement

Related Manuals for Crestron DigitalMedia DM-MD6X4


Summary of Contents for Crestron DigitalMedia DM-MD6X4
- Page 1 Quick Start DM-MD6X4/DM-MD6X6 DigitalMedia™ Distribution Centers The Crestron® DM-MD6X4 DM-MD6X6 DigitalMedia™ Distribution Centers direct multiple high-definition sources to up to four rooms Install the Device (DM-MD6X4) or up to six rooms (DM-MD6X6) as part of a complete Crestron system. The device can be mounted into a rack or placed on a flat surface.
-
Page 2: Connect The Device
Quick Start DM-MD6X4/DM-MD6X6 DigitalMedia™ Distribution Centers Connect the Device Connect the device as called out in the illustration below. Refer to the information that follows. Rear Panel Connections (DM-MD6X6 Shown) - Page 3 HDMI output connector (HDMI 1). 10BaseT/100Base-TX Ethernet network. DM 8G+® Output Connections Power Connection Connect up to three (DM-MD6X4) or five (DM-MD6X6) Crestron NOTE: The DM-MD6X4 and DM-MD6X6 do not have a power switch. DigitalMedia 8G+® receivers/room controllers to the DM 8G+ output...
-
Page 4: Configure The Device
Quick Start DM-MD6X4/DM-MD6X6 DigitalMedia™ Distribution Centers 3. Enter the four-digit password. (The default password is 1234.) To enter a digit, do either of the following: Configure the Device If the digit ranges from 1-6, press the corresponding INPUT or OUTPUT button. Use the front panel controls to configure the device. If the digit is 0 or ranges from 7-9, use the navigation pad as follows: Access Installer Mode... -
Page 5: Configure Network Parameters
Quick Start DM-MD6X4/DM-MD6X6 DigitalMedia™ Distribution Centers The Input submenu for the currently selected input is displayed. The 3. Navigate to Name if it is not already highlighted, and them press the name of the input is shown at the top of the Input submenu. (The LED Select button. - Page 6 Quick Start DM-MD6X4/DM-MD6X6 DigitalMedia™ Distribution Centers 3. This step is applicable only if DHCP was disabled in step 2. NOTE: Changes to network parameter settings take effect when the If necessary, configure a static IP address, a subnet mask address, and device exits Installer mode and automatically reboots.
- Page 7 Quick Start DM-MD6X4/DM-MD6X6 DigitalMedia™ Distribution Centers Exit Installer Mode 2. Configure the following parameters: Navigate to IP ID if it is not already selected, and then press the To exit Installer mode, return to the home screen by pressing the HOME Select button.
- Page 8 Quick Start DM-MD6X4/DM-MD6X6 DigitalMedia™ Distribution Centers 4. As indicated on the LCD screen, press the Select button to route the signal. The selected input is routed to the selected output(s). The LED of each selected output lights. Route the Signal NOTE: After 30 seconds of inactivity, the DM-MD6X4 or An input signal can be routed to one or more outputs simultaneously.
- Page 9 Crestron disclaims any proprietary interest in the marks and names of others. Crestron is not responsible for errors in typography or photography.
Need help?
Do you have a question about the DigitalMedia DM-MD6X4 and is the answer not in the manual?
Questions and answers