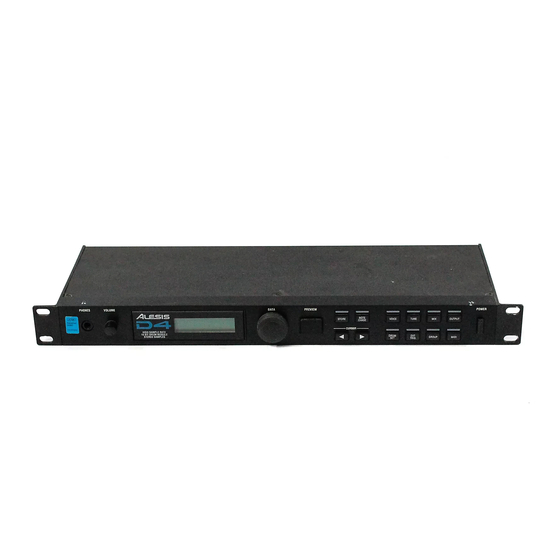
Alesis D4 Quick Setup Manual
High sample rate 16 bit drum module / stereo samples
Hide thumbs
Also See for D4:
- Supplementary manual (4 pages) ,
- Reference manual (50 pages) ,
- Service manual (39 pages)

Related Manuals for Alesis D4


Summary of Contents for Alesis D4
- Page 1 tTr' : . ! ; ; i ' " HIGH SAMPTE RATE 16 BIT DRUM MODUTE / STEREO SAMPTES External Trigger 0uick Set-Up Guide...
- Page 2 3. DCAY. This represents the signal decay time and threshold of the D4's trigger inputs. In other words, DCAY controls the amount of time between once a pad has been struck and triggers, to when it will trigger again from another hit.
- Page 3 1. Plug io a!! of the triggers you will be using. Plug all of the triggers you will be using into the rear panel jacks. Since the triggers are interactive, the D4 needs to "see" all of the signals simultaneously.
- Page 4 Owners Manual. 5. Choose the MIDI note number. Note: The default trigger note numbers in the D4 correspond to General MIDI, so in many cases it may not be necessary to change the assignments. These default settings can be found in the Factory Drumset Reference Guide included with your D4 literature.
- Page 5 Now repeat steps 3 through 6 fot the remaining ttiggers you anill be using. After completing these steps, you should be able to play on all of the pads plugged in to the D4 and hear the sounds being triggered.
- Page 6 Set the XTALK value. 1. Press the Ext Trig button twice to enter the page showing the parameters for XTALK DCAY, and NOISE. 2. After selecting the desired trigger (tom 1), place the cursor under the XTALK parameter value. 3. Now, gradually increase the XTALK level of the tom 1 trigger until it stops triggering when you hit the snare pad (00 is minimum, 99 maximum).
- Page 7 At times the tom 1 and the tom 2 pad are triggering when not being played. This is because the D4 is interpreting the signals from the stand vibrations as hits. By adjusting the NOISE...
- Page 8 J'PS OIU EXTENilAT JnJGGEN'il@ FROTN ACOUSJTC DRUMS When triggering from an acoustic drum, that is using a contact pick up (transducer) mounted to the head or shell, the same general set-up procedures and parameter principles of triggering from pads apply. However, due to extreme head vibrations and resonance of acoustic drums, keeping the "factors"...
- Page 9 triggering. Most of the trigger manufacturers supply several pieces of mounting tape with their trigger products. It is also very important to be certain that no part of the trigger wire, which connects the trigger to the audio jack, is touching or resting on any part of the drum or rim.
- Page 10 3. Use a high sensitivity setting if the trigger has an adjustment. SMALL TOMS 8'L13'' With smaller toms it is possible to get proper tracking using either head or shell mounting. You will need to experiment with both to determine which will work best in your situation.
- Page 11 3. Use a mid to high sensitivity setting if the trigger has an adjustment. Nofe; In most caseg when shell mounting triggers, internal permanent mounting will provide the best results. This permanent form of mounting allows the trigger to be more firmly attached to the shell, which tends to improve the performance.
Need help?
Do you have a question about the D4 and is the answer not in the manual?
Questions and answers