Advertisement
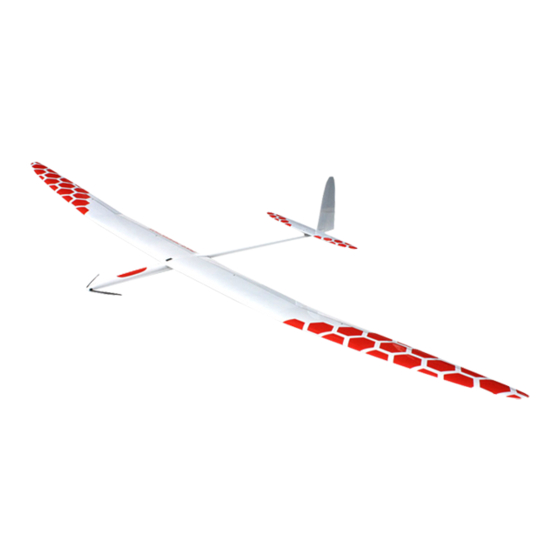
Pike Perfection
Congratulations for choosing the right model! Your new Pike Perfection.
The model is a handmade product, carefully packed for your convenience.
Please check that all items ordered are included and not damaged during transportation.
A basic model includes:
2 wing sections (left and right)
•
1 fuselage with canopy
•
•
1 elevator
1 rudder
•
1 carbon joiner
•
3 types available and marked SL 77 g, Standard 102 g and F5J 62 g
aileron and flaps brass horns
•
2 pcs clevis couplers
•
2 pcs elevator bolts
•
•
Wire harness
Additionally you can order:
ballast set
•
wing bags
•
Fuse cover for sun protection
•
To complete a model you will need:
4 pcs metal geared servos for the wings. Min. 25Ncm/35oz.in
•
We recommend lighter servos Graupner DES 488 BBMG or similar for the ailerons
of SL version.
•
2 pcs 13mm servo for elevator and rudder. Min. 20Ncm/30oz.in
8 clevises and 2mm threaded rods for the wings (or better 2,5mm)
•
4xAA Rx battery or equal and a sufficient switch
•
a high quality receiver
•
•
epoxy to glue in the servos and thin cyano (CA) to secure clevises
strong clear tape (12mm wide) to join the wings and rudder to the fuselage
•
Assembling the wing:
Sand the surface of the servos and the servo trays where the servos will be glued.
•
Connect the servos and the fuse harness to the respective channels on the
•
receiver. Check that the aileron servo arms are set 90 degrees on the servo and
that the transmitter also is set to neutral. Check that the flap servo arms are set
identically to approximately 20 degrees (measured from the 90°-angle) towards
the flap. The transmitter should later be set to an offset so that the flap servo
arms are 90 degrees on the servos. With full butterfly the servo arms on the flaps
are almost straight towards the flap. This ensures full deflection of the flaps for
butterfly brake.
Check again the servo settings and also set the offset of the flap servos. Check
•
also that the servos move the right way.
Mark where the servos will be glued in place by a pencil in the servo trays and
•
ensure that the servo arm is aligned (straight line) to the line defined by the hole
in the subspar and the flap horn. Some like to fix their servos to the spar. This
ensures a very tight and slop free servo installation as the wing surface can bend
a little.
Screw in the brass horns into the ready made holes in the surfaces. There is a nut
•
glued inside the surface for your convenience. Secure the nut with a tiny drop of
thin CA.
Advertisement
Table of Contents

Related Manuals for Samba Pike Perfection-Cross tail

Summary of Contents for Samba Pike Perfection-Cross tail
- Page 1 Pike Perfection Congratulations for choosing the right model! Your new Pike Perfection. The model is a handmade product, carefully packed for your convenience. Please check that all items ordered are included and not damaged during transportation. A basic model includes: 2 wing sections (left and right) •...
- Page 2 Glue the servos in using epoxy. Use a proper amount of epoxy so that some • epoxy will be pressed out on the sides of the servos when you push them in. Use some weight fixing the servos as long as the epoxy hardens to ensure that the servo fits perfect.
- Page 3 We hope you will be satisfied with your new model. If you have any questions be sure to look at our webpages. Additional info about the setup and detailed pictures can be found there. Regards Samba Model Webpage: www.F3J.com / Email:...
Need help?
Do you have a question about the Pike Perfection-Cross tail and is the answer not in the manual?
Questions and answers