Advertisement
P O L A R I S ' 0 5 R A N G E R
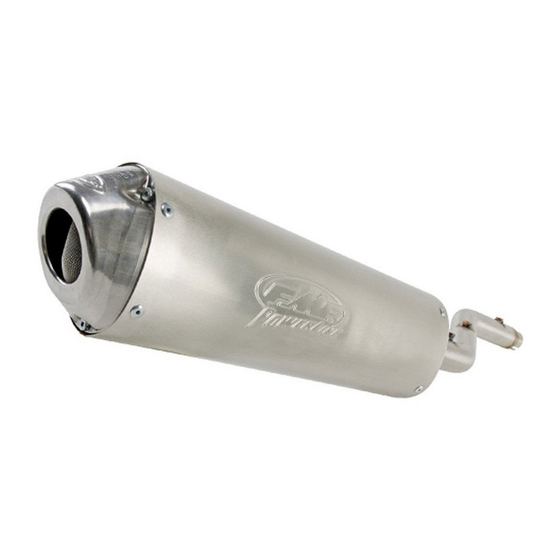
Powerline
Thank you for purchasing FMF's Powerline
R & D and testing to ensure you receive the highest quality product on the market today.
Your Powerline muffler has been developed using the latest design, testing and manufacturing technologies
available. It is manufactured exclusively from stainless steel to provide you with a exhaust that can handle the
heat and abuse that today's utility ATVs bring with them. The Powerline
and chambers so there is no repacking or re-building necessary.
The Powerline
TM
giving you an all around power increase without dramatically increasing the sound level.
Check out our website www.fmfracing.com for more information.
Please read all instructions thoroughly before installation. Failure to follow all installation instructions completely will void any
FMF warranty implied or otherwise. FMF Racing will not be held responsible for problems derived from improper installation and/or improper
usage.
Before you begin installing this product, be sure you are wearing eye protection and gloves. You should have a complete
understanding of how to remove and replace your stock exhaust. Otherwise, you should have it installed by a professional mechanic. Keep all
OEM parts when removing your stock exhaust, as some parts may be necessary to install the FMF exhaust depending on your particular
application.
P A R T S S U P P L I E D
(1) Powerline Muffler
(2) Strap Bracket
(2) 6mm Nut & Bolt
(2) 8mm x 30mm Bolt
(2) 8mm Nut
(2) Aluminum Spacer
1.
Make sure the engine is completely cool prior to installation and the vehicle is in a stable position.
2.
Lift rear cargo section of vehicle to gain access to the muffler. Note: It's not neccessarry to remove the rear
cargo section but is easier to work on muffler if you do. Refer to the service manual for removal.
3.
Using a spring puller tool, remove the two (2) springs connecting the muffler to the mid-pipe (fig.1).
4.
Remove the support spring on midpipe (fig.2).
5.
While holding the muffler, loosen the two (2) OEM muffler mounting bolts (Fig.3).
6.
Gently slide the muffler rearward to release it from the mid-pipe. Spray WD-40 into the muffler/mid-pipe
junction if it is difficult to remove.
7.
Using a spring puller tool, remove the two (2) OEM springs that attach the mid-pipe to the header. Keep for later use.
8.
Carefully remove the midpipe from the header. Spray WD-40 into the muffler/mid-pipe junction if it is difficult
to remove. Make sure to keep the existing exhaust port gasket. This will be reused if in good condition.
9.
Using contact cleaner, clean the section of the header where the mid-pipe fits and lightly coat with a bead of
High Temp Silicone for an improved seal.
10.
With clean hands, gently slide the FMF muffler onto the header. Wipe away any excess silicone.
11.
Slide the fisrt strap bracket carefully over the muffler and position to the front mounting point. Be careful not
to scratch the canister and make sure the "inside" sticker on the bracket is facing inward toward the center of
the machine.
12.
To install the mounting bracket, use vise grip pliers to pinch the strap bracket tabs together and install the
supplied 8mm x 30mm bolt and nut
the subframe and the strap bracket
muffler is designed as a maintenance free muffler broadening your existing powerband
045108
940334
920140/ 921025
920167
920142
920099
P R E - I N S TA L L AT I O N
I N S TA L L AT I O N
to attach the strap bracket to the frame with the supplied spacer between
(Fig.4). Do not tighten and keep loose to properly adjust to mounting points.
Installation
TM
muffler for your Polaris. We have spent countless hours of
TM
R E M O V A L
OEM = Original Equipment Manufacturer
18033 S. Santa Fe Ave.
Rancho Dominguez, CA 90221-5514
muffler uses strategically placed baffles
TM
T O O L S R E Q U I R E D
8mm Wrench
10mm Wrench
12mm Wrench
1/2" Wrench
Vise Grip Pliers
Contact Cleaner
PH: 310-631-4363
FX: 310-900-5699
www.fmfracing.com
[12-05 / #000694]
High Temp Silicone
WD-40®
Spring Puller Tool
Advertisement
Table of Contents

Related Manuals for FMF Powerline

Summary of Contents for FMF Powerline
- Page 1 Otherwise, you should have it installed by a professional mechanic. Keep all OEM parts when removing your stock exhaust, as some parts may be necessary to install the FMF exhaust depending on your particular application.
- Page 2 This limited guarantee is in lieu of all other guarantees or warranties implied or expressed. Buyer assumes all risk for any and all damage caused to himself, a third party and/or property by virtue of failure of this product. We make no warranty as to products distributed by FMF Racing, expressed or implied from our suppliers or 3rd party vendors.
Need help?
Do you have a question about the Powerline and is the answer not in the manual?
Questions and answers