Advertisement
Quick Links
QUICK START GUIDE
This Quick Start Guide will show you how to set up the ARC Solo in five simple steps. For detailed configuration and setup information,
visit www.burk.com/downloads, select the ARC Solo support page and download the ARC Solo Instruction Manual.
1
UNPACKING
In addition to this Quick Start Guide, you will
find the following in each package:
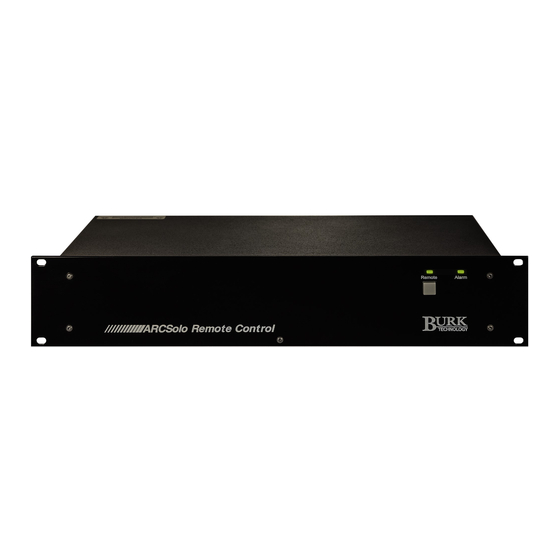
(1) ARC Solo Unit
(32) 3-pin Terminal Block
(1) Ethernet Cable
(1) Power Cord
2
NETWORK SETUP
ARC Solo includes a built-in web server that allows you to monitor and control your unit without
downloading any software to your PC. Follow the steps below to connect to your ARC Solo using a
web browser and to configure the networking parameters on the unit.
1. If DHCP is enabled in your network, the ARC Solo will automatically
be assigned an IP address. The web page can be accessed by
entering the hostname of the ARC Solo in your web browser (ex.
http://ARCSOLO/).
2. If the ARC Solo screen shown to the right is displayed, proceed to
step 5.
3. If the screen to the right is not displayed, your network may not support DHCP. In this case you will
need to access the web page using the ARC Solo default IP address: 192.168.0.100. To do this,
unplug your PC from any other LAN and connect your PC to the ARC Solo
via a network switch or a crossover Ethernet cable. Then configure your PC with a compatible IP
address for connection to the ARC Solo. Running Windows, the following steps will allow you to
configure your PC with a compatible IP address:
1.
From the Windows Control Panel, select Network Connections.
2.
Double-click the icon for network you will be using.
3.
On the General tab, click Properties.
4.
Click Internet Protocol version 4 "TCP/IPv4".
4. Now open a browser and enter the ARC Solo default IP address of 192.168.0.100. The screen shown
above will be displayed requiring you to set a password for the administrator account.
5. Enter the desired administrator password and select Save. Following this, and on subsequent logins,
a login screen will be displayed requesting entry of username and password. Enter your username
and password and click Log On.
5.
Select Properties.
6.
Choose "Use the following IP address" and enter an IP
address of 192.168.0.x, where x is any valid address
location except 100.
7.
Enter Subnet Mask 255.255.255.0
8.
Click OK.
CUSTOMER SUPPORT
PHONE:
(978) 486 - 3711
M-F 9am - 5pm EST
6. Next go to the System Tab on the ARC Solo web interface and select
Networking. Enter the following network information and select enter to
confirm the changes.
a.) NetBIOS name – The hostname used on a local network when DHCP is
enabled. Ensure the unit is assigned a unique hostname.
b.) Use DHCP – Automatically assign the IP address. DHCP is enabled when
the unit is shipped from the factory. This box should be un-checked
when a static IP address is entered below.
c.) IP address – Assign a static IP address to the ARC Solo. Check with your
network administrator for an available address that is not part of the
DHCP address range.
d.) Netmask – Check with your network administrator or accept the
default setting.
e.) Gateway – Check with your network administrator or accept the
default setting.
f.) Primary DNS – Check with your network administrator. This is the first
domain name server used to resolve hostnames to IP addresses.
g.) Backup DNS – Check with your network administrator. This is the second
domain name server used to resolve hostnames to IP addresses.
h.) HTTP Port – Check with your network administrator. The factory default
setting is port 80.
7. To verify communication, confirm that your web browser can access the
ARC Plus web interface using the newly configured IP address.
7 Beaver Brook Rd.
Littleton, MA 01460
www.Burk.com
EMAIL:
support@burk.com
Advertisement

Related Manuals for BURK Technology ARC Solo


Summary of Contents for BURK Technology ARC Solo
- Page 1 QUICK START GUIDE This Quick Start Guide will show you how to set up the ARC Solo in five simple steps. For detailed configuration and setup information, visit www.burk.com/downloads, select the ARC Solo support page and download the ARC Solo Instruction Manual.
- Page 2 To run Jet Designer, select Jet from the Tools menu in AutoPilot. In Jet Designer, select New from the File menu. Jet support@burk.com will prompt you for a flowchart target. You can choose Run this flowchart on an ARC Solo. If your ARC Solo has been Flowchart Target configured with an AutoPilot license, you will also be able to select Run this flowchart in AutoPilot.
Need help?
Do you have a question about the ARC Solo and is the answer not in the manual?
Questions and answers