Table of Contents
Advertisement
Quick Links
INSTRUCTION MANUAL
Orion
StarShoot
G4
®
™
Deep Space Imaging Cameras
Color #53088, Monochrome #53087
#53088
#53087
A N E M P L O Y E E - O W N E D C O M P A N Y
Corporate Offices: 89 Hangar Way, Watsonville CA 95076 - USA
Toll Free USA & Canada: (800) 447-1001
International: +1(831) 763-7000
Customer Support: support@telescope.com
Copyright © 2020 Orion Telescopes & Binoculars. All Rights Reserved. No part of
this product instruction or any of its contents may be reproduced, copied, modified
or adapted, without the prior written consent of Orion Telescopes & Binocular s.
IN 606 11/17
Advertisement
Table of Contents

Related Manuals for ORION TELESCOPES & BINOCULARS StarShoot G4

Summary of Contents for ORION TELESCOPES & BINOCULARS StarShoot G4
- Page 1 INSTRUCTION MANUAL Orion StarShoot ® ™ Deep Space Imaging Cameras Color #53088, Monochrome #53087 #53088 #53087 A N E M P L O Y E E - O W N E D C O M P A N Y Corporate Offices: 89 Hangar Way, Watsonville CA 95076 - USA Toll Free USA &...
-
Page 2: Table Of Contents
1. Introduction ....2 Welcome to the exciting world 1.1. The StarShoot G4 ..3 of astro-imaging. Your new 1.2. -
Page 3: The Starshoot G4
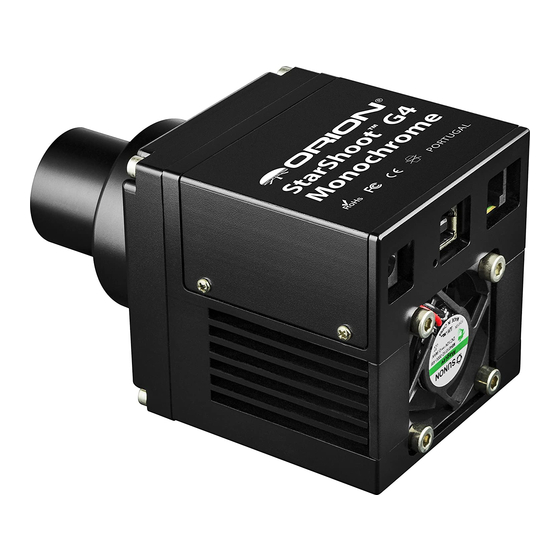
1.1. The StarShoot G4 The StarShoot G4 is an astronomical imaging CCD camera with a 16-bit image output and a regulated thermoelectric cooler to enable maximum imaging perfor- mance. Both the G4 Color and G4 Monochrome are very sensitive and capable of detecting faint deep sky objects in a short exposure;... -
Page 4: Getting Started
• Dust cap for 1.25" nosepiece 2.2. System Requirements Telescope The StarShoot G4 fits any telescope equipped with 1.25" or 2" focusers, or it can also fit to any focuser or camera adapter with male T-threads (M42 x 0.75). Refer to Figures 2.1 and 2.2. -
Page 5: Software And Driver Installation
• High-speed USB 2.0 port Power The StarShoot G4’s thermoelectric cooler (TEC) requires 12 volts DC (12VDC) with approximately 1 ampere of current. The camera itself can operate without the cooler just by connecting to the computer’s USB port. For the best imag- ing performance, we recommend using the TEC. - Page 6 The following software can be located on the right hand side of the product support page. Download, unzip and run the installer that is compatible with your operating system. Run “GlobalSetup.exe” to run the install wizard. Select language to install and go through the prompts to install the G4 camera driver and prerequisite software (Figure Figure 4.1.
-
Page 7: Software Walk-Through
3. Software Walk‑Through Camera Studio is an easy to use yet comprehensive imaging program that controls your G4 for image capture, and provides the processing tools to assemble your image and export it. The following section of the manual will walk you through the basic fea- tures of the software –... -
Page 8: Capture
3.2 Capture (Figure 6) The Capture tab sets your exposure time, exposure type, save path, subframing, and other options. Exposure Set the exposure time in seconds. You can also specify fractions of seconds, like 0.5 seconds or 1.75 seconds, for example. - Page 9 Capture – Color: Raw, YCbCr, RGB (for StarShoot G4 Color only) These modes determine what kind of images will be captured. If you are using the StarShoot G4 Color, we recommend always capturing in Raw to allow for image calibration later (See “Image Processing – Calibrate Raws”). The image will appear black and white at first, but can later be converted to color.
-
Page 10: Histogram
(or overexpose) at around 50,000 ADU. This demonstrates the large range in brightness that 16 bits of data has, and is one of the reasons the StarShoot G4 can capture dynamic images with faint detail. Maximum Displays the highest ADU pixel value for the immediate area. -
Page 11: Astronomical Imaging
4. Astronomical Imaging Now that you have familiarized yourself with the basic functions of the camera and software, you are ready to begin using the StarShoot G4 to capture images! 4.1. Focusing Focusing the CCD camera is one of the most critical parts of imaging. It can be challenging, but Camera Studio has some helpful features which will assist you when focusing your G4. -
Page 12: Using The Thermoelectric Cooler (Tec)
4.2. Using the Thermoelectric Cooler (TEC) The StarShoot G4’s cooling system was designed to reduce the noise in your astro-images. All digital cameras, whether CCD or CMOS have inherent noise. Taking longer exposures at night on a target that is very faint will have little signal, so the noise will be more apparent. - Page 13 The StarShoot G4 can cool the CCD to about 25°C below the ambient temperature. But remember that the ambient temperature changes and you want to have enough cooling capacity to take dark frames at the same temperature later. To set the cooler:...
-
Page 14: Imaging Deep Sky Objects
For best results we recommend selecting Raw in the pull down menu next to the Color label in the Capture tab (Figure 6). For StarShoot G4 Monochrome users, no special selection is needed, all images will be raw. - Page 15 “D” suffix to your saved file name so you can easily identify your darks later. Note to StarShoot G4 Color users: You must take Raw Light frames in monochrome BEFORE converting to color in order to utilize dark frames.
- Page 16 Flat Fields A flat field is an image taken with uniform featureless light entering the telescope, such as a blue sky in the early morning or after sunset. Flat fields solve a number of issues in your astro-images. However, for the beginner astro-imager, you may choose to skip this step for the time being.
-
Page 17: Image Processing
Convert to Color (only applicable to StarShoot G4 Color) Align Combine If you are using the StarShoot G4 Monochrome, all of these steps can be performed in the Combine Images window (Figure 16). For StarShoot G4 Color users, the calibration and color conversion should be done separately before proceeding to align and stack. - Page 18 With your images still open, goto the Process menu and select Combine. The Combine Images window will appear (Figure 16). Since you have already calibrated and aligned your images, proceed to the Stack tab. Remember that if you are using the StarShoot G4 Monochrome,...
- Page 19 you can perform all of these tasks in each of the tabs of the Combine Images window. Select Add Images, then Select All, then Apply (Figure 20). Proceed to the Stack tab. Keep the default settings. We recommend Sigma Reject which is effective at removing unwanted leftover hot pixels, satellite trails, or other unwanted artifacts from...
-
Page 20: Save And Export
the LRGB together, but do not com- bine them yet. Add the RGB images to a new RGB layer in Photoshop or similar pro- gram that uses layers. Assign your red image (which will still look mono- chrome) to the red channel, green to the green channel, and blue to the blue channel. -
Page 21: Using The Starshoot G4 As An Autoguider
We recommend setting the camera to bin 2x2 when autoguiding, especially for StarShoot G4 Color users. Using the TEC will reduce the noise, but is generally not a requirement for autoguiding. You can save power and leave the TEC off... -
Page 22: Optional Accessories
ST-4 compatible Accessories autoguide port, shown here on the Sirius EQ-G mount. For the StarShoot G4 Monochrome We recommend Orion 1.25" LRGB and narrowband imaging filters and a filter wheel to capture high quality color images. - Page 23 5.0mm via 2" attachment 22.0mm via 1.25" nosepiece attachment 18mm via T-thread attachment Weight: 12 oz. Autoguider capability: Mounting: 1.25" nosepiece, 2" nosepiece or T-thread StarShoot G4 Monochrome CCD Sensor: Sony ICX829ALA Monochrome ® Sensor format: 1/2" Pixel array: 752 x 582 (437,664 total) Pixel size: 8.6µm x 8.3µm...
- Page 24 This device complies with Part 15 of the FCC Rules. Operation is subject to the following two conditions: (1) this device may not cause harmful interference, and (2) this device must accept any interference received, including interference that may cause undesired operation.
Need help?
Do you have a question about the StarShoot G4 and is the answer not in the manual?
Questions and answers