Table of Contents
Advertisement
Quick Links
Advertisement
Table of Contents

Related Manuals for Naxa NVP-3001C


Summary of Contents for Naxa NVP-3001C
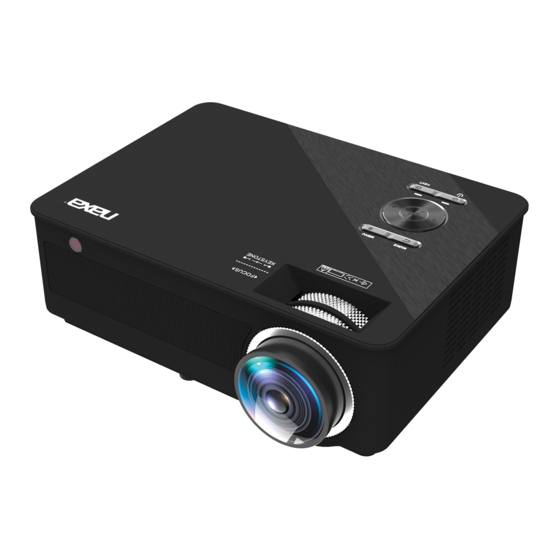
- Page 1 NVP-3001C...
-
Page 5: Ac Power Adapter
Proj1 e ctor AC Power Adapter ..rara· • maam lM:,,l'WID� a.•• i...t.iiliilr.,:�L'.: • l'BGI' User manual Remote control 100" screen Carry bag Lens Cover... -
Page 6: Remove & Close The Lens Cover
Remove & Close The Lens Cover Remove the lens cover before using Close the lens cover when unit not using REMOVE CLOSE � LENSCOVER � LENS COVER raa· raa· Placing Your Projector Your projector can be installed in four different configurations ( see picture below): Front Table: Select this location with the projector placed... -
Page 7: To Reduce Image Distortion
To Reduce Image Distortion Square /Rectangle It is recommended to move the projector as close to center of screen. Distance Between The Proiector AndScreen Measure the distance between the projector and where you want to position the screen. This is the projection distance. Placing Your Proiector On Ceiling When installing the projector in the ceiling, please purchase a projector mount recommended by an installation professional and follow the instructions that... -
Page 8: Adjust The Vertical Location
Adjust The Vertical Location Follow below picture to adjust the vertical location. SCREEN SCREEN t,i:'t. � . PROJECTOR VERTICAL DIMENSION PROJECTOR SCREEN Adjust this knob (ANGLE ADJ. knob) to fine- tune the display angle to higher. Adiust The Focus And Keystone Follow below picture to adjust the focus and trapezoidal screen. - Page 9 NVP-3001C...
- Page 10 Overview Of Projector 8-------:��------- - 141213 9101116 naxa· 7-+--+- 4 --------- ..==""'1D 0 @-. lalllO@ 0 AY -I-- �� �" ==== 3-1---i �DiIIIlII== �== �== �Ollillilc::::e:: ' 7---t------"'�� =�= �== 21�" 22 tJ 1. POWER@ Button 12. HDMI Port 1 13.
-
Page 12: Bluetooth Operation
Bluetooth® Operation Pairing is the term used when two Bluetooth devices are connected wirelessly for the first time. This allows the devices to see each other and sets up a one-to-one communication channel between both devices. Bluetooth Connection 1. Press the Power button to turn on the unit. 2. -
Page 13: Disconnecting Bluetooth Device
NOTE: When the BT can’t connect to this device auto- matically, please enter the Bluetooth setup menu and select to resest BT. Then, the BT device will connect to the projector automatically Disconnecting Bluetooth Device 1. Press the Menu button to enter the menu screen. 2. - Page 15 Projection VIA VGA Connection Follow below picture to connect HDMI cable and device. Turn off the unit before connecting the VGA cable. Press the@ button to turn off power of your projector before connection. After connecting, press the @ button to turn on the unit and the power indicator will light GREEN SOURCE Press the...
-
Page 18: Specifications
Specifications Light Source Type LED bulb 9000 Lumens Brightness Output White light output 310 Ansi Lumens Display Native Resolution 1920 X 1080 HDMI Input Supported 1080p , 1080i , 720p, 576i , 480p, and 480i Video Resolution. Power Consumption Operating 133W; Standby 1.2W Power Input DC 19V , 7.0A Connect Included Adapter... -
Page 19: Troubleshooting
TROUBLESHOOTING 1. Power light is on. If it is not on, check the projector is plugged into the mains, that the socket is switched on, and then press the power button on the projector. 2. Check the lens cover has been removed. No Image is Projected or 3.Check the cables are securely attached and a "No Signal"... - Page 20 Projector Cleaning and maintenance Cleaning the projector regularly is the most effective way to keep the projector running normally and prolong the life of the machine. The simplest and most effective method is to clean the filter regularly and replace the new filter if necessary. In order to ensure the continuous and stable use of the projector, it is recommended that the filter be cleaned every three months.
Need help?
Do you have a question about the NVP-3001C and is the answer not in the manual?
Questions and answers