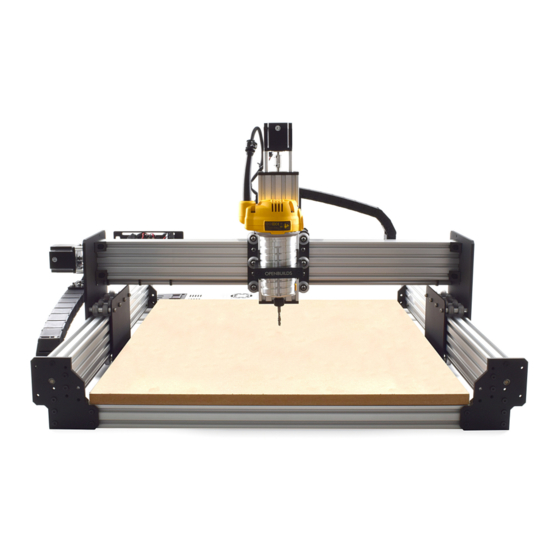
ooznest WorkBee CNC Manual
Limit switches & wire routing
Hide thumbs
Also See for WorkBee CNC:
- Assembly instructions manual (68 pages) ,
- Assembly instructions manual (70 pages)
Table of Contents
Advertisement
Advertisement
Table of Contents

Subscribe to Our Youtube Channel
Related Manuals for ooznest WorkBee CNC


Summary of Contents for ooznest WorkBee CNC
- Page 1 WorkBee CNC Limit Switches & Wire Routing...
-
Page 3: Table Of Contents
2.2.3 Belt Driven - Gantry Wire Routing ..........11 2.2.4 Screw Driven - Y-Axis Wire Routing - Part 1 ........12 2.2.5 Screw Driven - Y-Axis Wire Routing - Part 2 ........13 2.2.6 Belt Driven - Y-Axis Wire Routing ..........14 WorkBee CNC... -
Page 4: Getting Started
1.0 Getting Started WorkBee CNC Getting Started... -
Page 5: Notes On Assembly
For the AC IEC input, the live wire is brown, neutral blue, and earth is green and yel- low. For the DC Wiring of the machine a positive wire is red, negative is black, and earth is green and yellow. WorkBee CNC Getting Started... -
Page 6: Limit Switches & Wire Routing
2.0 Limit Switches & Wire Routing WorkBee CNC Limit Switches & Wire Routing... -
Page 7: Limit Switches
2.1 Limit Switches 2.1.1 X & Y Limit Switches WorkBee CNC Limit Switches & Wire Routing... - Page 8 It should be attached to the top slot on the far left side (if looking from the back). The distance between the Limit-Switch-Plate and the end of the extrusion should be 10mm. WorkBee CNC Limit Switches & Wire Routing...
-
Page 9: Z-Axis Limit Switch
A. Attach the Z-Axis limit switch to the threaded holes on the X-Plate-Front using 2 x M3- Socket-Head-10mm bolts, in the orientation above. Do not over tighten as you can shatter the switch. WorkBee CNC Limit Switches & Wire Routing... -
Page 10: Wire Routing
Z-Limit-Switch wires up the X-Plate-Back, and feed it through the X-Drag-Chain. Secure the wires using Cable-Tie-Smalls to the points marked with blue circles above. To stop it snagging on anything the wire should be pulled taught. WorkBee CNC Limit Switches & Wire Routing... -
Page 11: Screw Driven - Gantry Wire Routing
Cable-Tie-Large at the position shown by the blue oval above. Then run the lead along to the other end of V-Slot-2040-750mm - it can be tucked into one of the slots. WorkBee CNC Limit Switches & Wire Routing... -
Page 12: Belt Driven - Gantry Wire Routing
X-Axis limit switch and stepper motor wire should be secured to the V-Slot-2040- 750mm using a Cable-Tie-Large at the position shown by the blue oval above. Then run the wires along to the other end of V-Slot-2040-750mm - they can be tucked into the slots. WorkBee CNC Limit Switches & Wire Routing... -
Page 13: Screw Driven - Y-Axis Wire Routing - Part 1
Smalls. The wire for the right hand stepper motor can be tucked into a slot on one of the extrusions along the back. C. Secure the lead on the Y-Axis limit switch to the Y-Axis-Fixed-End-Mount using a Cable-Tie-Small. WorkBee CNC Limit Switches & Wire Routing... -
Page 14: Screw Driven - Y-Axis Wire Routing - Part 2
(yellow above), and a limit switch wire (green above). Feed all of these through the square hole on the Y-Plate. Remove any slack inside the Y-Drag- Chain, and then secure these 4 wires to the Y-Drag-Chain-Moving-End-Mount using Cable-Tie-Smalls. WorkBee CNC Limit Switches & Wire Routing... -
Page 15: Belt Driven - Y-Axis Wire Routing
(green above). Feed all of these through the square hole on the Y- Plate. Remove any slack inside the Y-Drag-Chain, and then secure these 2 wires to the Y-Drag-Chain-Moving-End-Mount using Cable-Tie-Smalls. WorkBee CNC Limit Switches & Wire Routing... - Page 16 WorkBee CNC Limit Switches & Wire Routing...
Need help?
Do you have a question about the WorkBee CNC and is the answer not in the manual?
Questions and answers