Advertisement
Quick Links
UNLIMITED SERIES INSTALLATION
PENCIL HOLDER INSTALLATION:
Pencil holder is optional
1
Remove rubber plug on right side
2
of case
Insert the pencil holder through
3
inside of case
Then pull elastic strap through
4
to outside of case
SCREEN PROTECTOR INSTALLATION:
Once tablet is installed into the case, clean the screen thoroughly
1
Remove the protective film on the adhesive side first
2
Using home button and edges of case to align protector, install the screen protector
3
onto the tablet working from the bottom edge towards the top
4
Remove the protective film by pulling on tab
KEYBOARD INSTALLATION:
Once tablet is inserted into
1
the case
Make sure keyboard is charged
2
Turn keyboard power switch on
3
Press "Fn+C" to turn on wireless
4
matching
Open Wireless Networks on
5
your tablet and click the
keyboard name
Input numbers on tablet and
6
press "Enter"
ACTIVATING KEYBOARD
TRACK PAD:
In tablet setting go to "Accessi-
1
bility", then "Touch"
Make sure the Assistive Touch
2
is "on"
Press "Fn+command" to activate
3
the trackpad
*Keyboard automatically sleeps if you do not use it
within 10 minutes. To restart, press any key and wait
3-5 seconds.
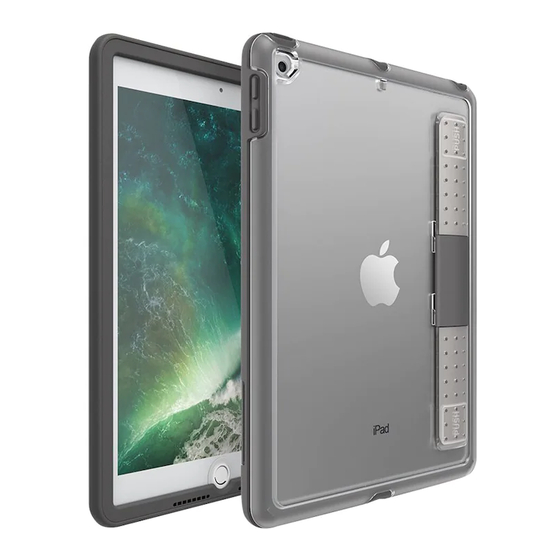
CASE INSTALLATION:
After installing the pencil holder,
1
insert tablet into the bottom
edge of the case first
Push/pinch tablet into case,
2
working around the case
perimeter in a circle
KICKSTAND INSTRUCTIONS:
To open kickstand, pinch gray latch
1
button and lift outer ring
Kickstand can be rotated to achieve four
2
different orientations:
A. This orientation is recommended for
typing and pressing on the tablet
screen.
B. This orientation is recommended for
viewing only.
C. This orientation is recommended for
viewing only.
D. This orientation is recommended for
typing and pressing on the tablet
screen.
Snap outer ring back into place
3
A
B
C
D
Advertisement

Subscribe to Our Youtube Channel
Summary of Contents for OtterBox UNLIMITED Series
- Page 1 UNLIMITED SERIES INSTALLATION PENCIL HOLDER INSTALLATION: CASE INSTALLATION: Pencil holder is optional After installing the pencil holder, insert tablet into the bottom Remove rubber plug on right side edge of the case first of case Push/pinch tablet into case, Insert the pencil holder through...
- Page 2 PRIVACY SCREEN INSTRUCTIONS: Privacy Screen Protector can be installed over bare device screen or a screen protector Set Unlimited Series case on a flat surface A. There is no need to remove your tablet from inside the case Using the home button and bottom edge of case for alignment, attach Privacy Screen on...
Need help?
Do you have a question about the UNLIMITED Series and is the answer not in the manual?
Questions and answers
How to remove a OtterBox unlimited Folio w/Keyboard on a 9th generation Ipad
To remove an OtterBox Unlimited Folio with Keyboard from a 9th generation iPad:
1. Unlatch and separate the silicone segments around the case.
2. Remove the latch on the backing.
3. Separate the backing from the front cover.
This will free the iPad from the case.
This answer is automatically generated
How to remove OtterBox unlimited Folio w/Keyboard on 9th generation ipad
To remove the OtterBox Unlimited Folio with Keyboard from a 9th generation iPad:
1. Open the folio and detach the iPad from the keyboard connection if applicable.
2. Carefully peel the outer rubber layer away from the case, starting at a corner.
3. Use a thin object (like a credit card or small flat tool) to lift the rubber from the groove if needed.
4. Once the rubber is removed, locate and release the four clips around the plastic shell.
5. Gently separate the plastic shell from the iPad.
Proceed slowly to avoid damaging the case or iPad.
This answer is automatically generated