Table of Contents
Advertisement
Quick Links
Advertisement
Table of Contents

Related Manuals for Sentry WF001


Summary of Contents for Sentry WF001
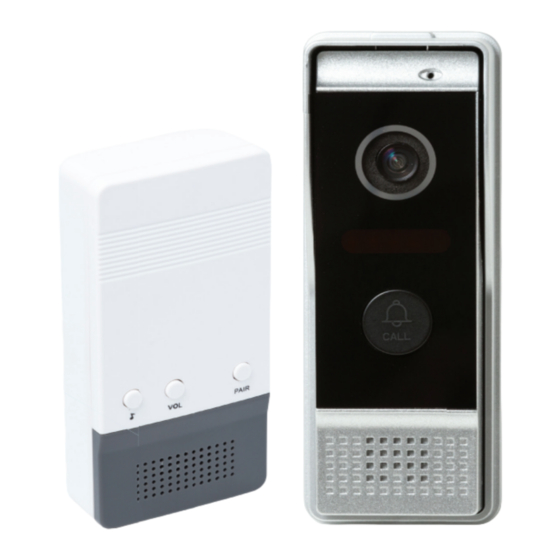
- Page 1 WF001 Wifi Doorbell with Wireless Door Chime QR Code UID: 12345678 KEEP SAFE...
- Page 2 WELCOME - OVERVIEW Attention before use! This product requires a network connection that has internet access. In order for this product to operate as intended the mobile devices used to view and talk to the visitors also requires either WiFi or mobile internet connection with speeds 3G or higher. Should the mobile device have poor or no internet access then this will affect the overall performance of this product that may cause a delay in connection, poor image and/or intermittent speech.
-
Page 3: Wiring Overview
WIRING OVERVIEW Ethernet connection to router (not supplied) Ethernet Adaptor Orange & White Orange Green & White Green Black - Ground Red - 12V DC Brown Blue Power supply 12V DC (included) Wifi Antenna (included) Optional AC/DC Optional AC/DC power supply for door lock door lock operation (not supplied) -
Page 4: Mobile App
POWER SETUP & ANTENNA Black - Ground Red - 12V DC Connect the power supply to the Wifi Doorbell using the jack plug adaptor supplied. Connect the antenna to the Wifi Doorbell. Plug in the power supply for the Wifi Doorbell and the unit will begin to start up, after around 30 seconds you will hear a Beep that identifi es unit is ready. -
Page 5: Wired Setup
WIRED SETUP If Wireless Setup does not work please use this guide. Already connected is the Ethernet connection socket, move the Wifi Doorbell close to your network router and connect the Wifi Doorbell to the network router using an Ethernet cable. You will see LAN sockets in the back of your router to connect to. -
Page 6: Installation
PORTABLE DOOR CHIME Provided in the kit is a Wireless Door Chime that will sound once the CALL button on the Wifi Doorbell is pressed, this is to alert you of visitors inside your home without having to locate your mobile device. Remove the battery cover and insert 2x AA batteries. - Page 7 INSTALLATION Ensure either Wireless or Wired setup & testing is completed FIRST 10. On the inside of the property re-connect the jack plug and antenna, you can stick this into position by peeling the cover off the back of the antenna and fixing into position. 11.
-
Page 8: Main Screen
UCareHome APPLICATION 1 The UCareHome application is continuously updated and improved, the below guide may not represent the current application version. Should you notice any differences between this and the application that requires assistance for use then please contact our technical support team. The UCareHome application currently can only be used with Android or iOS devices. - Page 9 UCareHome APPLICATION 2 11 Device List (See step 16 ) 12 Image / Video folder, select to view stored fi les 13 Video Search function to search for historic video 14 General application settings 15 Help / Application version DEVICE LIST 16 Enable / Disable notifi cations when the CALL button is pressed 17 Tap device name to enter device settings...
-
Page 10: Advanced Device Settings
UCareHome APPLICATION 3 ADVANCED DEVICE SETTINGS Unlock duration: Once the UNLOCK key (3) is pressed the lock will remain open for the set time. Notifi cation: This function cannot be used with the Video Door Phone. Motion: This function cannot be used with the Video Door Phone. Email: This function cannot be used with the Video Door Phone. -
Page 11: Safety Information
SAFETY INFORMATION PRECAUTION Do not cover the ventilation openings with objects such as newspaper, table cloths, curtains, etc. Do not allow this product to get directly into contact with heat sources or naked flames. The normal operation of the product may be disturbed by strong electro-magnetic interference. This equipement is built exclusively for a domestic use. -
Page 12: Specification
30M Range Adjustable volume Complies to all relevant European directives. Smartwares declares the device, model [WF001], complies with the requirements of the R&TTE, 1999/5/ CE directive. The compliance statement is available upon request to:Complies to all relevant European directives. This symbol is known as the ‘Crossed-out Wheelie Bin Symbol’. When this symbol is marked on a product or battery, it means that it should not be disposed of with your general household waste.
Need help?
Do you have a question about the WF001 and is the answer not in the manual?
Questions and answers