Advertisement
Automatic Configuration Instructions
Step 1: Connect the Sipura SPA-841 to your broadband
connection
1. Connect the SPA-841 to your network via Ethernet and attach the power connector to
the rear of the phone.
Step 2: Verify & Configure your IP Address
First we need to verify that your SPA-841 will acquire an IP Address automatically if
your network supports DHCP.
If your network uses a DHCP Server to assign IP Addresses to network devices, or if you are
connecting the SPA-841 to a home router such as a Linksys or Netgear router or a modem
that supports DHCP/NAT, please do the following:
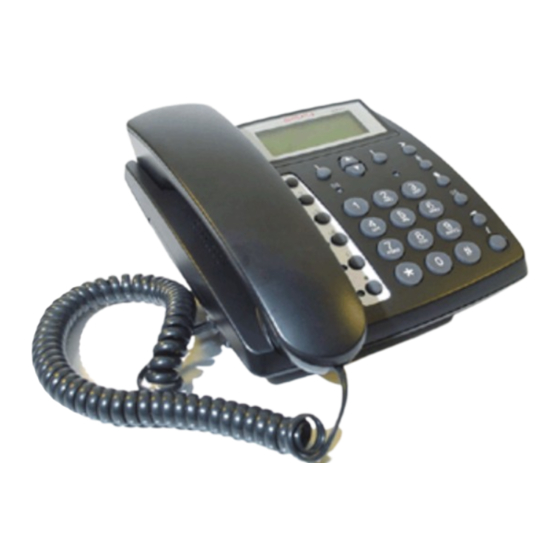
1. Press the phone's i button, located at the bottom right corner of the keypad. This
brings up the phone's configuration menu.
2. Press 9 to enter the network configuration area.
3. Check that DHCP Enable is set to Yes.
4. If DHCP Enable is set to No, turn it on: press edit, then y/n, then ok. To apply this
change, press save, type 12 and press ok; the phone will restart with DHCP enabled.
Sipura SPA-841
Advertisement
Table of Contents

Summary of Contents for Freshtel Sipura SPA-841
- Page 1 Sipura SPA-841 Automatic Configuration Instructions Step 1: Connect the Sipura SPA-841 to your broadband connection 1. Connect the SPA-841 to your network via Ethernet and attach the power connector to the rear of the phone. Step 2: Verify & Configure your IP Address First we need to verify that your SPA-841 will acquire an IP Address automatically if your network supports DHCP.
- Page 2 Next, we must verify that the SPA-841 has a valid IP Address: 1. Press the phone's i button, located at the bottom right corner of the keypad. This brings up the phone's configuration menu. 2. Press 9 to enter the network configuration area. 3.
- Page 3 Manually Assigning a Static IP Address Members using static IP on their home network may wish to configure the adaptor with static IP. If you have obtained a static IP from your internet service provider (ISP) and wish to configure your adaptor with your static IP settings, please follow the instructions below: 1.
- Page 4 12. Scroll down to Non-DHCP NTP Server 2, press edit and enter time.nist.gov (using keys 2-9 to represent letters, ie. 8444633*6644477778*4666888). Press ok to save the setting. 13. To apply these changes, press save, type 12 and press ok; the phone will restart with DHCP enabled.
- Page 5 (NOTE the underscore in “sipura_spa-841” – to be sure, copy and paste the above line) 3. Click on the Submit All Changes button. Your Sipura SPA-841 is now fully configured and ready to use on the Firefly Network! Simply pick up the handset and dial.
- Page 6 Dialling: To dial a Firefly number or voicemail, prefix the number with a star, e.g. *80001234, *123. Freshtel website If you have configured a local dialling prefix for your account via the , you can dial local, national, mobile, and international PSTN numbers exactly as you would from a land line phone in your area;...
Need help?
Do you have a question about the Sipura SPA-841 and is the answer not in the manual?
Questions and answers