Advertisement
Quick Links
Product Summary
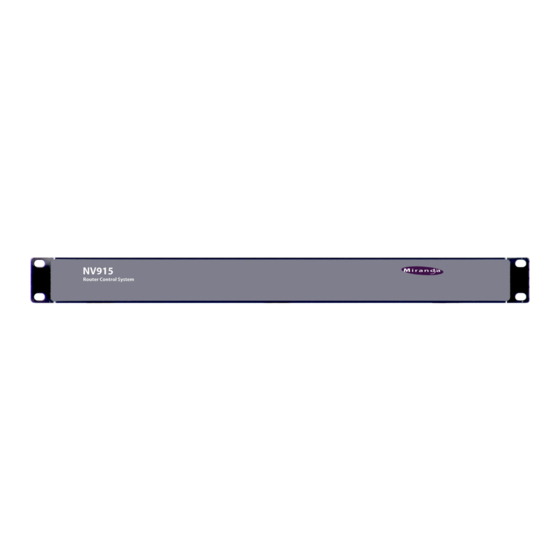
NV915
The NV915 Router Control System features include:
Two Ethernet ports, one for routers and panels, and the
•
other for configuration.
Two USB ports, a COM port and a monitor port.
•
Flash-based storage.
•
Support for up to 32 NV96xx control panels.
•
Support for up to 4 NVISION series routers.
•
1RU, 9" deep.
•
NV9000-SE Utilities
NV9000-SE Utilities (SE, for short) is the "next generation
configuration tool" to be used with NV9000 routing control
systems.
You can use it, connected to the NV915 control system, to cre-
ate and upload configurations. You can use it, detached from
the NV915, to create configuration files.
SE is designed to model, as closely as possible, the user's tasks
and facility structure. It leads the user through the process of
configuring a router control system.
SE fits in the NV915 scheme like this:
Video Ref.
“NVISION Network” Port
Router
Ethernet
Switch
Router
Router
Control
Panel
Router
Figure 1. System Block Diagram
Installation
To prepare the NV915 Router Control System for use, you
must take these two steps:
Install the NV915 hardware.
•
Install the NV9000-SE Utilities software on a PC.
•
To run the NV9000-SE Utilities, you will need a PC that
supports Java 1.5 or later.
Installing the NV915
Perform the steps that follow to install the NV915.
Product Number: QG0007-01 Revision: A0; Date: 4/14/09
NV915
“Config” Port
On
NV9000-SE
Client
Utilities
PC
QuickStart Guide
NV915 Router Control System
and Accessories
Figure 1. Package Contents
NV915(s)
(front view)
(rear view)
AC power cord(s)
1 software and docu-
mentation disk
Rack Mounting
Because the NV915 is small, you might not have enough
space to reach behind it to make connections. In that case,
leave this step until last.
Place the NV915 in the rack where you want it, aligning the
screw holes with holes in your rack frame. Secure the router
using your screws, nuts, and washers.
The mounting holes are spaced 1.25" (31mm) vertically and
allow approximately 1/8" (3mm) of play horizontally.
Ethernet Cable
Connect an Ethernet cable (RJ-45) to the "NVISION Net"
port. (See Figure 2.) Connect the other end of that cable to an
Ethernet switch. Connect your routers and control panels to
the Ethernet switch.
Connect an Ethernet cable to the "Config" port. Connect the
other end of that cable to the Ethernet switch. Connect the
Quick-Start Guide
(this document)
1
Advertisement

Summary of Contents for Miranda NV915
- Page 1 NV9000 routing control systems. 1 software and docu- You can use it, connected to the NV915 control system, to cre- mentation disk ate and upload configurations. You can use it, detached from the NV915, to create configuration files.
- Page 2 Alternatively, use a crossover cable between the Config Configuration port and your PC’s Ethernet port. These are the default IP addresses of the NV915 Ethernet You will have to add the “Config” port address to your PC’s ports: network addresses. You will have to add the NV915 control “Config”...
- Page 3 NV915 and start, stop, and subnet mask. restart the NV915.) If the NV915 icon remains red and does not turn green ] then either you have not specified the network IP address correctly, the Ethernet connection (through the Ethernet switch) is faulty, or you have extra firewall protection installed and active.
- Page 4 You can create configurations NV9000-SE Utilities call +44 (0) 1491 820222 “offline” — without the presence of the NV915 — but to In France, call +33 1 55 86 87 88(9 am to 5 pm, GMT + 1) In Asia, call +852-2539-6987(9 am to 5 pm, GMT + 8)
Need help?
Do you have a question about the NV915 and is the answer not in the manual?
Questions and answers