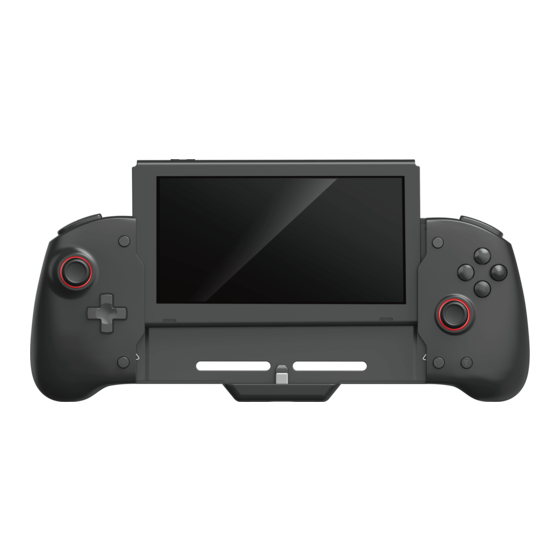
Summary of Contents for PowerWave SWITCH PRO GRIP CONTROLLER
- Page 1 SWITCH PRO GRIP CONTROLLER I N S T R U C T I O N S Front Button Layout L Button R Button D-Pad Turbo Button Screen Capture Type C Charging Home Button Button Power Interlace Back Button Layout L Button R Button ZL Button ZR Button...
- Page 2 SWITCH PRO GRIP CONTROLLER I N S T R U C T I O N S How to Connect 1. Start up the Switch console. Enter “System Settings”. Select “Controllers and Sensors”. Ensure the “Pro Controller Wired Communication” setting is turned On. 2.
- Page 3 PRO GRIP CONTROLLER I N S T R U C T I O N S Turbo Settings e Switch Pro Grip Controller includes 2 settings of turbo mode: Semi-Automatic and Full-Automatic. Turbo mode can be set on the following buttons: A key, B key, X key, Y key, + key, - key, L key, R key, ZL key, ZR key, Directional Pad (up, down, left and right), L3 key (left 3D joystick press key) and R3 (right 3D joystick press key).
- Page 4 SWITCH PRO GRIP CONTROLLER I N S T R U C T I O N S Play and Charge Pass through charging is supported. Plug in a USB Type-C cable into the charging port of the Pro Grip Controller and the USB Type-A end into a compatible 15v power adapter or USB power device.


Need help?
Do you have a question about the SWITCH PRO GRIP CONTROLLER and is the answer not in the manual?
Questions and answers