Advertisement
Quick Links
Registration and setup - Hubitat Documentation
Registration and setup
Thank you for purchasing Hubitat Elevation
need to complete a few simple setup and registration steps.
Contents
Getting to know Hubitat Elevation
Connect your hub
Reserve an IP address
Register Your Hub
Troubleshooting Registration
Getting to know Hubitat Elevation
Your kit includes the following:
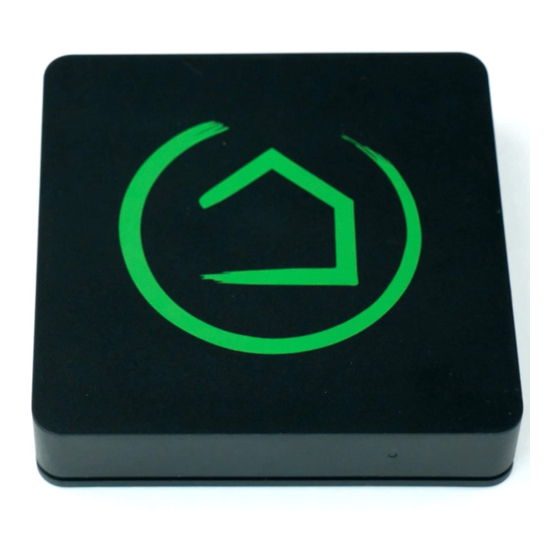
The Hubitat Elevation hub with integrated Zigbee and Z-Wave radios to communicate with your devices
User manual
Micro USB cable
5v power adapter
Ethernet cable
1 of 10
®
. Before you can begin creating home automation that local, reliable, fast and private, you'll
®
®
https://docs.hubitat.com/index.php?title=Registration_and_setup
30/04/2020, 15:57
Advertisement

Summary of Contents for Hubitat Elevation C-7
- Page 1 Register Your Hub Troubleshooting Registration ® Getting to know Hubitat Elevation Your kit includes the following: The Hubitat Elevation hub with integrated Zigbee and Z-Wave radios to communicate with your devices User manual Micro USB cable 5v power adapter Ethernet cable...
- Page 2 Zigbee radio mesh for your other Zigbee devices. See the How to Build a Solid Zigbee Mesh and How to Build a Solid Z-Wave Mesh documents for further details. ® 1. Insert the included Ethernet cable into your Hubitat Elevation 2 of 10 30/04/2020, 15:57...
- Page 3 Registration and setup - Hubitat Documentation https://docs.hubitat.com/index.php?title=Registration_and_setup 2. The other end of the Ethernet cable plugs into an available LAN port on your personal router or modem/router combination device provided by your Internet Service Provider. 3. If there are no available Ethernet ports on your router, attach a network switch to your router and plug the other end of the included Ethernet cable into the network switch.
-
Page 4: Reserve An Ip Address
Registration and setup - Hubitat Documentation https://docs.hubitat.com/index.php?title=Registration_and_setup ® 4. Insert the included micro USB cable into your Hubitat Elevation hub and connect the other end to the cable to the included power adapter. 5. Plug in your hub to begin the boot process. - Page 5 ® 2. An email containing a one-time confirmation code will be sent to the email address you used for your Hubitat Elevation Portal account. Check your SPAM folder if you do not receive the email or select the Resend Code link to try again.
- Page 6 ® 4. Press the Find Hubs button to automatically search for your Hubitat Elevation hub on your local network. * Your computer must be on the same Local Area Network as your hub in order to register and access the Web Interface.
- Page 7 7. Next you will be taken to the Terms of Service Page. You must check the box for the Continue button to appear. ® 8. Step through the tutorial to familiarize yourself with your new Hubitat Elevation user interface. 7 of 10...
- Page 8 Registration and setup - Hubitat Documentation https://docs.hubitat.com/index.php?title=Registration_and_setup 8 of 10 30/04/2020, 15:57...
- Page 9 Registration and setup - Hubitat Documentation https://docs.hubitat.com/index.php?title=Registration_and_setup 9. Give your hub a name by location, or a custom name of your choosing and enter your postal code. Entering your correct postal code will allow lights to activate at the correct sunrise and sunset times for your city or town. Select Save and Exit to Main Menu. 9 of 10 30/04/2020, 15:57...
- Page 10 , we recommend bookmarking the hub address in your web browser. ® Congratulations! You have completed the initial setup of your new Hubitat Elevation hub. You can now begin adding devices and apps, set-up modes and build rules with the included apps. See Discovering your Devices to learn how to add wireless Zigbee and Z-Wave radio devices to your hub.
Need help?
Do you have a question about the C-7 and is the answer not in the manual?
Questions and answers