Table of Contents
Advertisement
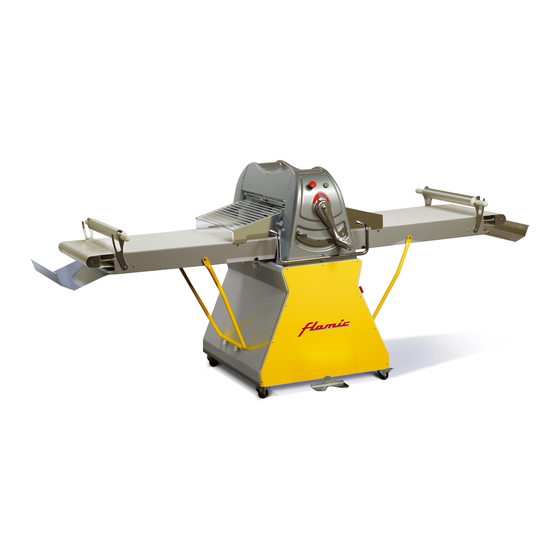
DOUGH SHEETER
SF450 - SF500 - SF600
OPERATION AND MAINTENANCE MANUAL
TRANSLATION OF THE ORIGINAL INSTRUCTIONS
All rights reserved. Reproduction in whole or in part of this manual is prohibited.
FLAMIC SRL
Via dell'Artigianato, 5
36035 MARANO VICENTINO (VICENZA) - Italy
Vat No. and Tax Code 03198710240 e-mail: info@flamic.it Web: www.flamic.it Tel. +39 0445 576659 Fax +39 0445 277203
Ed. 10/2016
Rev.02 10/2017
Advertisement
Table of Contents


Need help?
Do you have a question about the SF450 and is the answer not in the manual?
Questions and answers