Download Print this page
BOX15 501020130310 Installation Instruction

BOX15 501020130310 Installation Instruction

Advertisement

Quick Links

Installation Instruction
             
   
              
           
      
IMPORTANT SAFETY INFORMATION
            
           

            
          
                
             
         
UNPACKING INSTRUCTIONS
English

Advertisement

loading

Summary of Contents for BOX15 501020130310

  • Page 1 English Installation Instruction UNPACKING INSTRUCTIONS                                              ...
  • Page 2 Supplied Parts List    “”                                  ...
  • Page 3 Install the Pole to the Desktop Step 1 Figure 1 Figure 2 Option A: Desk Clamp Install    “”                      ...
  • Page 4 Install the Pole to the Desktop Step 1 Option C: Grommet Base Install Self Drilled Grommet Hole Installation                                              ...
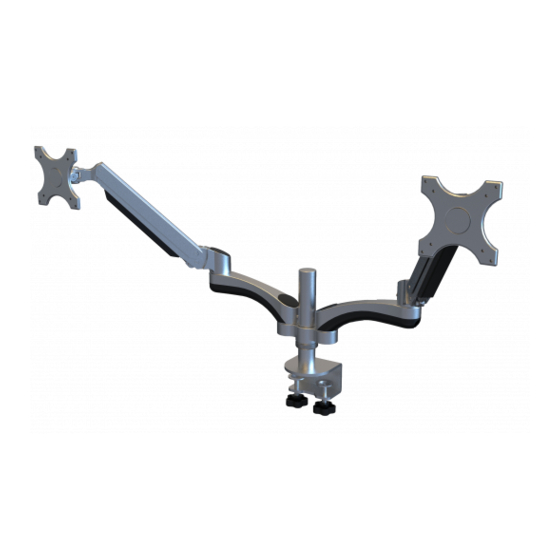
  • Page 5 Option 1: Using Gas Spring Arm and Add-on Arm Step 3A Option 2: Using without Add-on Arm Step 3B Mount the Monitor to VESA Plate Step 4         ...
  • Page 6 Step 5 Make Necessary Adjustments, and Run Cables    Step 6 Adjust the Torque of Gas Spring                            ...