Table of Contents
Advertisement
Advertisement
Table of Contents

Summary of Contents for CAMAG TLC Visualizer 2
- Page 1 INSTRUCTION MANUAL TLC VISUALIZER 2...
-
Page 2: Table Of Contents
Content Introduction ............................ 2 Precaution ..........................2 Parts supplied..........................4 Unpacking/Installation ........................5 Unpacking ..........................5 Installation environment ......................5 Connection ..........................6 Mount the opaque glass and L-shaped plate adjuster..............6 Digital camera ........................... 7 Settings in visionCATS ....................... 8 Reference point.......................... -
Page 3: Introduction
Introduction 1 Introduction The CAMAG Visualizer 2 has been designed specifically for digital documentation of thin- layer chromatograms and similar flat objects. UVA (365 / 366 nm broadband) direct light. (see appendix) This type of illumination is used for thin-layer chromatograms and other fluorescent objects. - Page 4 Introduction use only (IP 20). Further, this device has passed the CAMAG Quality Assurance tests and has been delivered in a safe operating condition. For detailed instrument data see chapter technical data • Attention: For safety reasons the instrument may only be used for the purposes described in the operating manual •...
-
Page 5: Parts Supplied
Ordinary goggles provide protection, but it is advisable to wear safety glasses or a face shield and gloves. 1.2 Parts supplied CAMAG TLC Visualizer 2 basic comprising: Part no Units Description 959.0520... -
Page 6: Unpacking/Installation
Unpacking/Installation 2 Unpacking/Installation 2.1 Unpacking • Observe the environmental requirements (2.2 Installation environment) when setting up the instrument • Carefully unpack all components and accessories listed on the shipping list. Make sure the shipment is complete • Carefully remove the instrument from the package and place it on a table Attention •... -
Page 7: Connection
• After unpacking the opaque glass plate insert it, opaque side down, into the open frame inside of the CAMAG TLC Visualizer 2 How to identify the opaque side: Hold the opaque glass over a piece of paper with printed text. The opaque side is down if you can read the text. -
Page 8: Digital Camera
20x10 20x20 2.5 Digital camera When the CAMAG TLC Visualizer 2 is shipped the camera is already mounted in an adjusted position, therefore no mechanical adjustment is necessary. • In order to work with the USB Camera, visionCATS requires the installation of appropriate camera driver on the PC. -
Page 9: Settings In Visioncats
CAMAG TLC Visualizer, this option has to be disabled in visionCATS. The plate has to be inserted with the solvent front first To change the reference point: •... -
Page 10: Getting Started
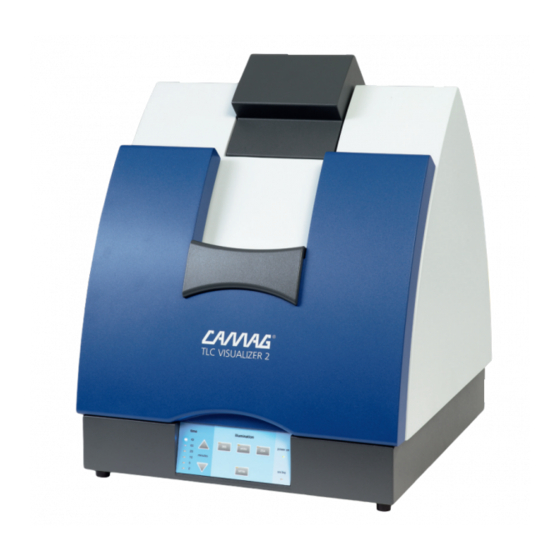
Getting started As colours are always seen subjectively, slight differences in perception of the plate seen through the viewing flap, the recorded image on screen and the printed image are possible. 3 Getting started 3.1 The Instrument Fig. 2: Front view 1: Control panel; 2: Sliding door; 3: Viewing flap; 4: Camera cover A sensor system controls and monitors the proper handling and ensures a stable illumination process. -
Page 11: Illumination
Getting started 3.3 Illumination There are 5 different illumination sources available: R 254 Remission at 254nm R 366 Remission at 366/365nm R White Remission at white light T White Transmission at white light RT White Remission and transmission at white light 3.4 Operation •... -
Page 12: Viewing Flap
• Remove the HPTLC plate right after ending the evaluation 4.2 Maintenance Data Sheet CAMAG Maintenance data sheet CAMAG TLC Visualizer 2 October 2016/UB Purpose The maintenance data sheet informs about maintenance interval of the respective instrument as well as the proposal for IQ/OQ interval if applicable. -
Page 13: Trouble Shooting
Ascertain which tube has failed • Switch off the instrument and remove the power cord! • Remove the opaque glass plate from the CAMAG TLC Visualizer 2 • The defective tube can be taken out of the socket by turning (approx. 90 degrees) •... -
Page 14: Camera Access
LEDs for three repetitions. Then the LEDs display a coded error number. If there is a tube defect, the corresponding lamp control LED is on as well. If all lamp control LEDs are on (ALon), the CAMAG TLC Visualizer 2 has a critical error and CAMAG service must be called. -
Page 15: Technical Data
Technical data 5 Technical data Line voltage 100-240V (see rating plate on instrument) Power capacity 50 W Illumination unit / 3.5 W Camera (USB 3) Frequency 50 – 60 Hz Lamps switching Frequency 65 kHz Timer settings 2/5/10/20/60 minutes and endless Dimensions Width 50 cm Depth 60 cm... - Page 16 49 30 516 55 50 · Fax 49 30 795 70 73 · E-Mail: infoberlin@camag.com CAMAG Scientific Inc. (USA) · 515 Cornelius Harnett Drive · Wilmington, NC 28401 Telephone 800 334 3909 · Fax 910 343 1834 · E-Mail: tlc@camag.com www.camag.com...
Need help?
Do you have a question about the TLC Visualizer 2 and is the answer not in the manual?
Questions and answers